
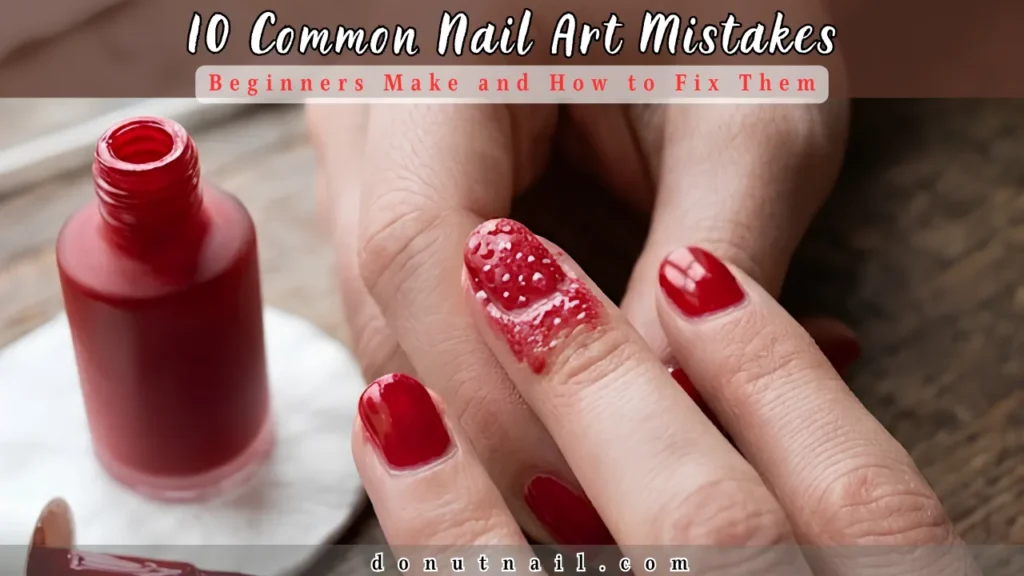
Discover 10 Common Nail Art Mistakes Beginners Make and How to Fix Them. From streaky polish to smudging, learn pro fixes for flawless, salon-worthy nails.
Have you ever tried to create beautiful nail art only to end up with smudged designs, streaky polish, or flooded cuticles? It is so frustrating when your nails do not turn out the way you imagined. You might even feel like giving up on DIY nail art altogether. But here is the thing, every nail artist started exactly where you are right now. The key is learning what is going wrong and how to fix it.
That is exactly why understanding Common Nail Art Mistakes Beginners Make and How to Fix Them is so important. In this guide, you will discover 10 Common Nail Art Mistakes Beginners Make and How to Fix Them – Transform Your Manicure Today. Get ready to troubleshoot your technique and start creating the flawless nails you have always wanted.
1. Streaky Polish Application
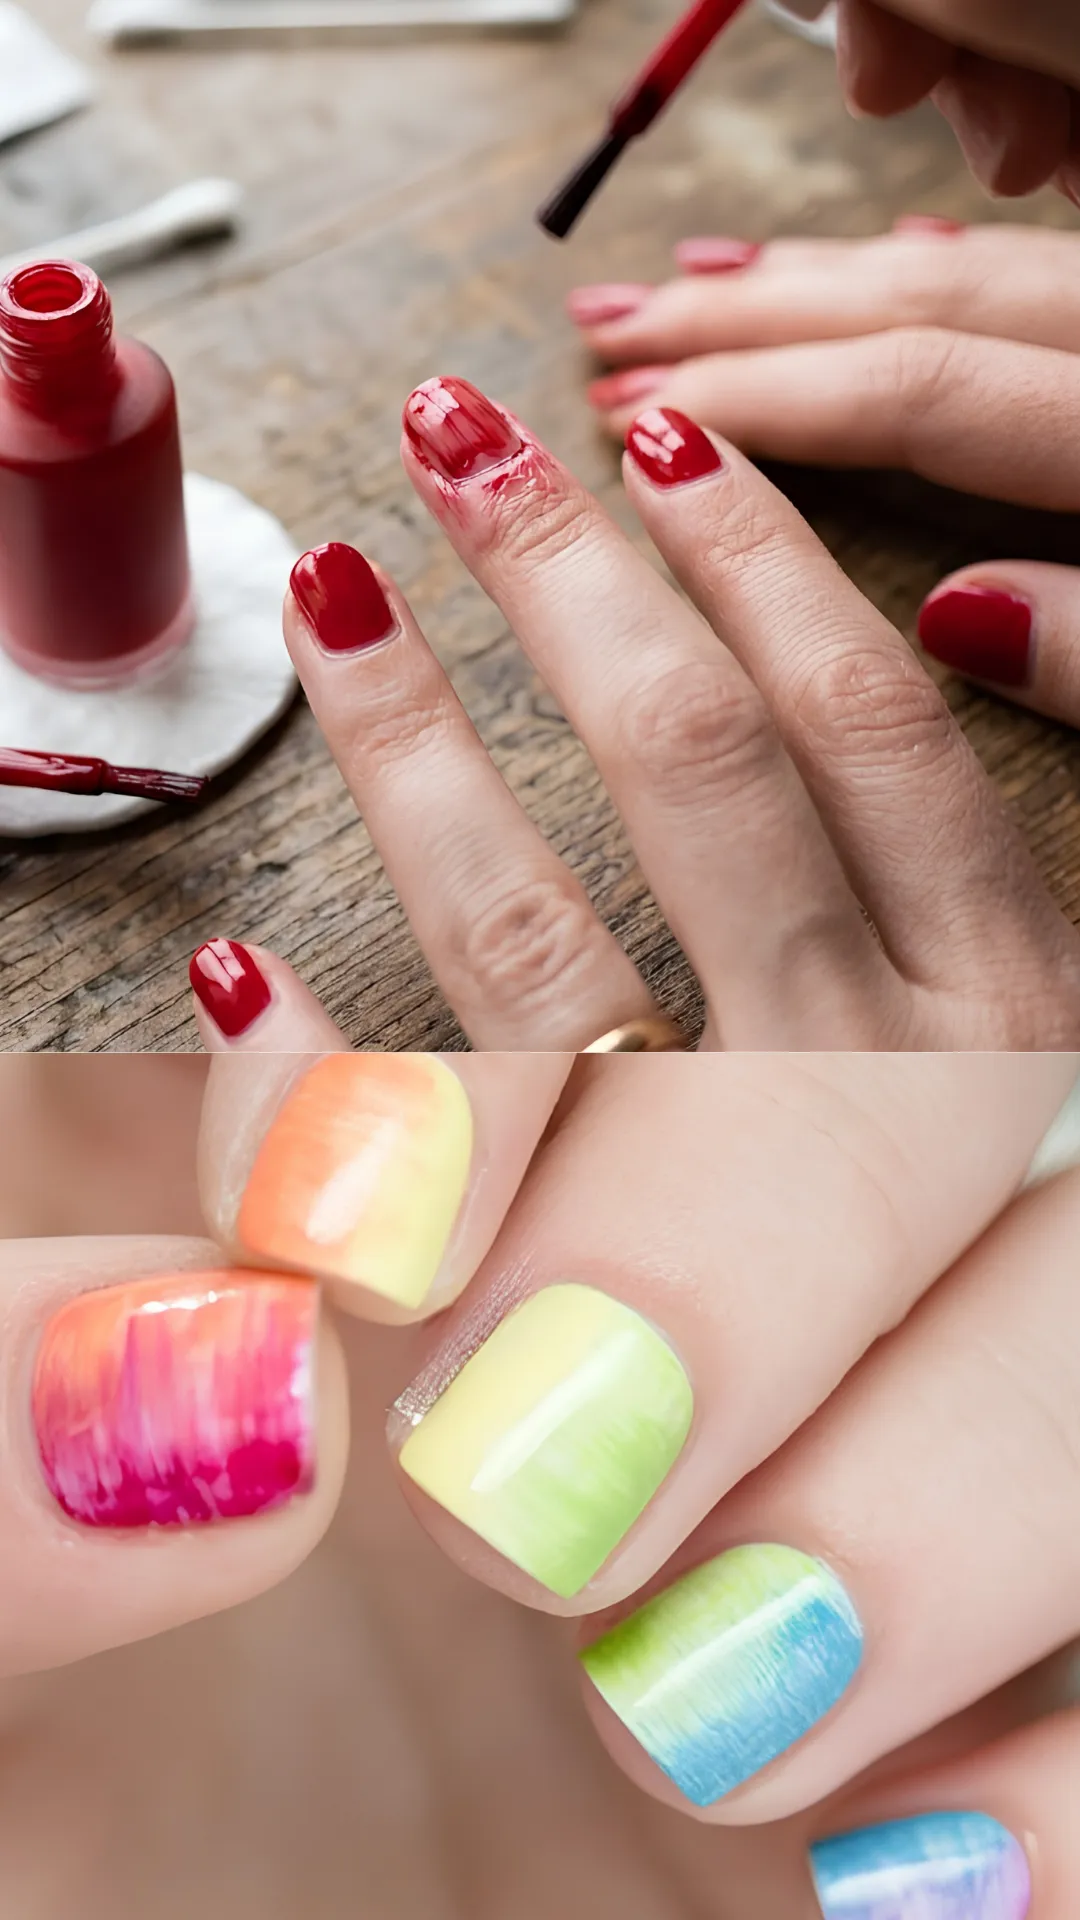
Streaky polish is one of the most frustrating issues for beginners. You apply your color and instead of a smooth, even finish, you see visible brush strokes and uneven patches. It looks messy and unprofessional.
This usually happens when you apply too much pressure on your brush or use polish that is too thick. The fix is simple, use thin, even coats and let each layer dry completely before applying the next one. Also, make sure your polish is not too old or gloopy. A quick shake or roll of the bottle can help mix the formula properly.
Pro Tip: Roll the polish bottle between your palms for a few seconds before applying. Shaking creates bubbles, but rolling mixes the formula smoothly.
2. Smudged Designs
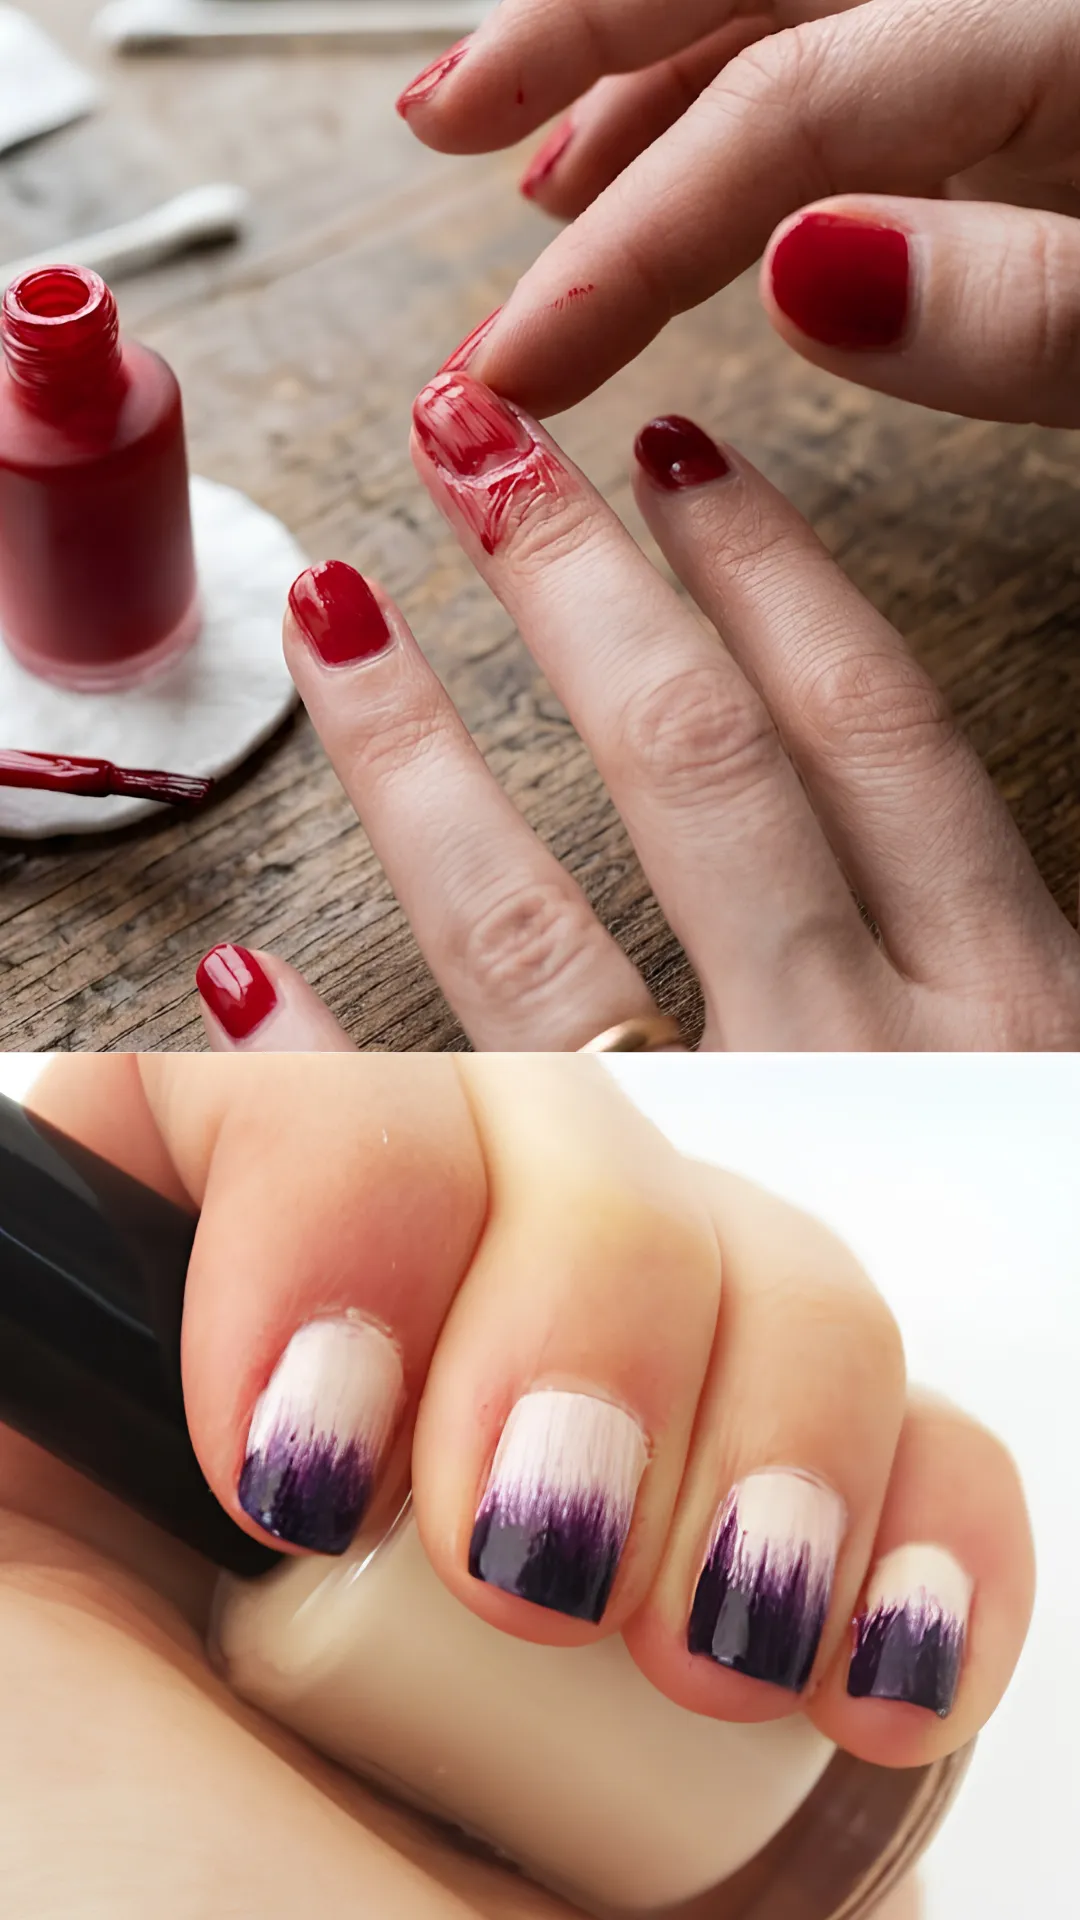
There is nothing more heartbreaking than spending ages on a beautiful design only to smudge it before it dries. Smudging is a classic Common Nail Art Mistake Beginners Make and How to Fix Them that can ruin all your hard work.
Smudging happens when you touch your nails before they are fully dry or when you apply thick coats that take too long to set. The fix is to be patient and let each layer dry completely. Use a quick dry top coat to speed up the drying process and create a protective barrier over your design. Also, try to work in a well ventilated area where polish dries faster.
Pro Tip: Always start with your dominant hand first. It gives it more time to dry while you paint the other hand.
3. Bubbling Polish
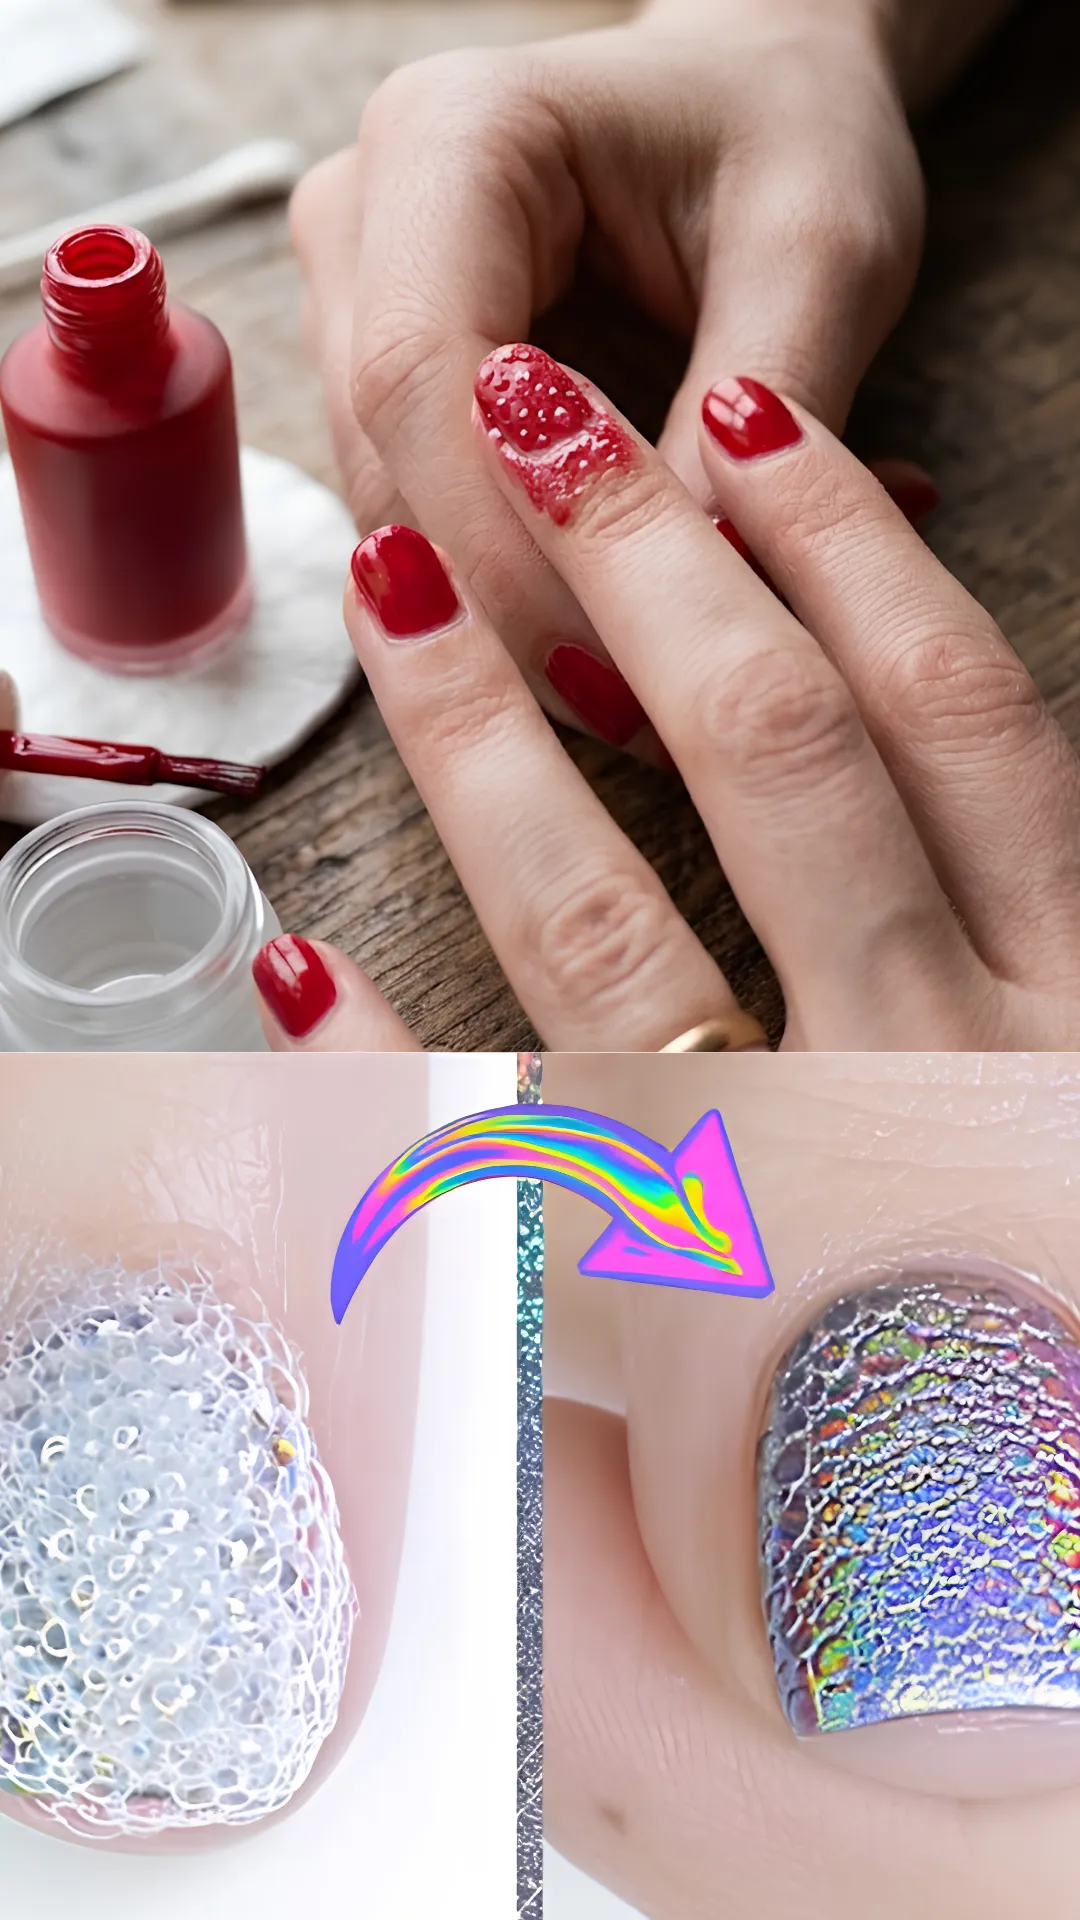
Bubbles in your nail polish are annoying and make your manicure look bumpy and unprofessional. You apply your polish smoothly, but tiny bubbles appear as it dries, ruining the finish.
Bubbling is often caused by shaking your polish bottle vigorously before use, which traps air bubbles in the liquid. The fix is to roll the bottle between your palms instead of shaking it. Bubbles can also form if you apply polish in a humid environment or if your coats are too thick. Let each coat dry thoroughly before applying the next one.
Pro Tip: Keep your polish in the fridge for 15 minutes before applying. Cold polish has a thicker consistency that is less prone to bubbling.
4. Flooded Cuticles
Flooded cuticles are when you accidentally get polish all over the skin around your nails. This makes your manicure look messy and causes peeling as the polish lifts from the skin.
Flooding happens when you apply too much polish or place the brush too close to your cuticle. The fix is to wipe excess polish off the brush before applying and leave a small gap between the polish and your cuticle. Use a small brush or orange stick dipped in acetone to clean up any mistakes before the polish dries.
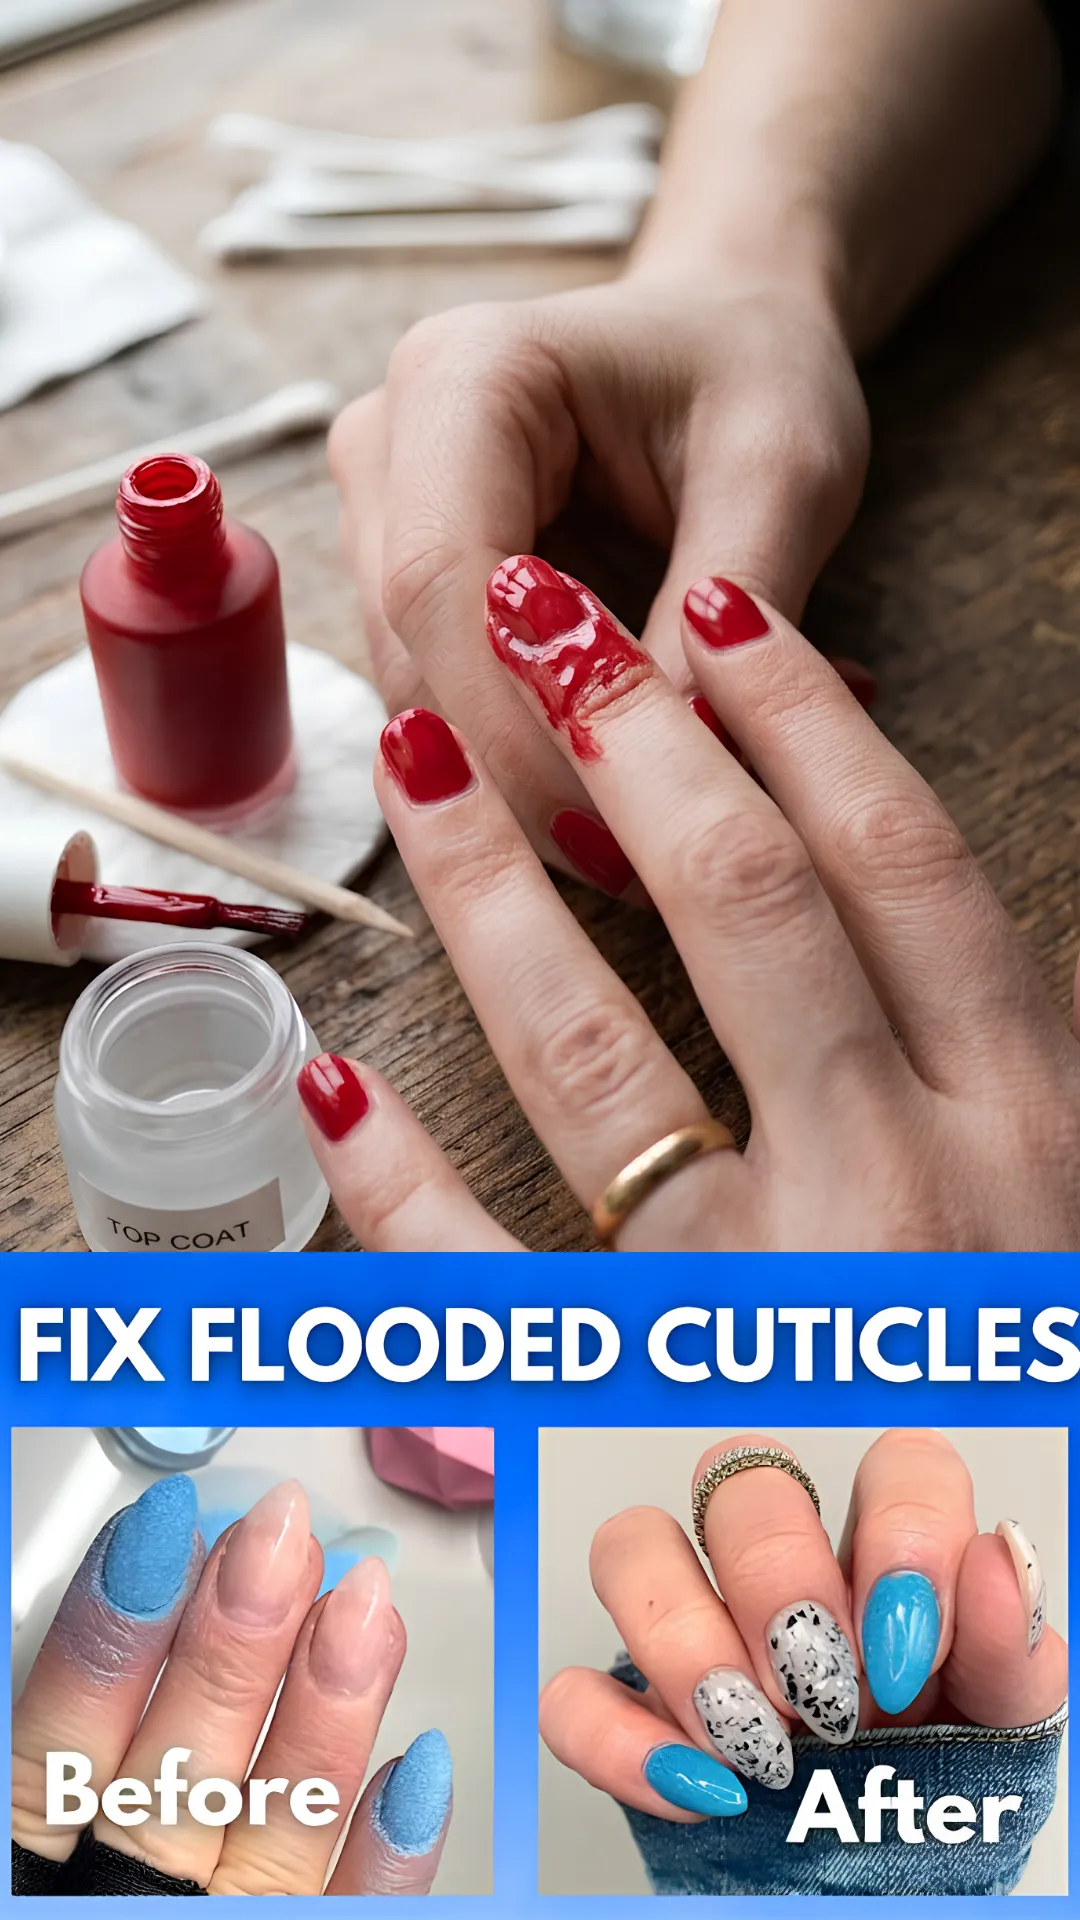
Pro Tip: Apply a thin layer of petroleum jelly around your cuticles before painting. Any mistakes will wipe away easily with a cotton swab.
5. Uneven Edges and Jagged Lines
Creating clean, sharp lines is one of the most challenging skills for beginners. Uneven edges and jagged lines make your nail art look amateurish and unpolished.
This mistake is usually due to a lack of steady hand technique or not using the right tools. The fix is to use striping tape, nail guides, or stencils to help you create clean lines. Practice your brush control by resting your hand on a flat surface and using your pinky finger as a stabilizer. Take your time and do not rush the process.
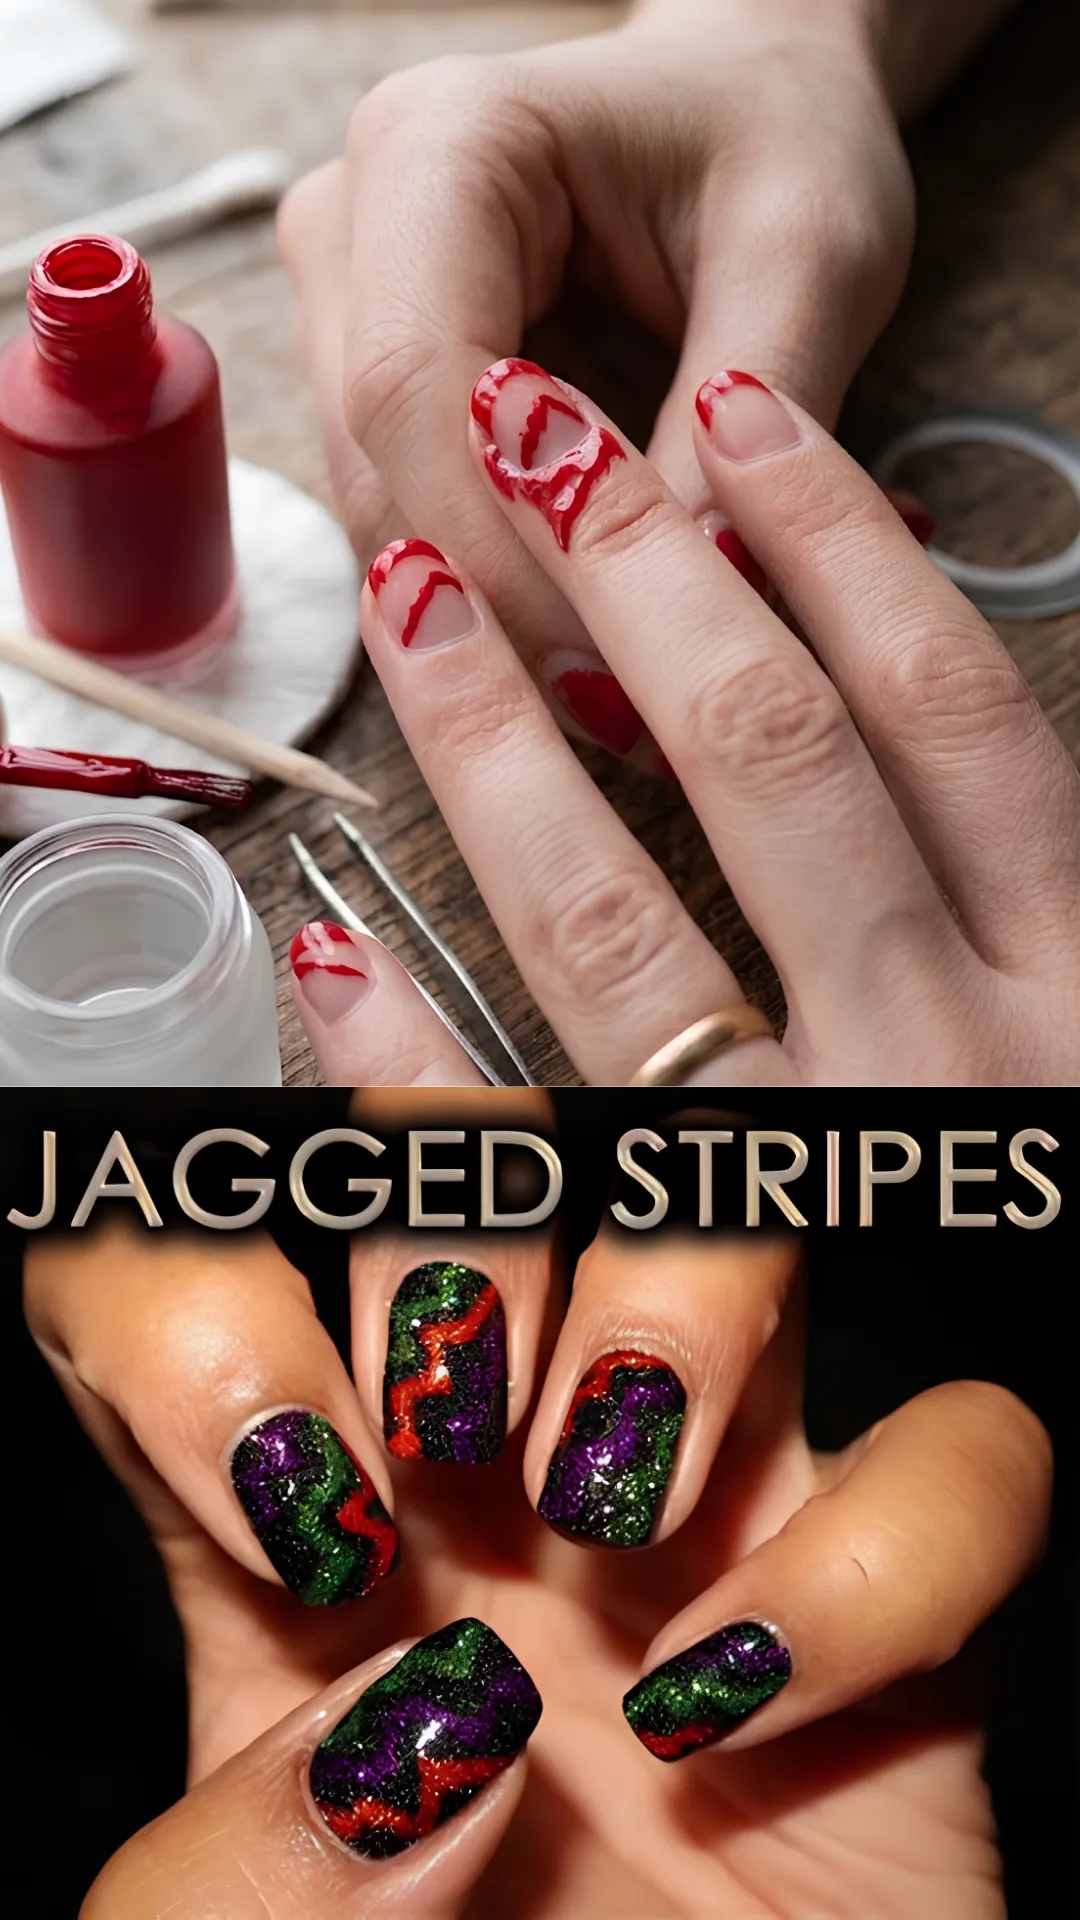
Pro Tip: Place your hands flat on a table and hold the brush like a pencil. This gives you more control and steadier lines.
6. Peeling Polish
Peeling polish is when your nail art starts lifting and peeling away from your nails within a day or two. It is so disappointing after spending time on a beautiful design.
Peeling is often caused by skipping the base coat or not capping the free edge of your nail. The fix is to always apply a base coat before your color. The base coat creates a sticky surface for your polish to adhere to. Also, make sure you cap the free edge by running the brush along the tip of your nail with each layer. This seals the edge and prevents lifting.
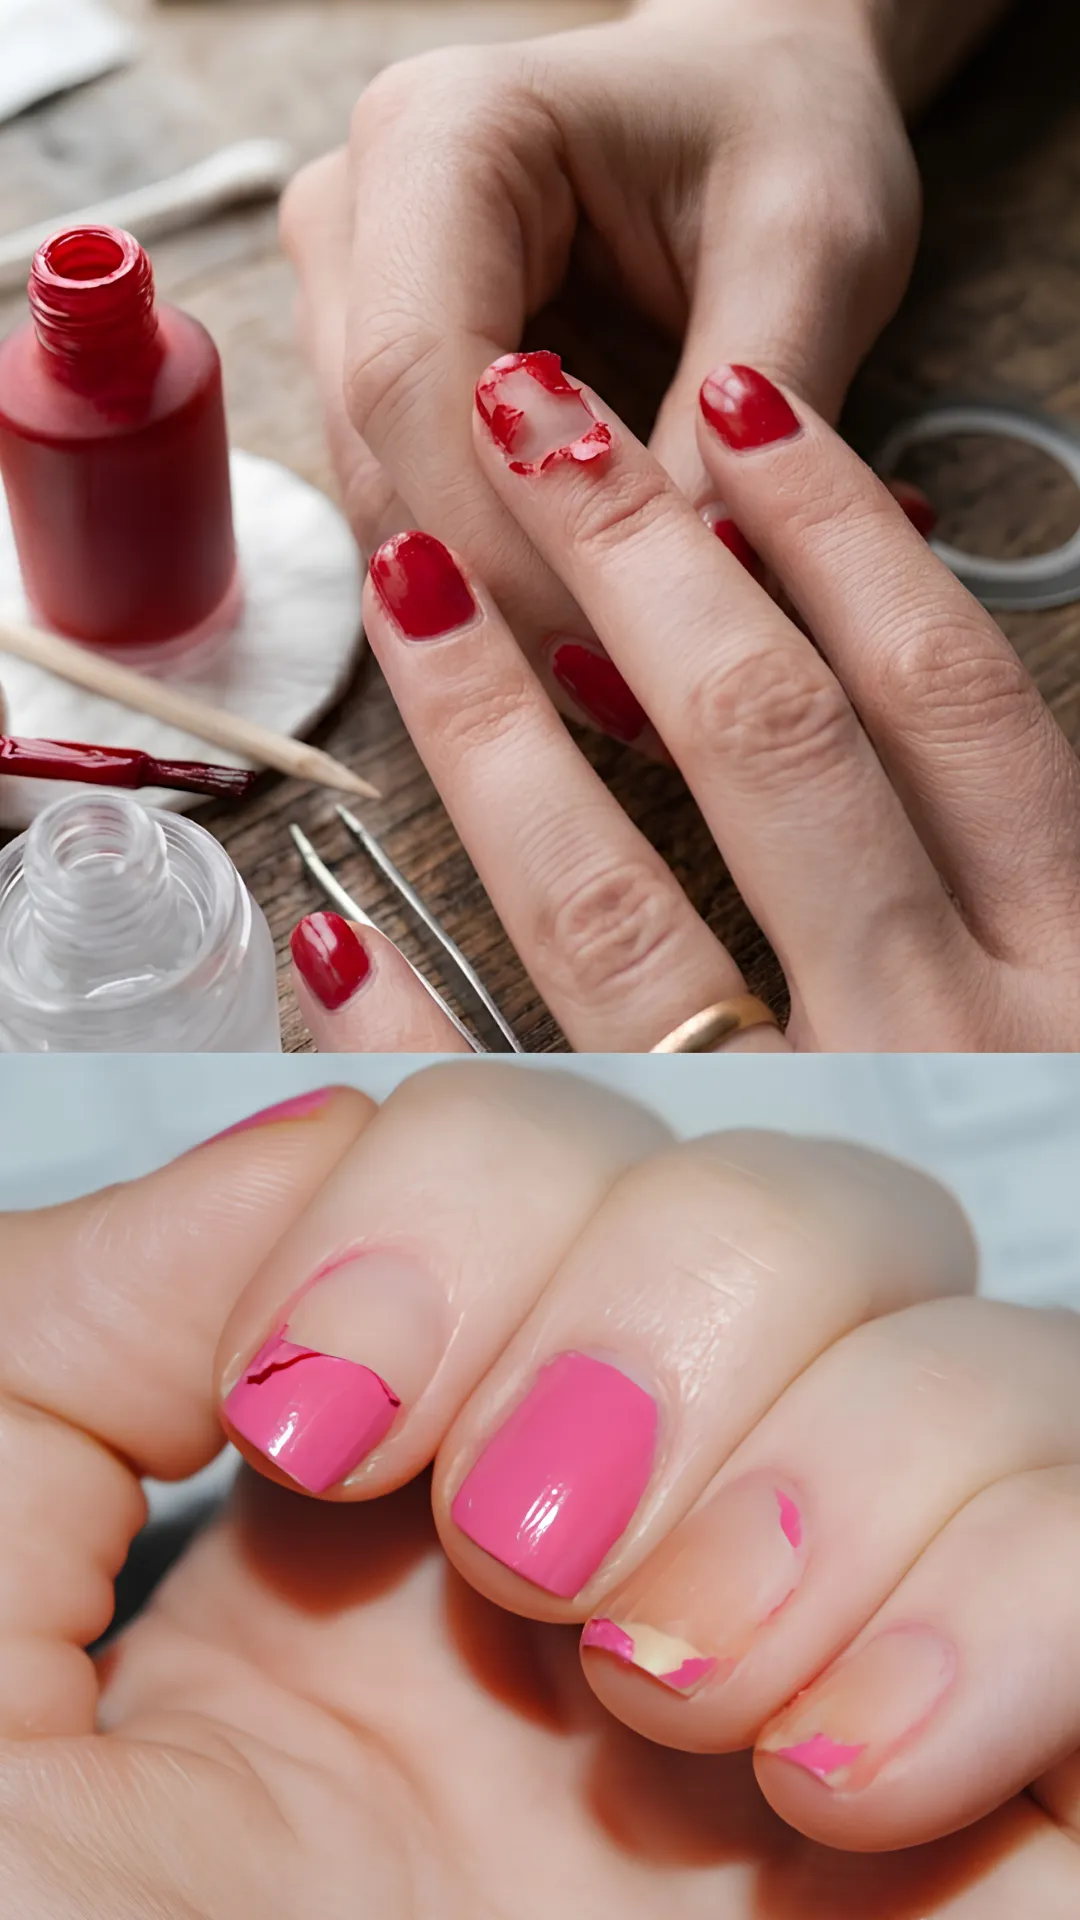
Pro Tip: Lightly buff your nails before applying the base coat. The rough surface gives polish something extra to grip onto.
7. Thick, Gloopy Coats
Thick coats of polish are a major culprit for smudging, bubbling, and chipping. Many beginners think that one thick coat will cover better, but it actually causes more problems.
The fix is to apply two or three thin, even coats instead of one thick one. Thin coats dry faster, are less prone to smudging, and create a more durable finish. If your polish is already thick and gloopy, you can add a few drops of nail polish thinner to restore its consistency.
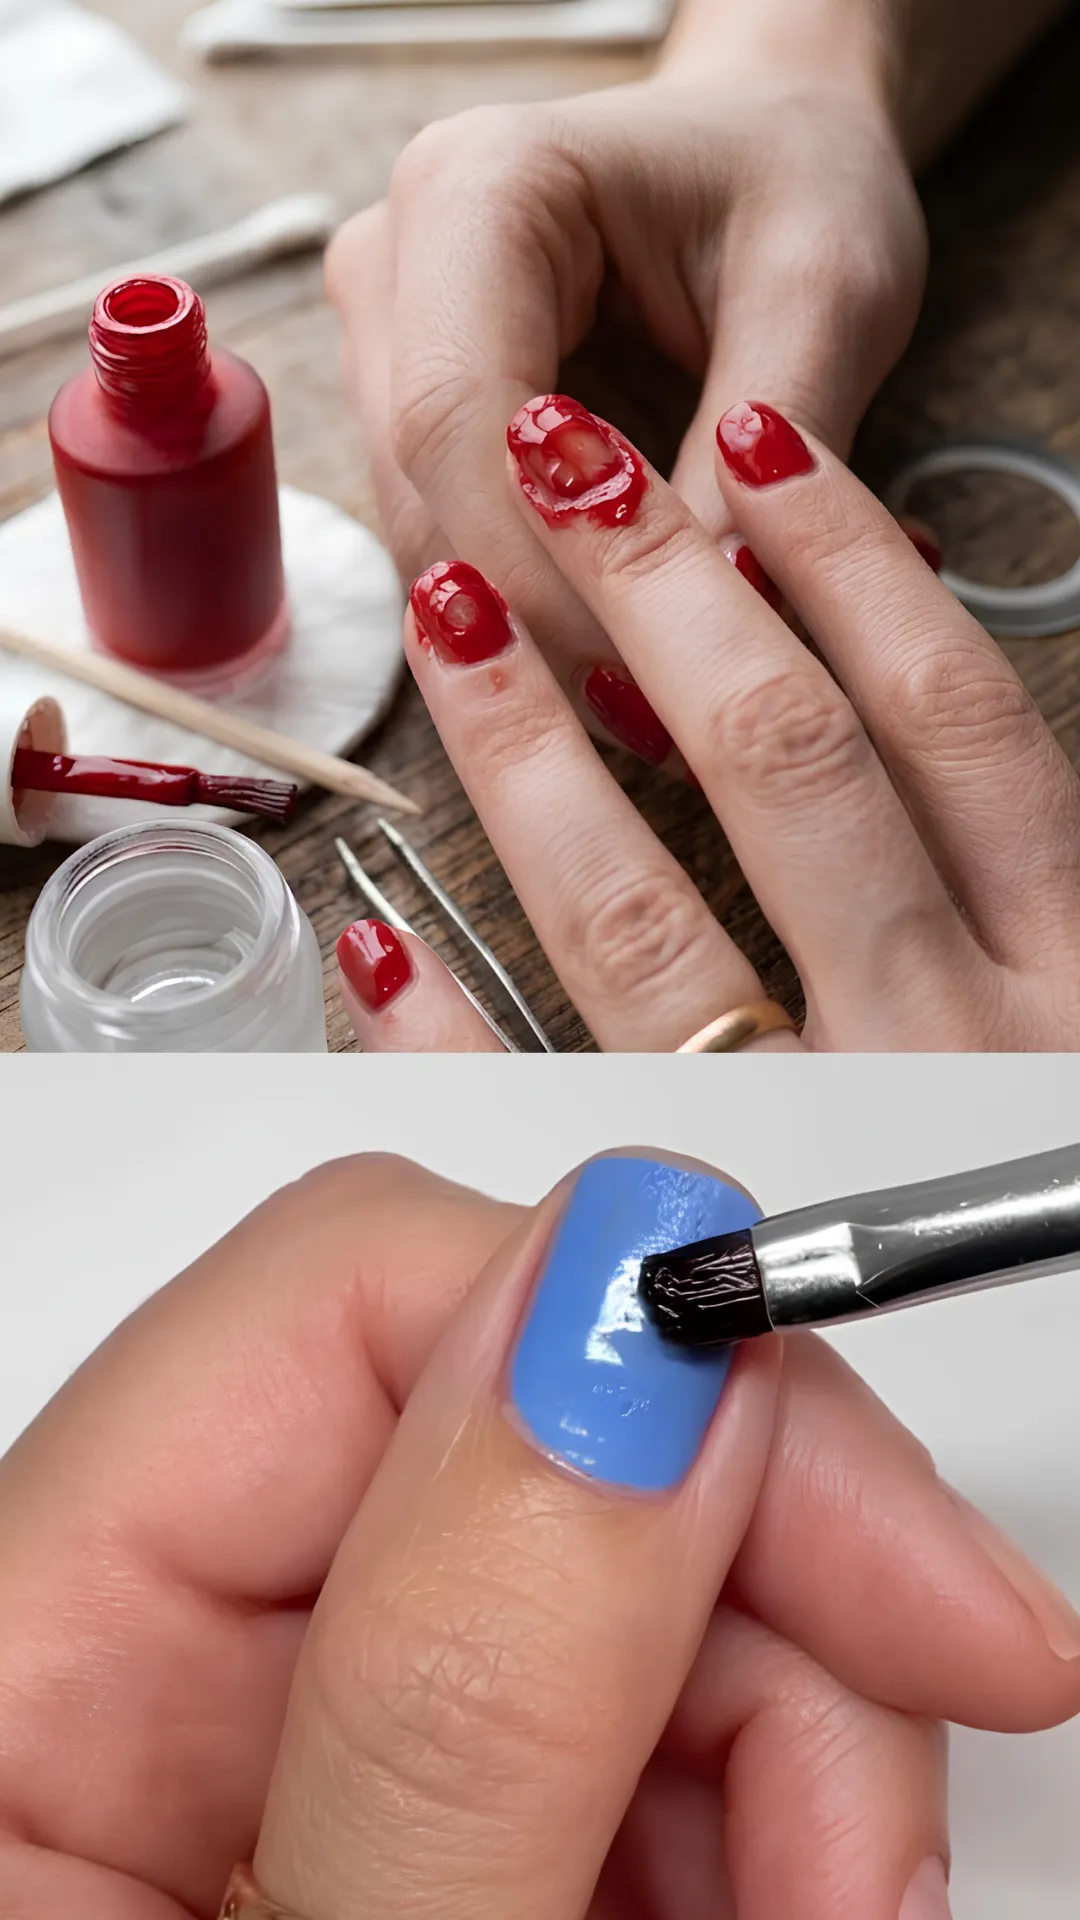
Pro Tip: Wait at least two minutes between each coat. If you can touch the polish without it sticking to your finger, it is dry enough for the next coat.
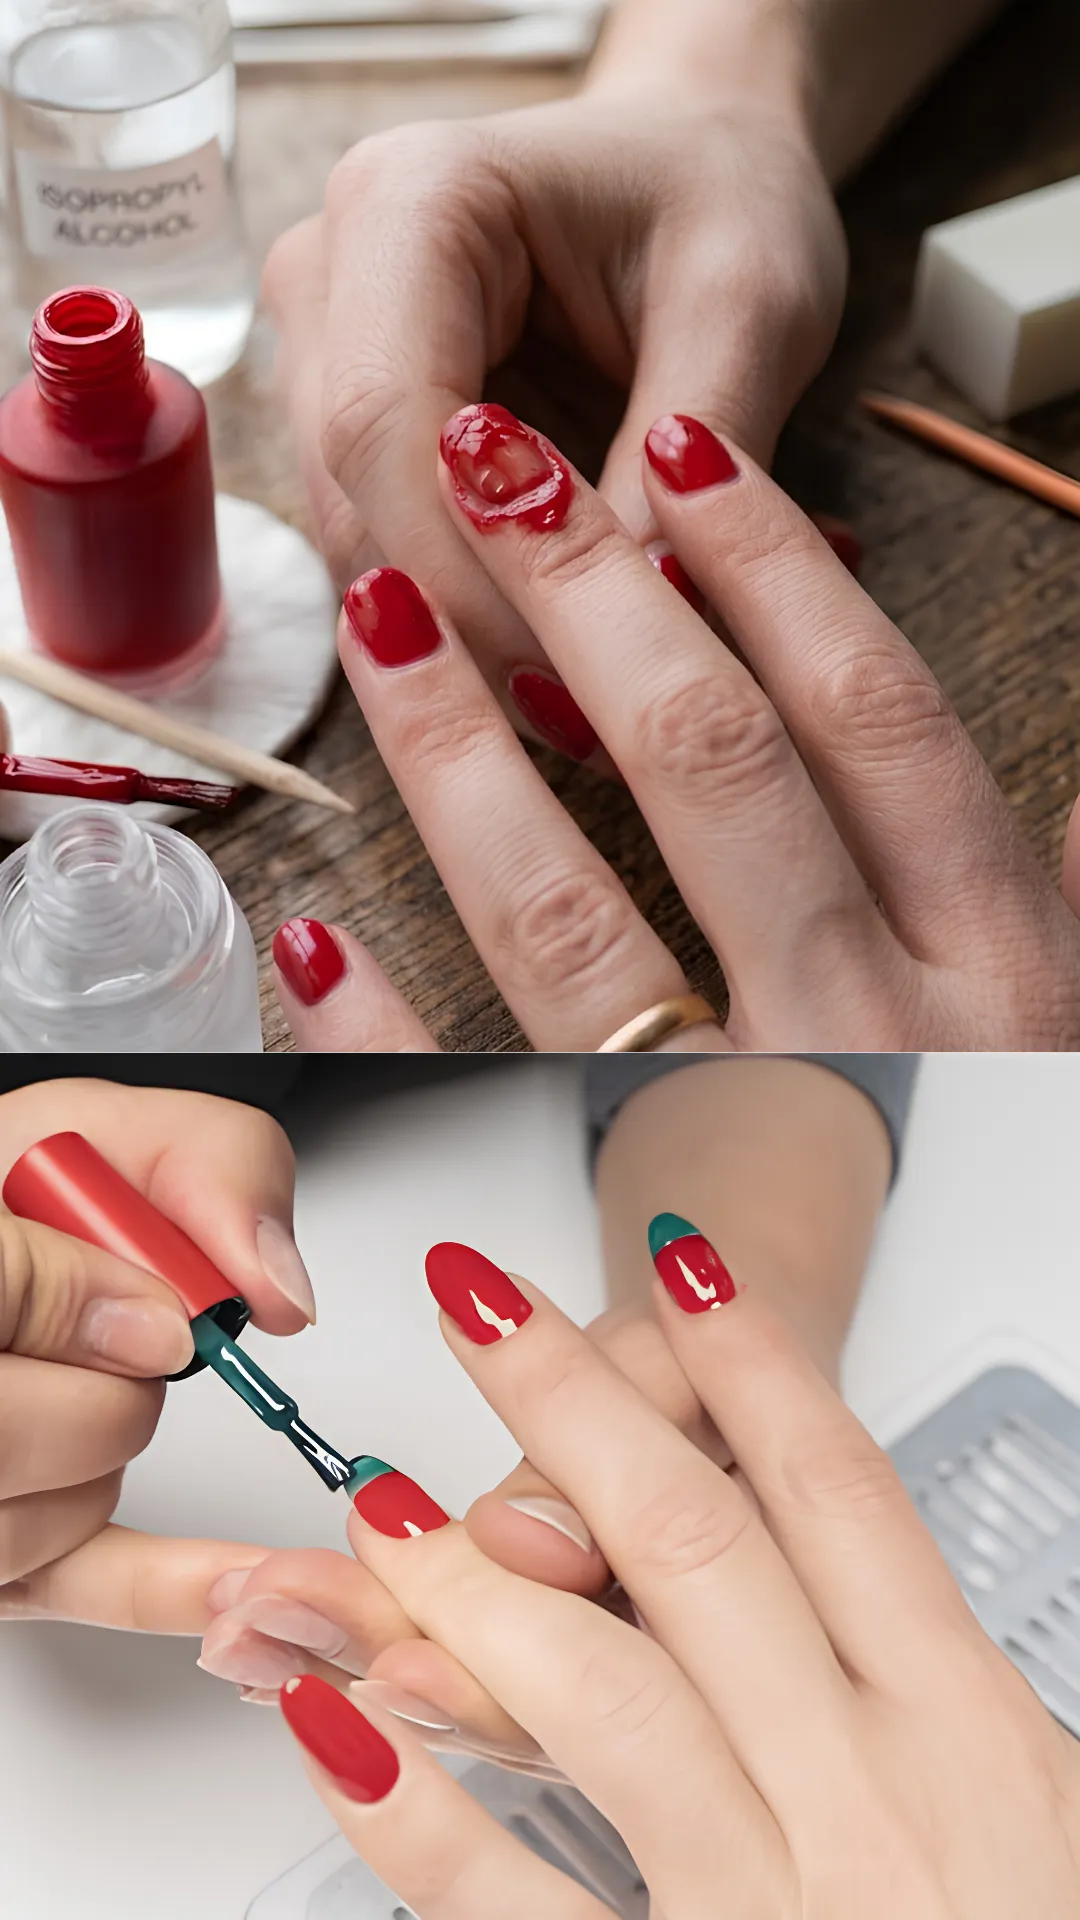
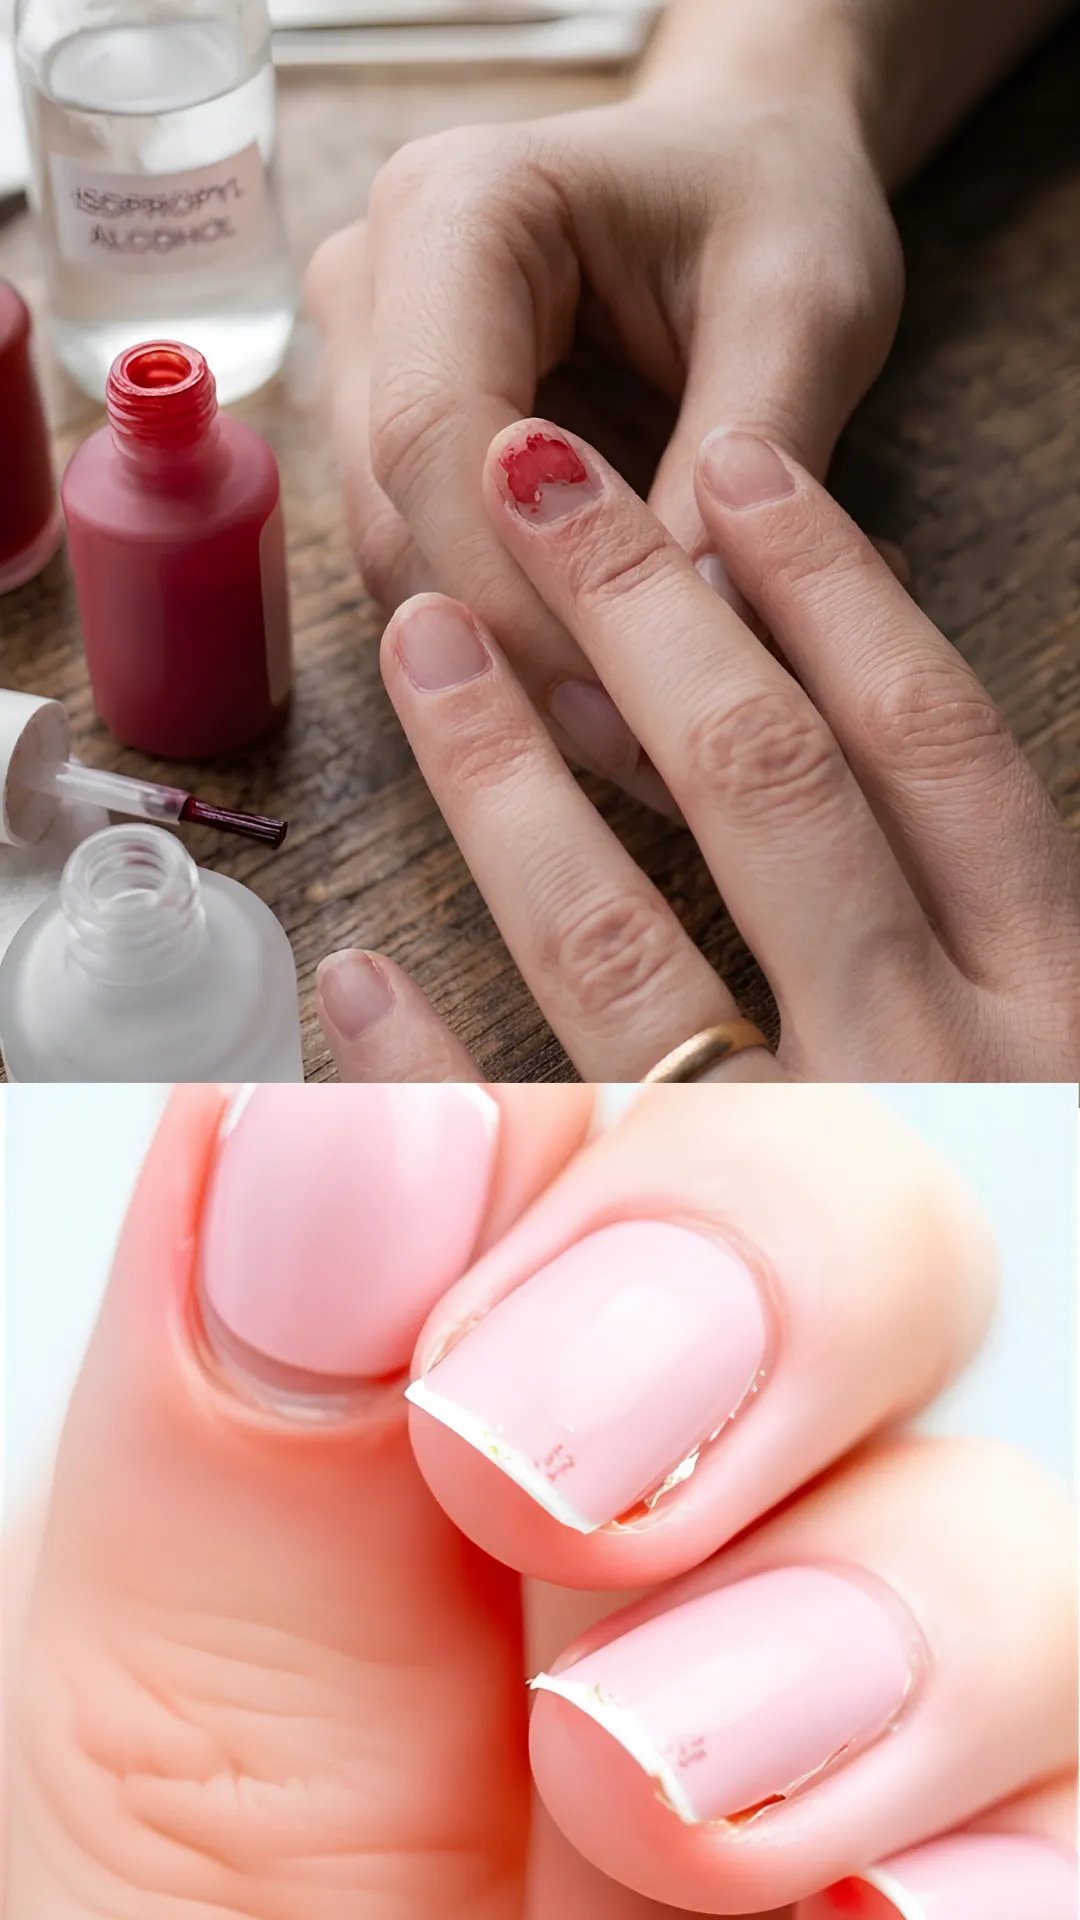
8. Skipping Nail Prep
Skipping nail preparation is a huge mistake that many beginners make. You might be eager to start painting, but without proper prep, your polish will not last.
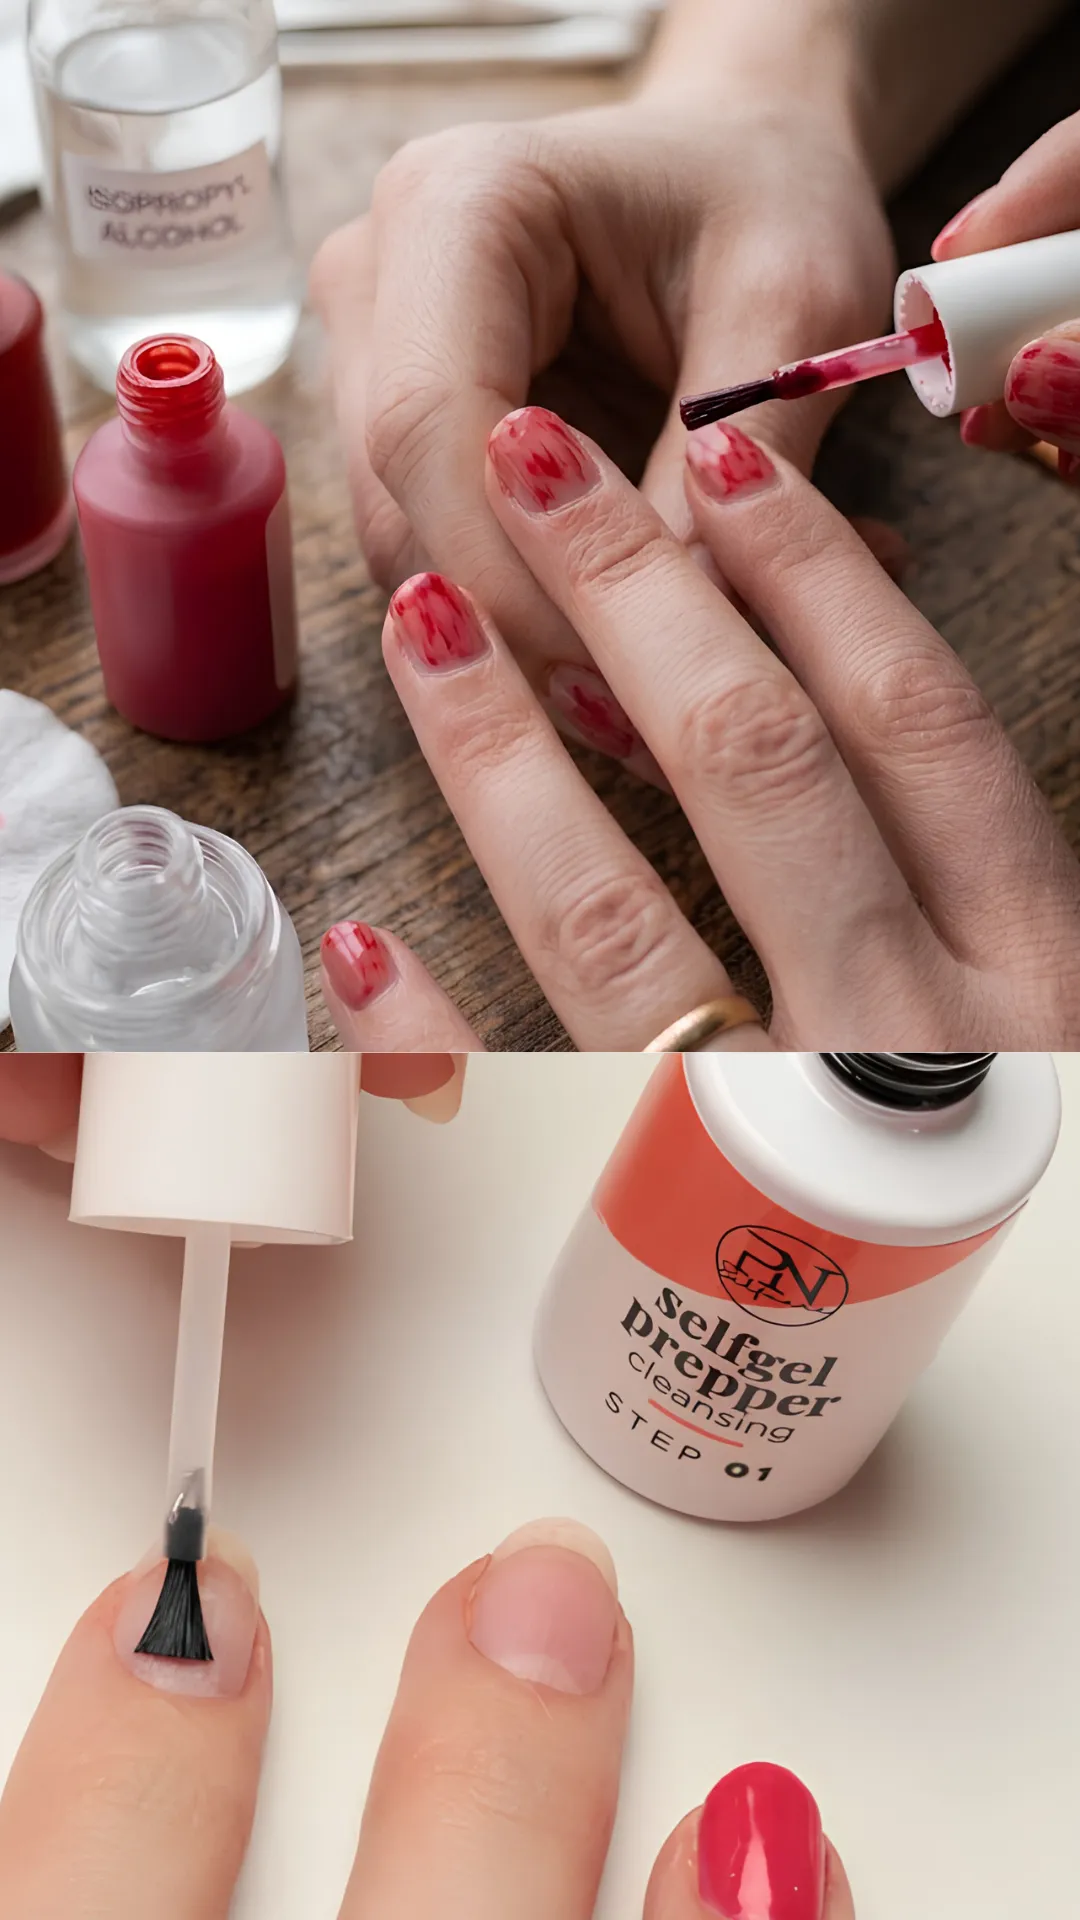
The fix is to always start with clean, dry nails. Remove all old polish and wash your hands thoroughly. Use isopropyl alcohol to remove any oils or debris from your nail plate. Push back your cuticles gently and lightly buff the surface of your nails. Proper preparation ensures your polish adheres well and lasts longer.
Pro Tip: Apply a dehydrator or nail primer before your base coat for extra adhesion, especially if you have naturally oily nails.
9. Using Poor Quality Polish
The quality of your polish makes a huge difference in the final result. Poor quality polishes are often streaky, uneven, and prone to chipping, making them one of the biggest Common Nail Art Mistakes Beginners Make.
The fix is to invest in good quality polishes. You do not need to buy the most expensive brands, but choose polishes with good reviews and a smooth application. Good quality polishes have better pigmentation, dry faster, and last longer. They are worth the investment for the results they deliver.
Pro Tip: Look for polishes that are labeled “one coat” or “high pigment.” These formulas provide better coverage and require fewer layers.
10. Not Using a Top Coat
Skipping the top coat is one of the biggest mistakes you can make. The top coat is your final layer of protection, sealing your design and adding shine. Without it, your nail art is vulnerable to chips, scratches, and dullness.
The fix is to always finish your manicure with a good quality top coat. Apply a generous, even layer over your dried design, being careful to seal the edges. For extra durability, reapply a thin layer of top coat every few days to refresh the shine and protection.
Pro Tip: Choose a quick dry top coat for the best results. It hardens your polish faster and creates a durable, chip resistant shield.
Every beginner makes mistakes. That is how you learn and improve. By understanding these 10 Common Nail Art Mistakes Beginners Make and How to Fix Them – Transform Your Manicure Today, you can troubleshoot your technique and start creating flawless, professional looking nails at home. Remember, practice makes progress, and every attempt brings you closer to nail art mastery.
Ready to take your nail art skills to the next level? Visit my website for more tutorials, tips, and product recommendations to help you achieve the perfect manicure every time. I would love to see your nail art journey, so share your creations with me on social media.
Struggling with streaky polish, smudged designs, or bubbling? Common Nail Art Mistakes Beginners Make and How to Fix Them has the solutions. From prep to top coat, learn 10 pro fixes for flawless, salon worthy nails. Save this pin for your next DIY session. #NailArtMistakes #BeginnerNails #NailArtTips #DIYNails #FlawlessNails #NailCare
Table of Contents
You might also Like:15 Bold Black Nail Art Inspo for the Edgy Girl in You – Dark, Daring & Stunning!

