
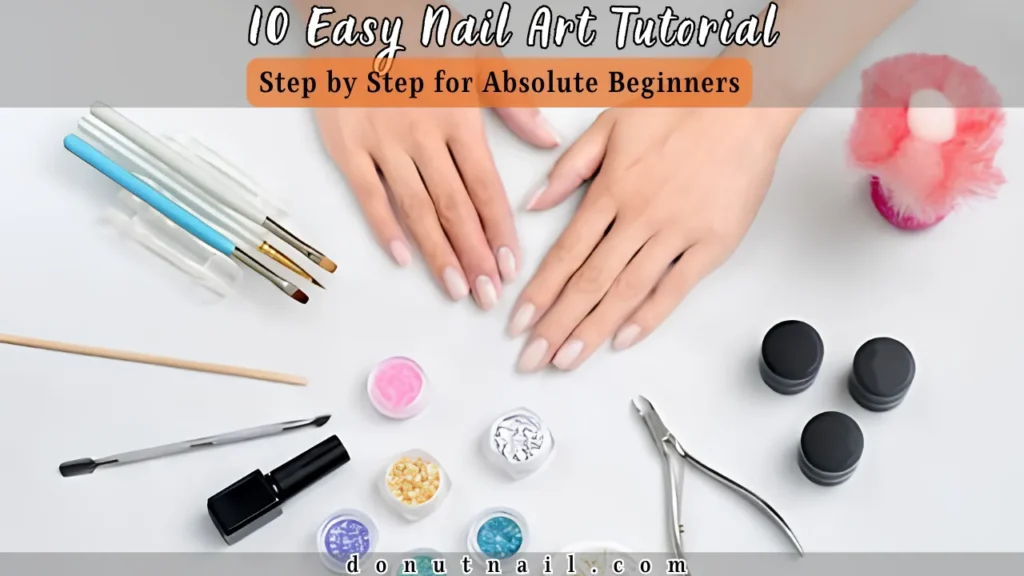
Master Easy Nail Art Tutorial Step by Step for Absolute Beginners. From polka dots to ombre, learn 10 simple designs that anyone can create at home.
Have you always wanted to create beautiful nail art but felt too intimidated to try? Maybe you have scrolled through Pinterest and thought, “I could never do that.” You are not alone. So many beginners feel exactly the same way. The truth is, creating stunning nail designs does not have to be complicated or require years of practice. With the right guidance, anyone can learn.
That is exactly why this Easy Nail Art Tutorial Step by Step for Absolute Beginners exists. In this guide, you will follow Easy Nail Art Tutorial Step by Step for Absolute Beginners – Start Your Journey Today and learn simple, foolproof designs that will have you creating gorgeous nails in no time. Grab your polishes and let us get started.
1. Essential Tools Every Beginner Needs
Before you start creating beautiful nail art, you need the right tools. You do not have to break the bank, but having a few key items will make your journey so much easier.
Here is what you need:
- A good base coat and top coat
- Your favorite nail polish colors
- A dotting tool (or a bobby pin)
- A thin striping brush
- Nail art tape or striping tape
- A clean up brush dipped in acetone
- Cotton pads and nail polish remover
With these basic tools, you are ready to create almost any beginner design. Remember, you do not need everything at once. Start with the basics and add more tools as you grow your skills.
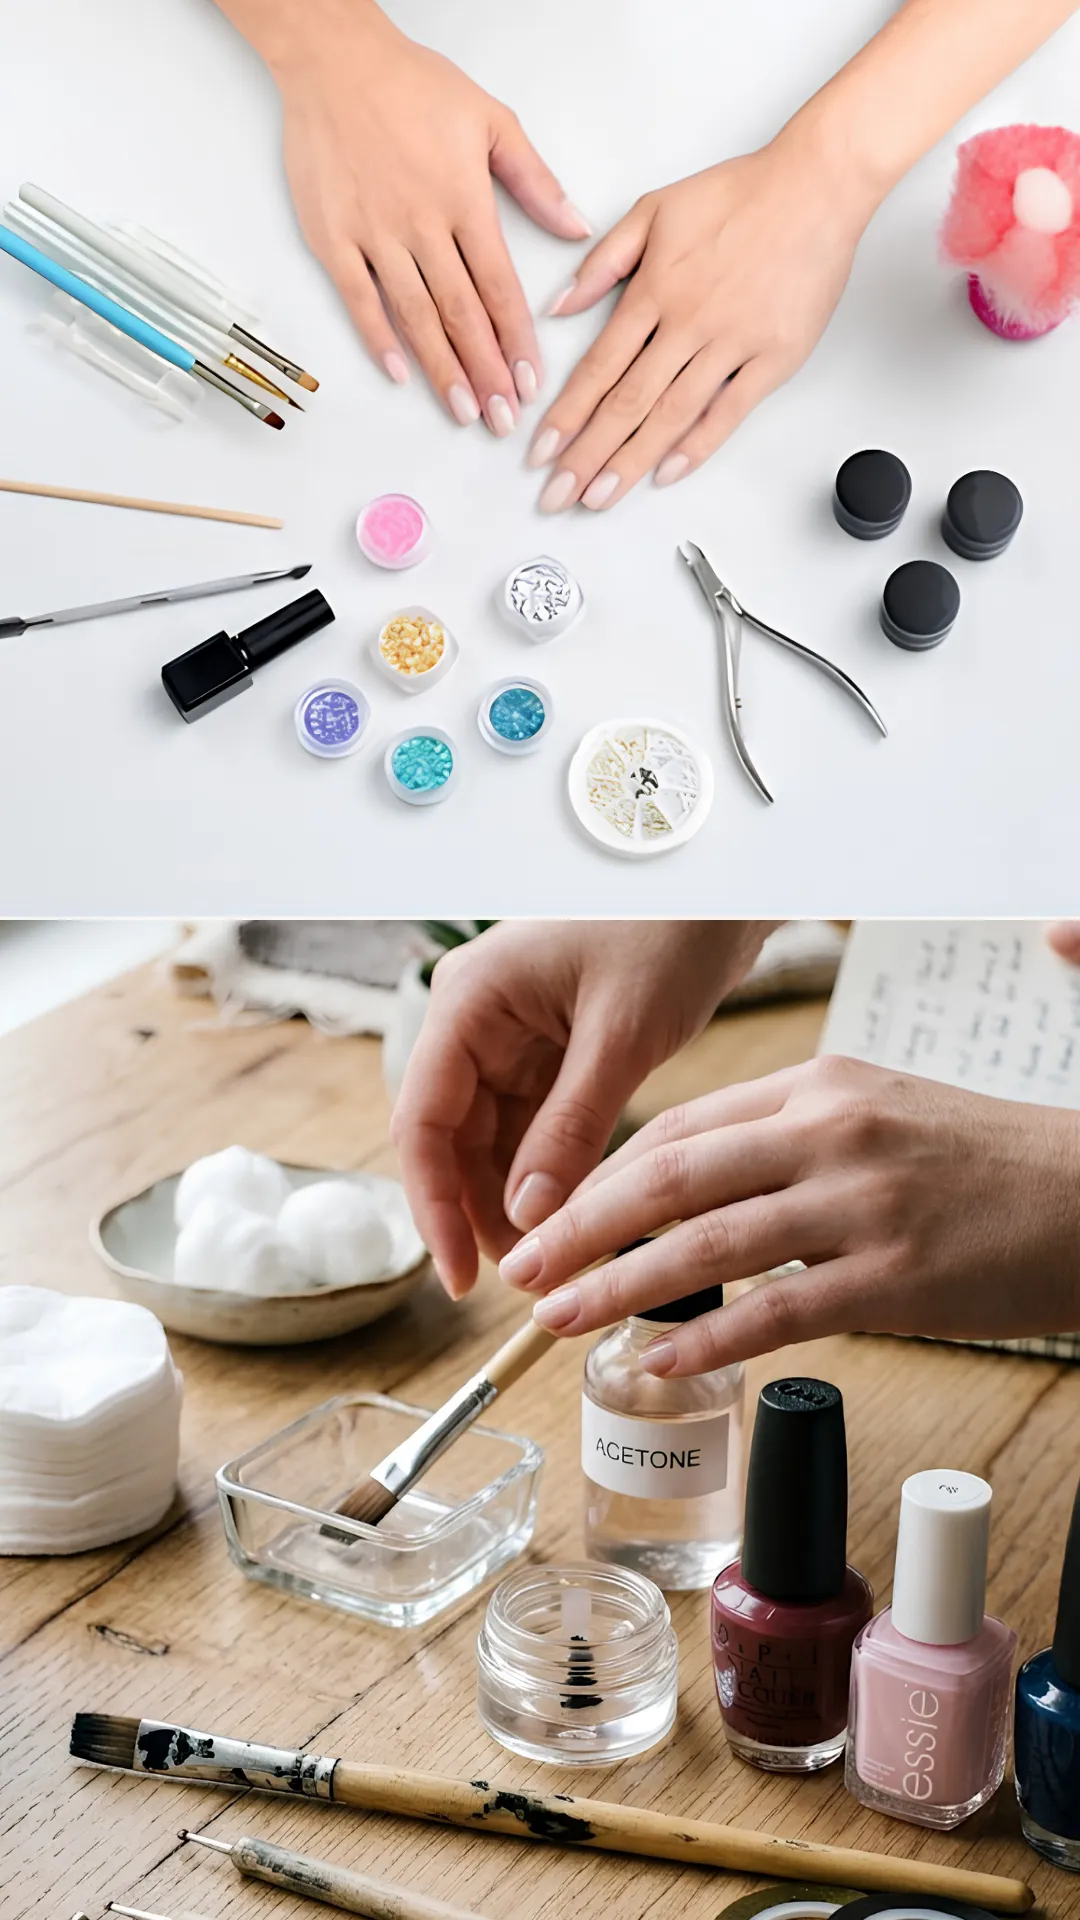
Pro Tip: Practice on fake nails or a nail wheel before trying designs on your own nails. It builds confidence and saves you from multiple polish removals.
2. The Perfect Polka Dot Design
Polka dots are the ultimate beginner design. They are simple, cute, and incredibly versatile. You can create them in any color combination and arrange them in endless patterns.
Step by step guide:
- Apply a base coat and let it dry completely
- Paint your nails with your chosen base color (two thin coats)
- Wait for the base color to dry completely
- Dip your dotting tool into a contrasting polish color
- Gently press the dotting tool onto your nail to create a dot
- Repeat to create your desired pattern
- Let the dots dry and apply a top coat
You can create uniform dots, random scattered dots, or even dot flowers by placing five dots in a circle with a different color in the center.
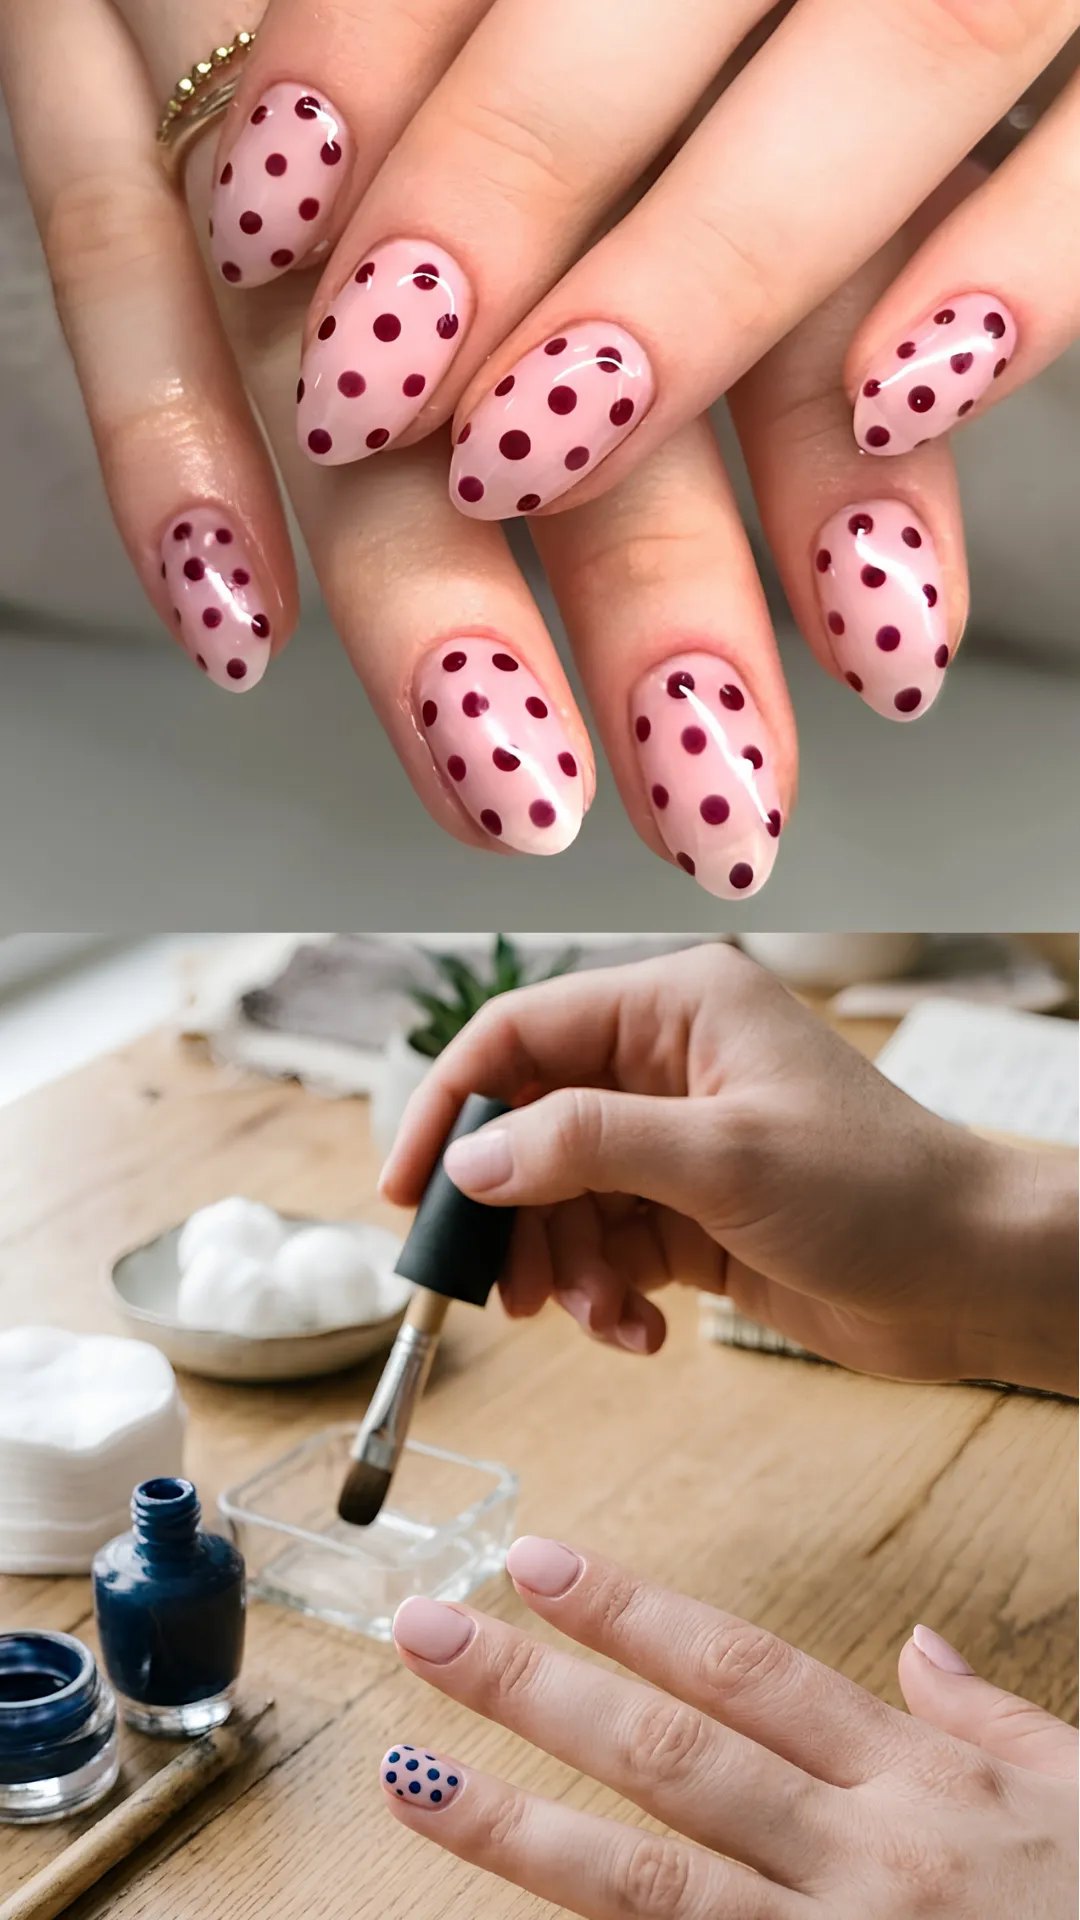
Pro Tip: If you do not have a dotting tool, use the blunt end of a bobby pin. It works perfectly for creating small, even dots.
3. Simple Stripes Using Nail Tape
Stripes are another fantastic design for beginners. They look professional and clean, and nail tape makes them incredibly easy to achieve.
Step by step guide:
- Apply a base coat and your chosen base color
- Let the base color dry completely
- Cut small pieces of nail tape and place them on your nail in your desired stripe pattern
- Paint over the entire nail with your contrasting color
- While the polish is still slightly wet, carefully peel off the tape
- Allow the design to dry completely
- Apply a top coat to seal and protect
You can create horizontal stripes, vertical stripes, diagonal stripes, or even chevron patterns. The possibilities are endless with this simple technique.
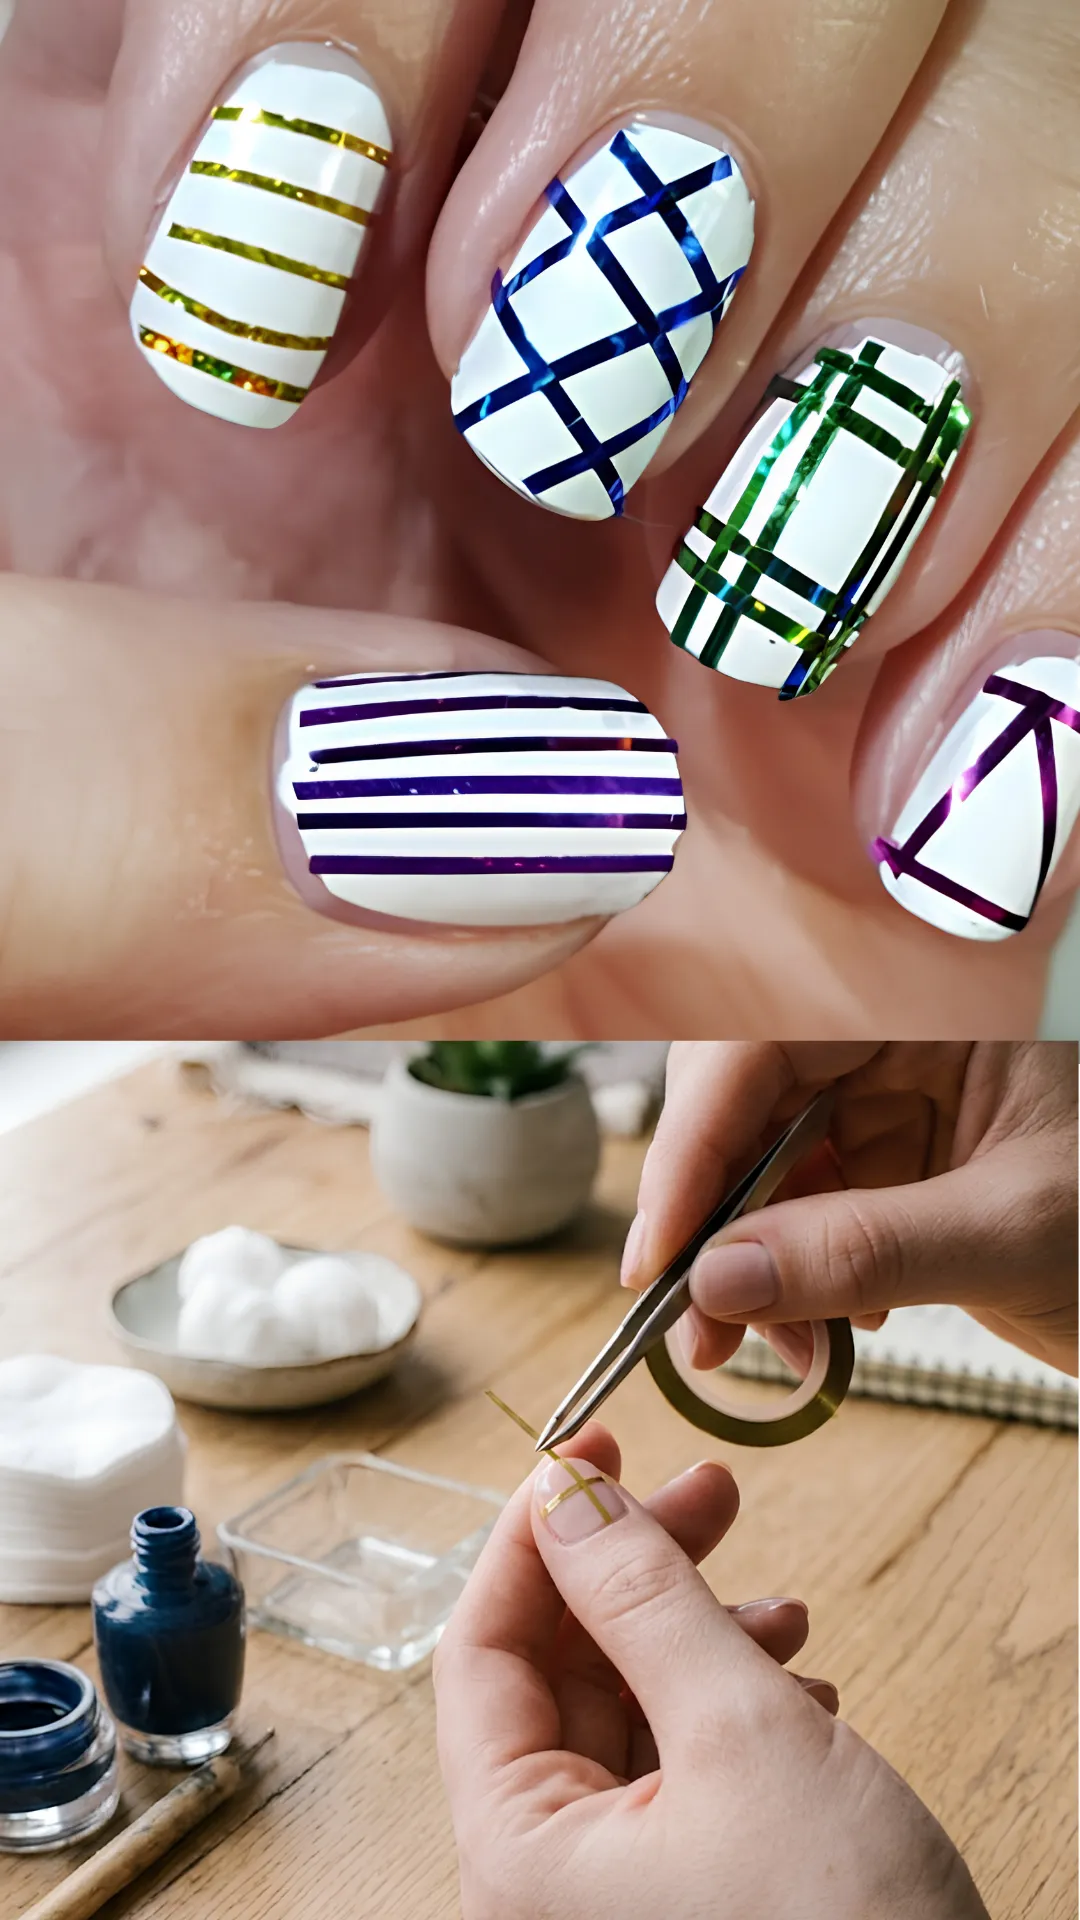
Pro Tip: Remove the tape while the top layer of polish is still slightly wet. If it dries completely, the tape may pull up the polish underneath.
4. Cute Heart Accents
Hearts are adorable and surprisingly easy to create. A single heart on an accent nail adds a sweet, romantic touch to any manicure.
Step by step guide:
- Apply a base coat and your chosen base color
- Let the base color dry completely
- Dip a dotting tool into your contrasting polish
- Place two dots side by side on your nail
- Using a thin brush or toothpick, drag the dots downward to form a V shape
- Fill in the center if needed
- Let the design dry and apply a top coat
You can create hearts on one accent nail or scatter small hearts across multiple nails. They look beautiful in any color combination.
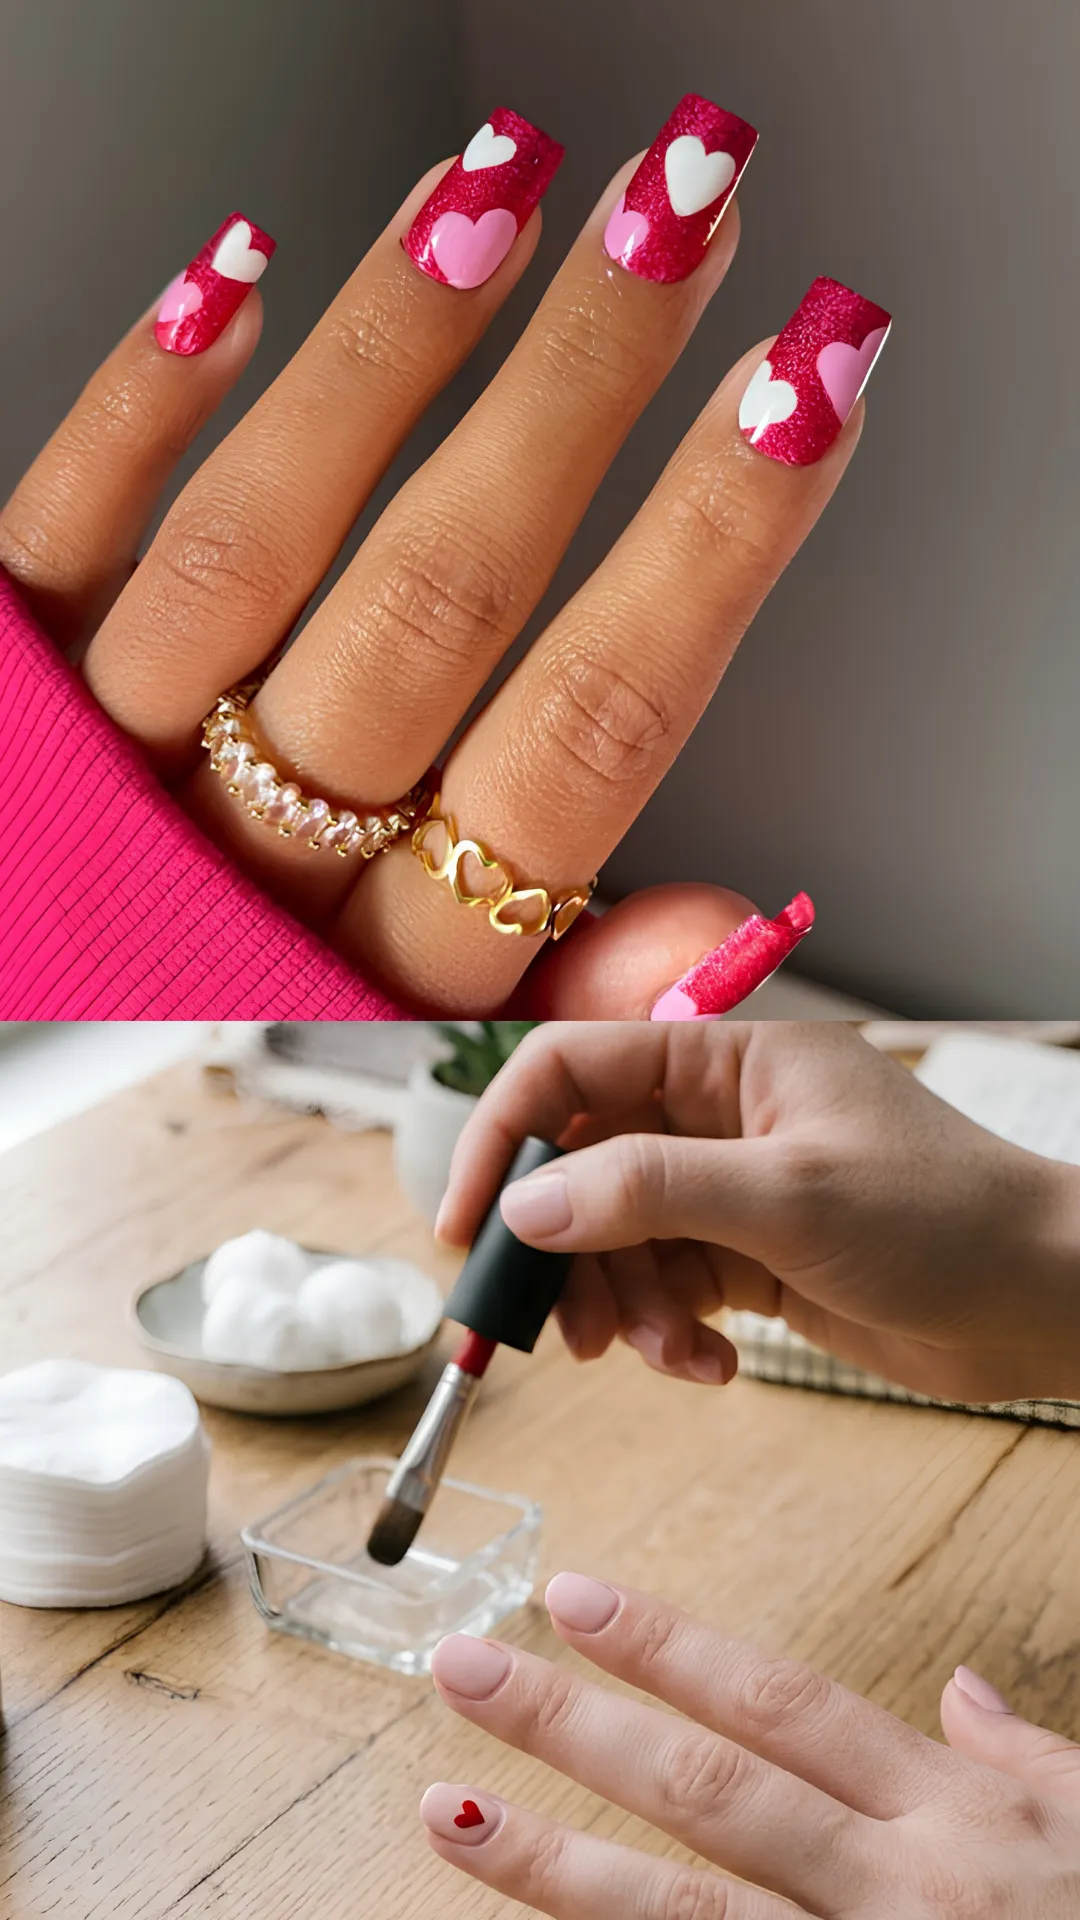
Pro Tip: For perfect hearts, place the two dots close together. The closer the dots, the more defined your heart shape will be.
5. Glitter Gradient Nails
Glitter adds instant glamour to any manicure. A glitter gradient is a beautiful, easy way to incorporate sparkle into your nail art.
Step by step guide:
- Apply a base coat and your chosen base color
- Let the base color dry completely
- Apply a thin layer of clear polish or a glitter base coat to the tip of your nail
- While the clear polish is still wet, use a small brush or sponge to apply loose glitter or glitter polish to the tip
- Build up the glitter for a full coverage gradient or a subtle sparkle
- Let the design dry and apply a thick top coat
Glitter gradients are perfect for special occasions, parties, or anytime you want to add a touch of sparkle to your look.
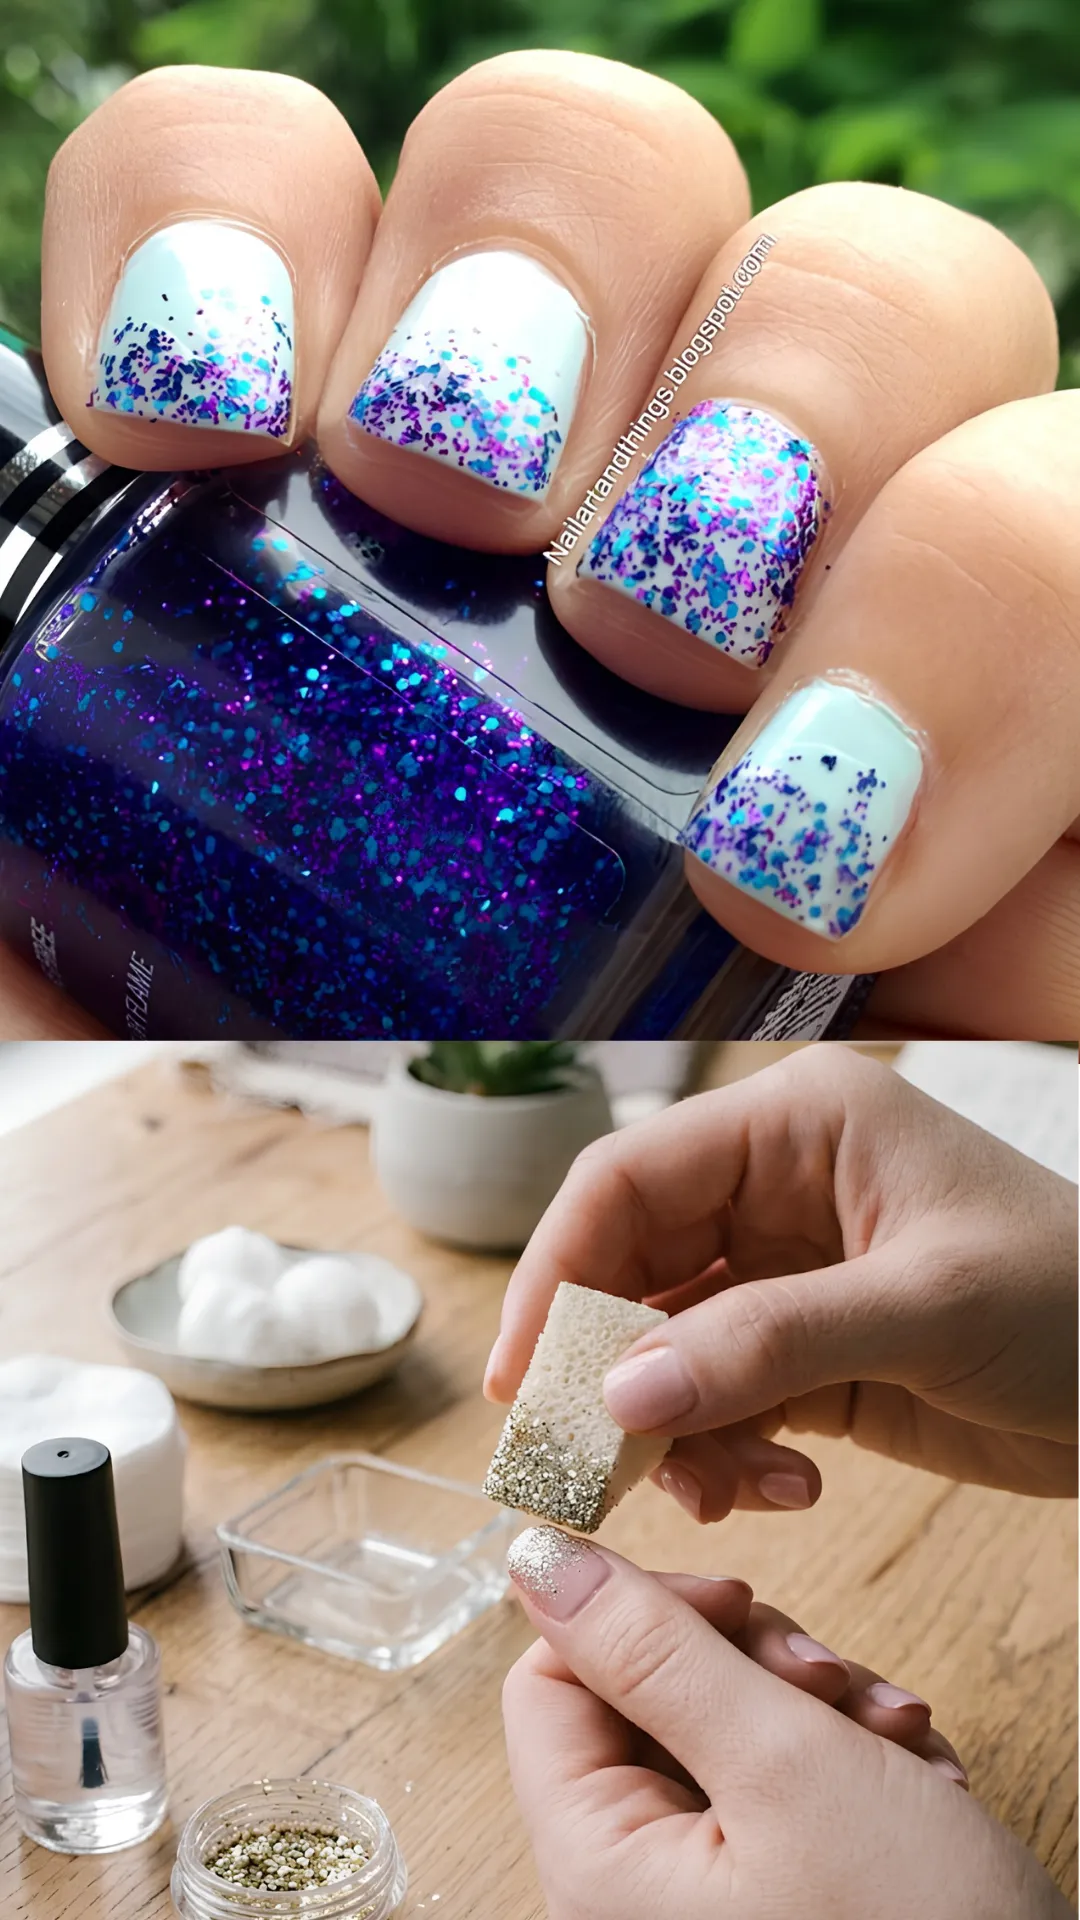
Pro Tip: Use a makeup sponge to dab glitter polish onto your nails. The sponge absorbs excess polish and leaves just the glitter for a perfect gradient effect.
6. Elegant Half Moon Manicure
The half moon manicure is a classic, elegant design that is surprisingly easy to create. It adds a sophisticated touch to any nail shape.
Step by step guide:
- Apply a base coat and let it dry
- Place a hole reinforcement sticker or nail tape at the base of your nail, covering the cuticle area
- Paint over the entire nail with your chosen color
- Allow the polish to dry slightly, then carefully remove the sticker
- Apply a top coat to seal the design
The half moon shape creates a beautiful contrast between the base color and your natural nail or a second color. It is a timeless look that works for any occasion.
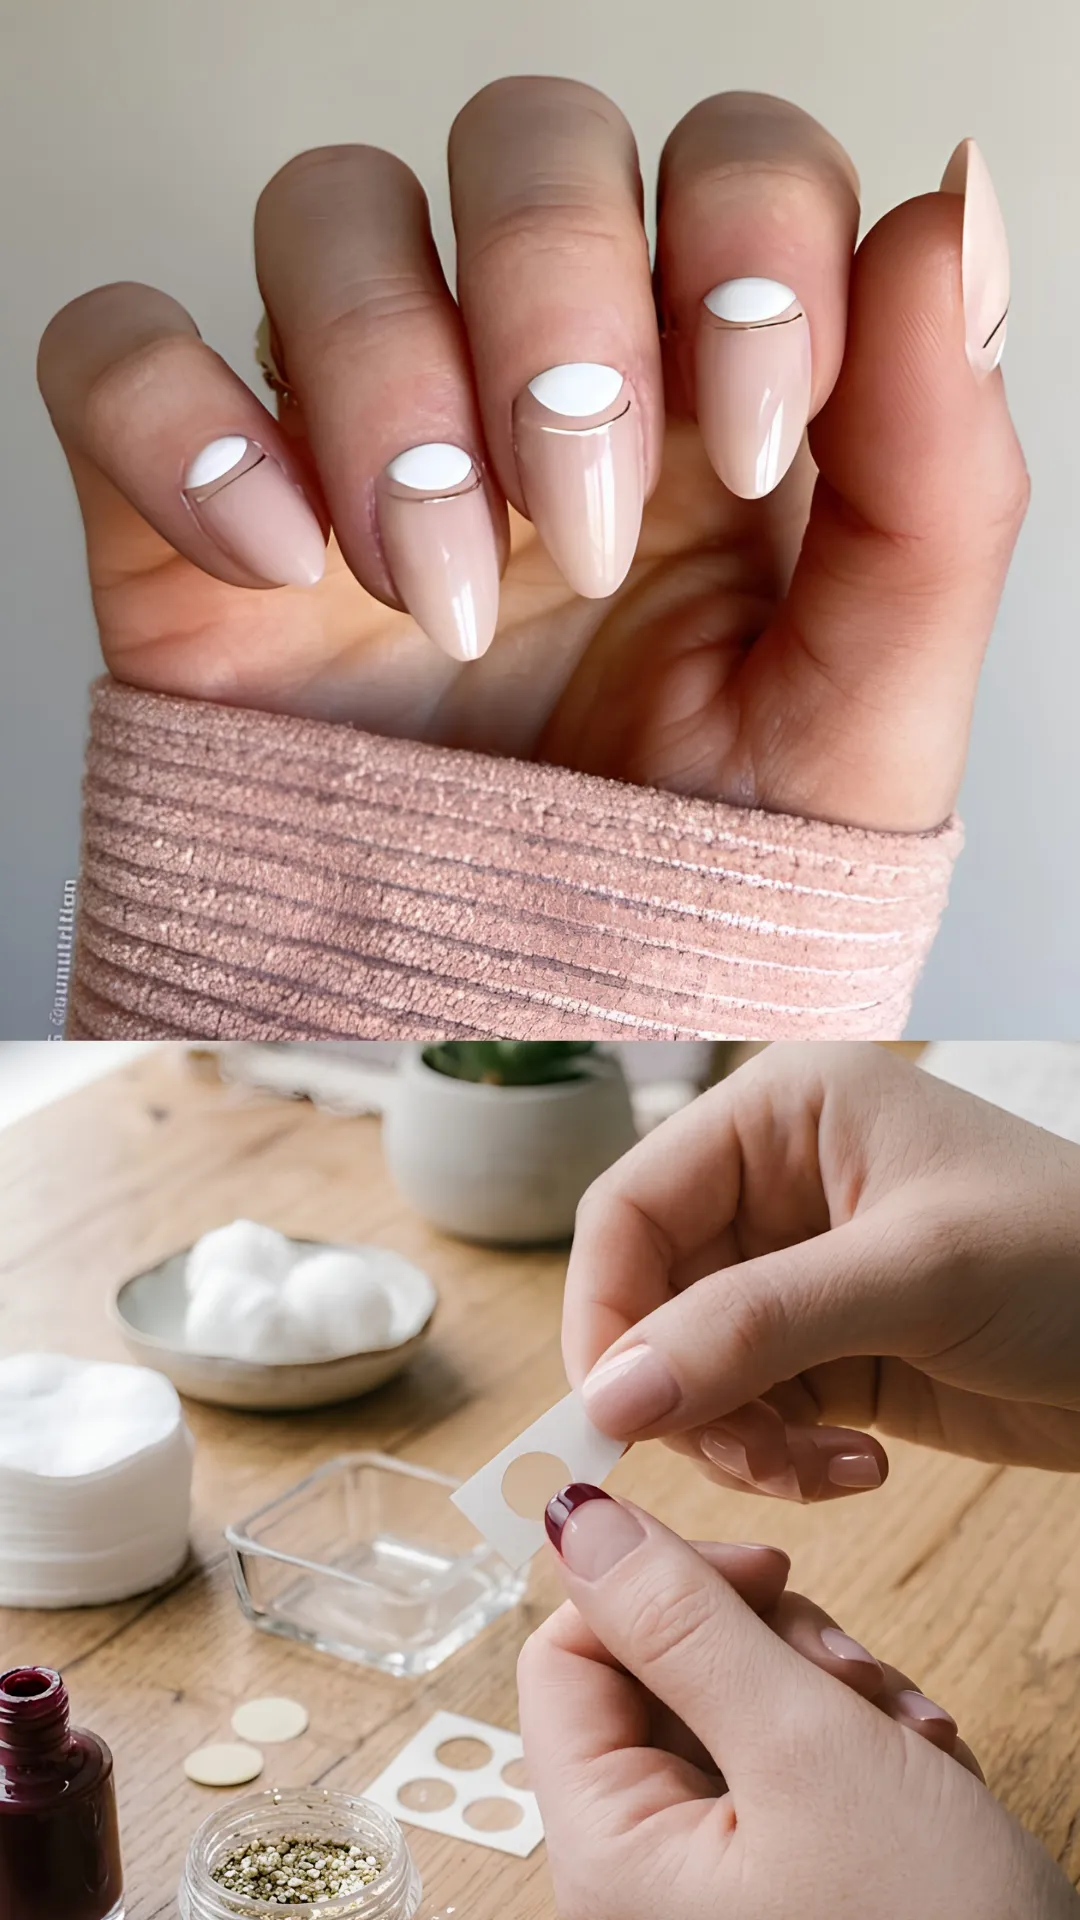
Pro Tip: If you do not have hole stickers, you can use nail tape to create the curved half moon shape. Just cut the tape into a curve and apply it to your nail.
7. Easy Ombre Nails
Ombre nails, also known as gradient nails, are a beautiful, trendy design that is easier than you might think. With a simple sponge technique, you can create stunning gradient effects.
Step by step guide:
- Apply a base coat and let it dry
- Apply your base color to your nails
- Paint two contrasting colors onto a small makeup sponge
- Dab the sponge onto your nail in a rolling motion
- Repeat until you achieve the desired gradient effect
- Clean up any polish on your skin with a cleanup brush
- Let the design dry and apply a top coat
Ombre nails create a beautiful, seamless transition between colors that looks professional and polished.
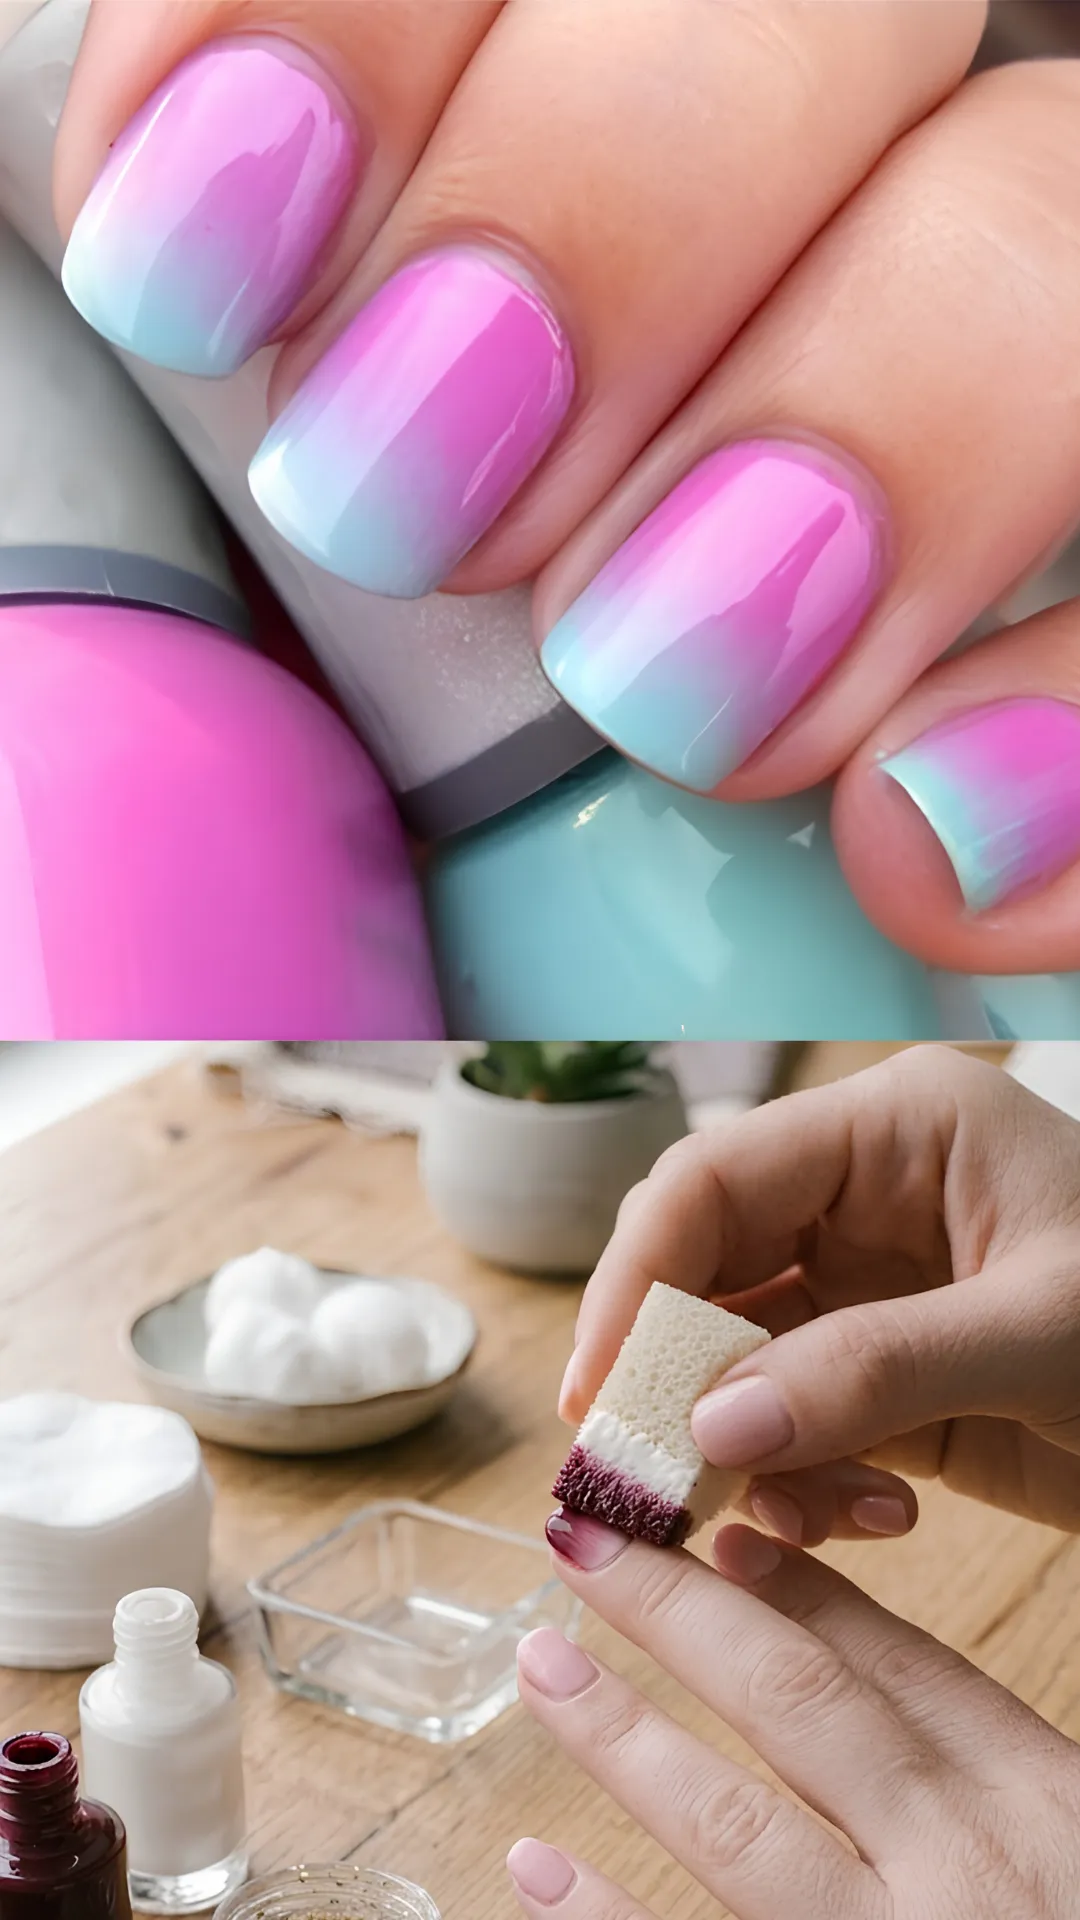
Pro Tip: Dampen your sponge slightly before applying polish. This prevents the polish from soaking into the sponge too much and gives you a smoother gradient.
8. Minimalist Geometric Shapes
Minimalist geometric shapes are trending and surprisingly beginner friendly. Clean lines, triangles, and abstract shapes create a modern, artistic look.
Step by step guide:
- Apply a base coat and your chosen base color
- Let the base color dry completely
- Use nail tape to create geometric shapes on your nail
- Paint over the tape with a contrasting color
- Carefully remove the tape while the polish is still wet
- Let the design dry and apply a top coat
You can create triangles, squares, abstract lines, or any geometric pattern you like. The clean lines create a sophisticated, fashion forward look.
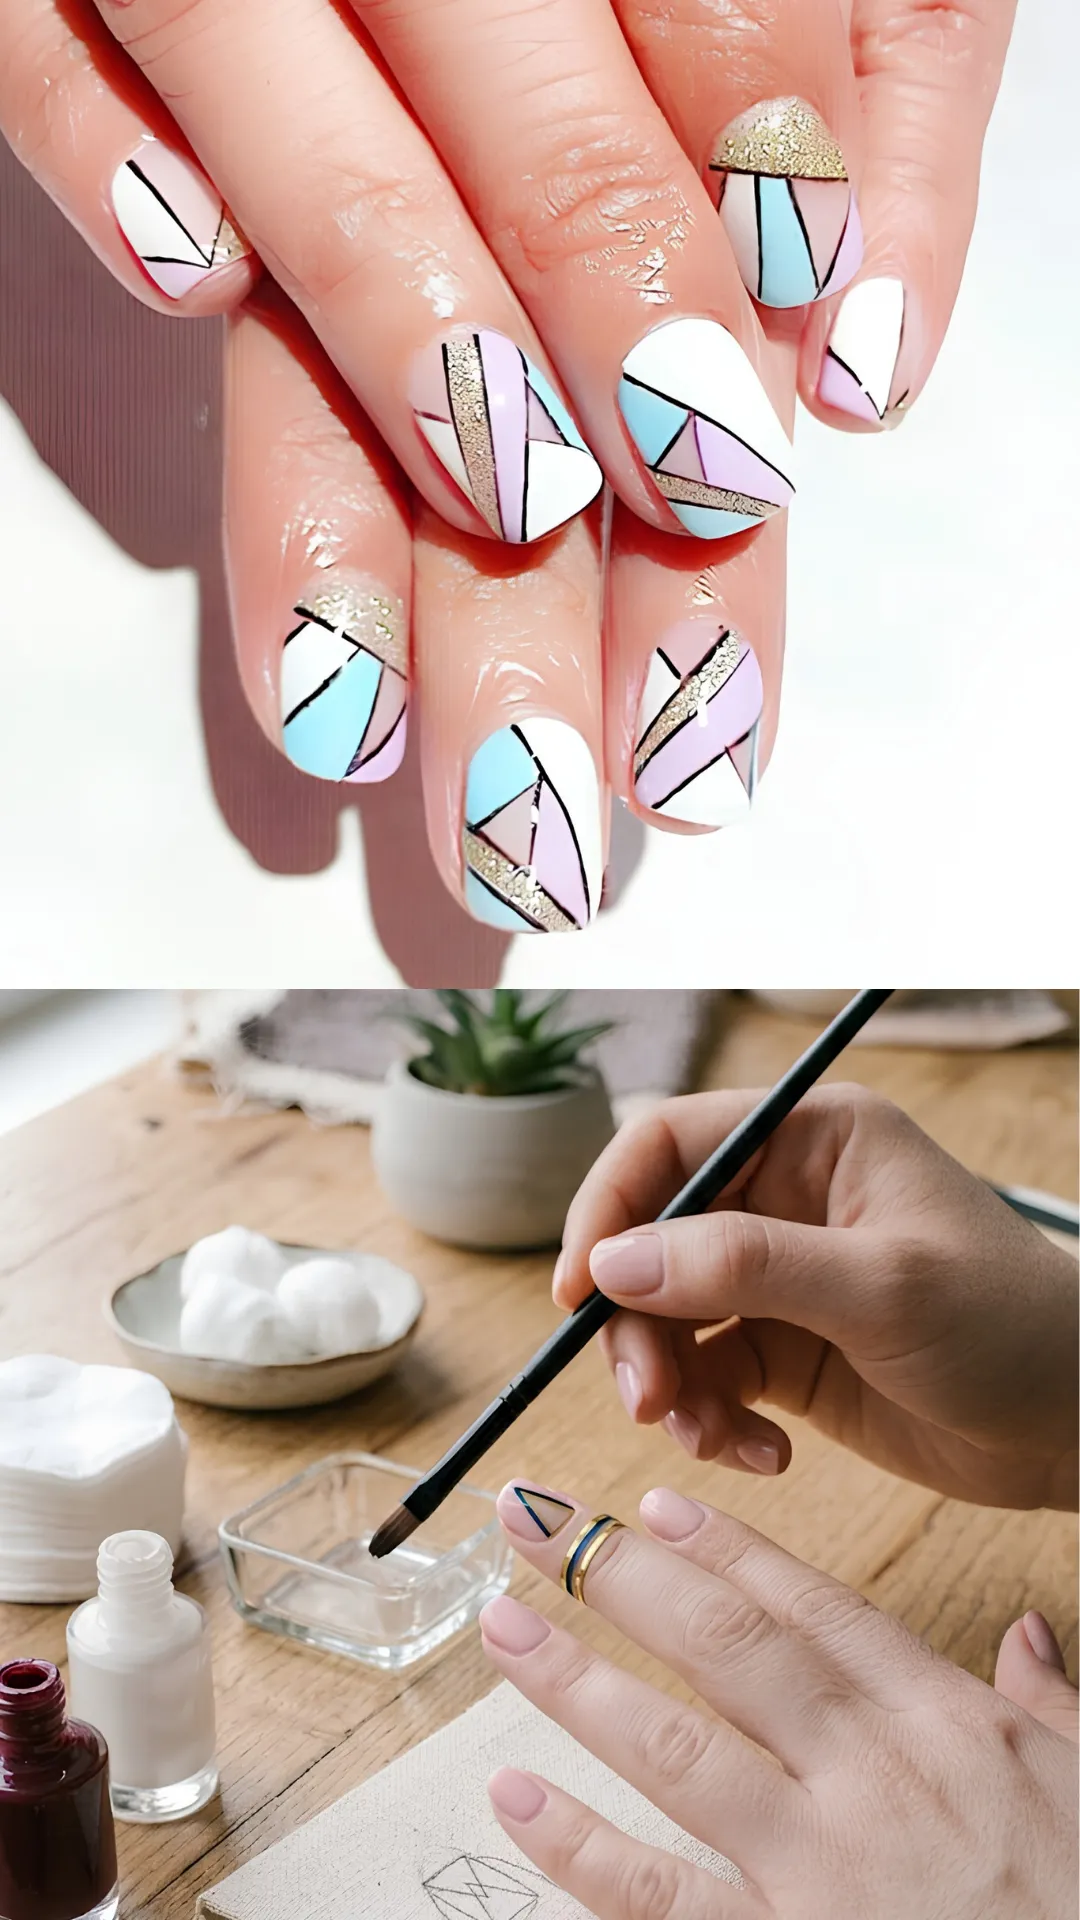
Pro Tip: Sketch your geometric design on paper before applying it to your nails. This helps you plan the placement and avoid mistakes.
9. Fun Marble Effect Nails
Marble nails look complex, but they are actually quite simple to create. This technique uses water or a plastic bag to create beautiful, organic patterns.
Step by step guide (using the plastic bag method):
- Apply a base coat and your chosen base color
- Let the base color dry completely
- Place a few drops of contrasting polish colors on a plastic bag
- Use a toothpick to swirl the colors together
- Press your nail onto the swirled polish
- Gently twist your nail to pick up the pattern
- Clean up any excess polish around your nail
- Let the design dry and apply a top coat
Marble nails create beautiful, one of a kind patterns that look like tiny works of art.
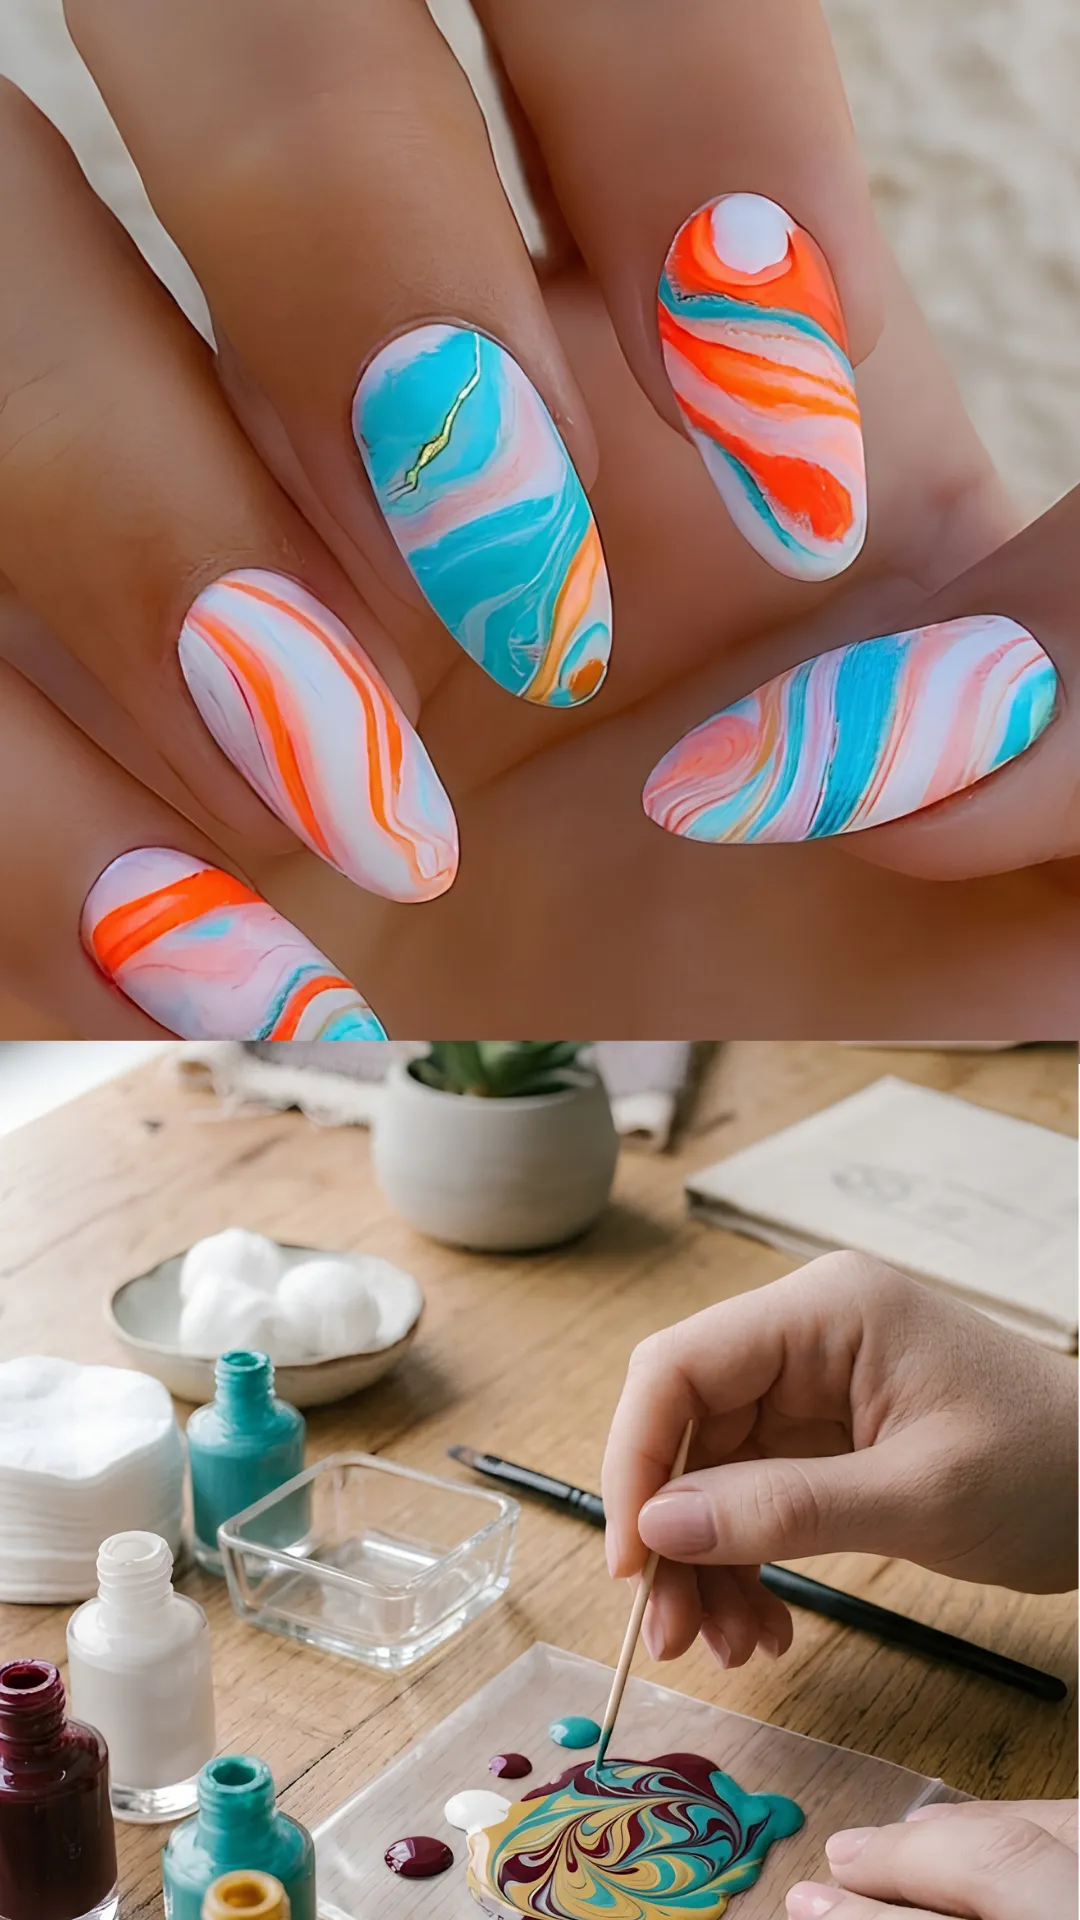
Pro Tip: Work quickly when creating marble nails. The polish starts to dry fast, and you want to pick up the pattern before it sets.
10. Delicate Floral Accents
Flowers are a timeless nail art design, and you can create simple blooms using just a dotting tool. The five dot flower is a beginner favorite.
Step by step guide:
- Apply a base coat and your chosen base color
- Let the base color dry completely
- Using a dotting tool, place five dots in a circle to form petals
- Use a different color to place a dot in the center
- Let the design dry completely
- Apply a top coat to seal
You can create single flowers on accent nails or scatter small blooms across multiple nails. It is a sweet, feminine look that works for any season.
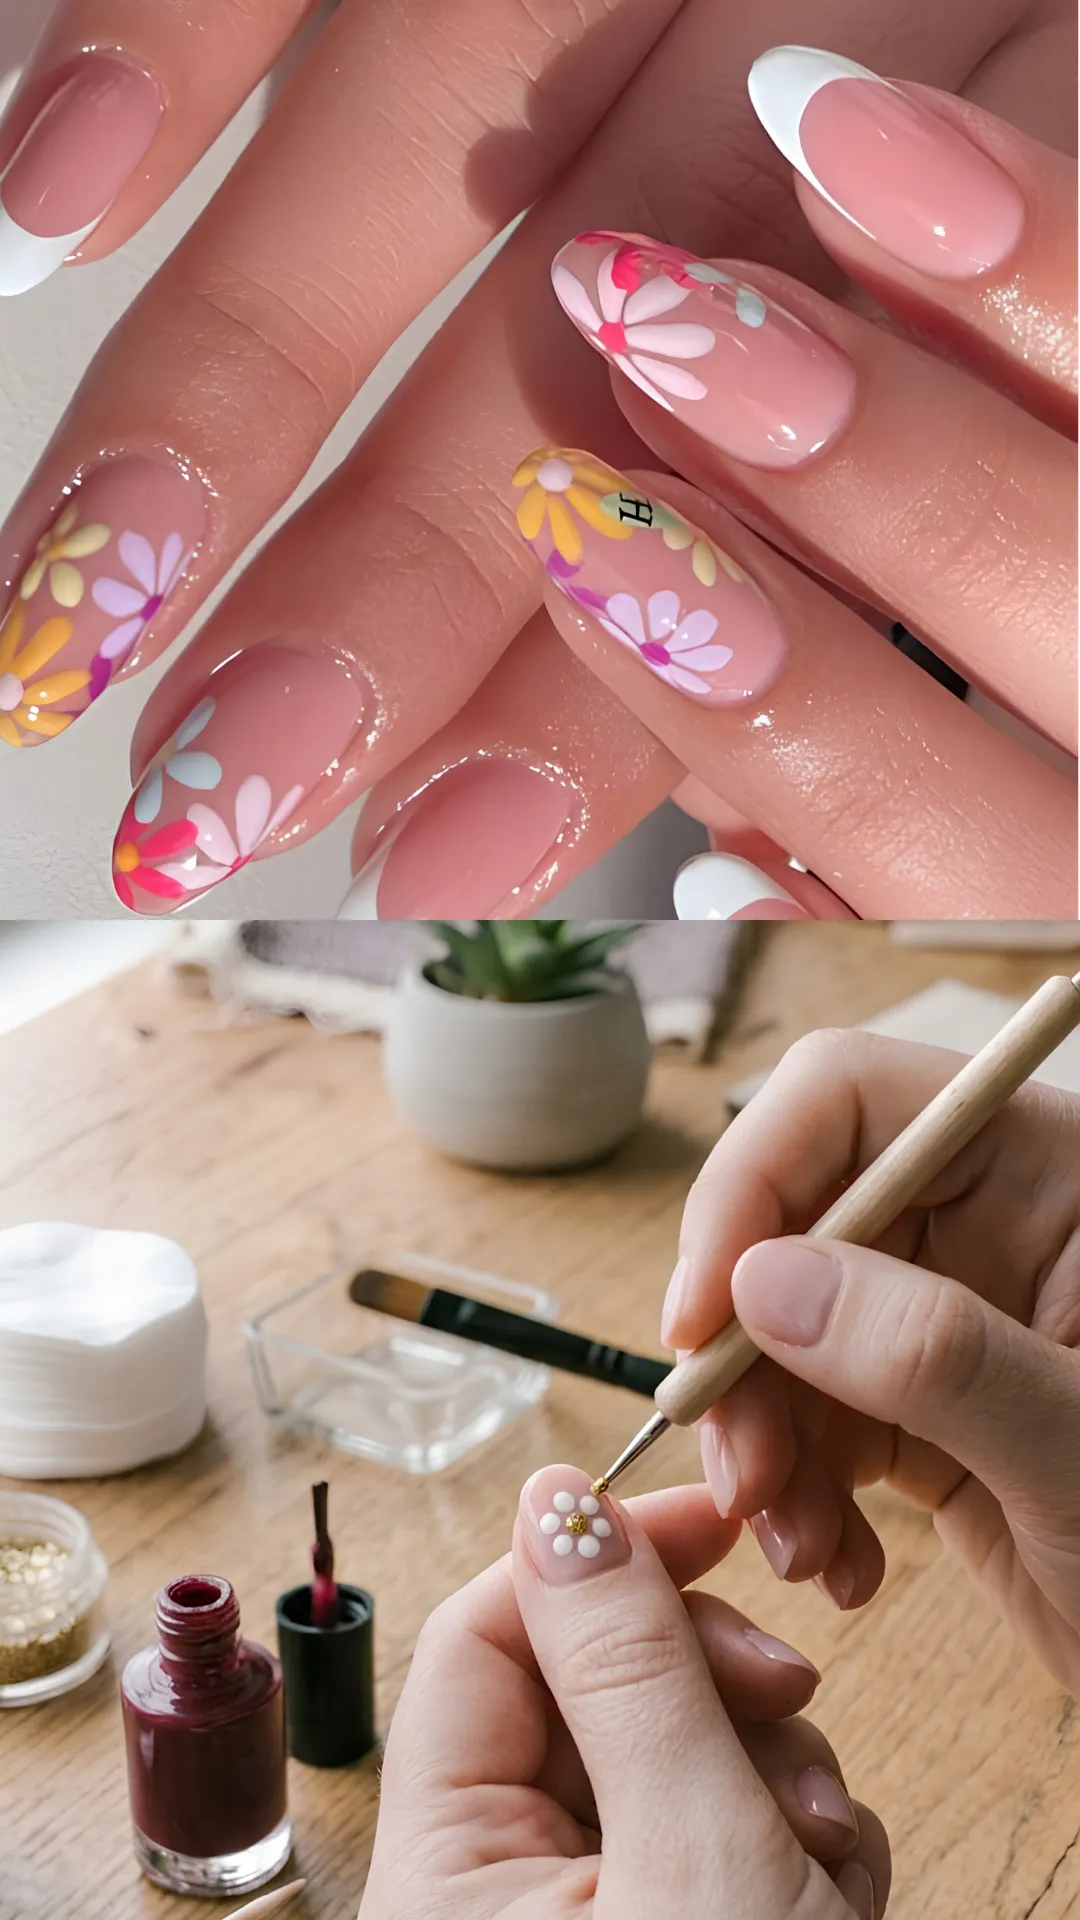
Pro Tip: Use a toothpick to gently drag the dots outward for a more defined petal shape. This creates a more realistic flower effect.
Nail art is a wonderful way to express your creativity and have fun with your style. With this Easy Nail Art Tutorial Step by Step for Absolute Beginners – Start Your Journey Today, you have everything you need to start creating beautiful designs right away. Remember, practice makes progress. Do not be afraid to make mistakes, they are all part of the learning process.
Ready to take your nail art skills further? Visit my website for more tutorials, tips, and product recommendations to help you create stunning nails at home. I would absolutely love to see your beginner creations, so share them with me on social media and let us celebrate your nail art journey together.
Starting your nail art journey? Easy Nail Art Tutorial Step by Step for Absolute Beginners covers 10 simple, beautiful designs anyone can create. From polka dots to ombre, learn foolproof techniques with step by step guides. Save this pin for your next DIY session. #EasyNailArt #NailArtForBeginners #StepByStepTutorial #DIYNails #BeginnerNailArt #NailArtTips
Table of Contents
You might also Like:15 Bold Black Nail Art Inspo for the Edgy Girl in You – Dark, Daring & Stunning!

