
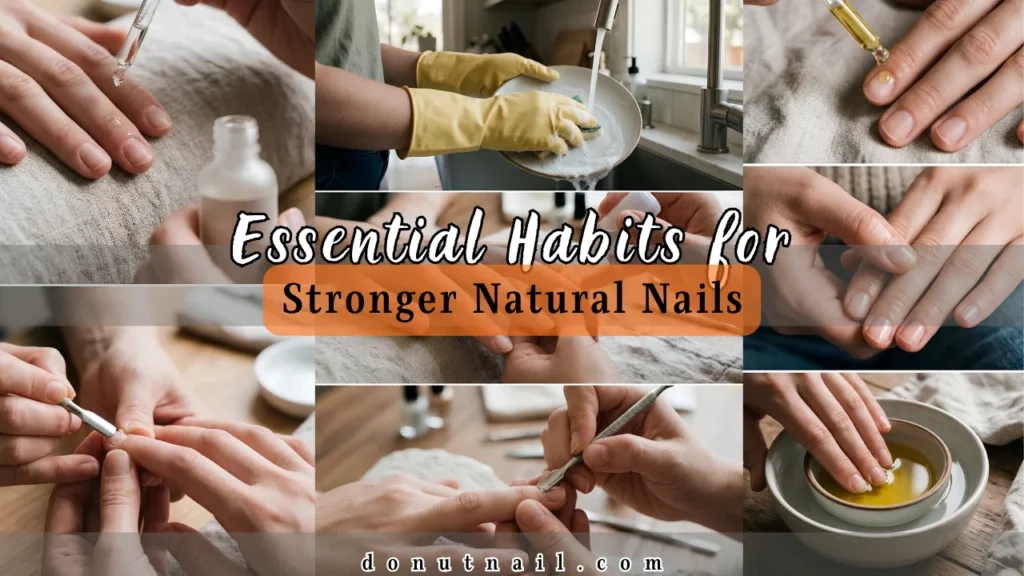
Transform weak, peeling nails with essential habits for stronger natural nails. Discover pro tips on hydration, filing, water defense, and gentle care.
If you have ever dealt with nails that split the moment they reach the tip of your finger, peel in delicate layers like pastry, or bend backward at the slightest impact, you know how discouraging natural nail care can feel. Many people assume that strong nails are purely a matter of good genetics or that the only path to durable, polished hands is hiding under layers of acrylic or hard gel.
While genetics and overall health certainly play a background role, the daily physical environment you expose your hands to has a far greater impact on your nail strength. Natural nails are remarkably resilient structures when given the right care, but they are also vulnerable to common daily habits: hot water, household cleaners, rough filing, and aggressive cuticle trimming.
Achieving stronger natural nails is not about finding an overnight miracle product or painting on coats of rock-hard lacquer that makes nails snap on impact. True nail strength is a balance of structural integrity and natural flexibility. When a nail is healthy, it bends slightly under pressure and bounces back instead of shattering.
By building a handful of consistent, mindful habits into your daily routine, you can break the cycle of breakage, rehabilitate damaged nail beds, and grow strong, beautiful natural nails that hold manicures with ease.
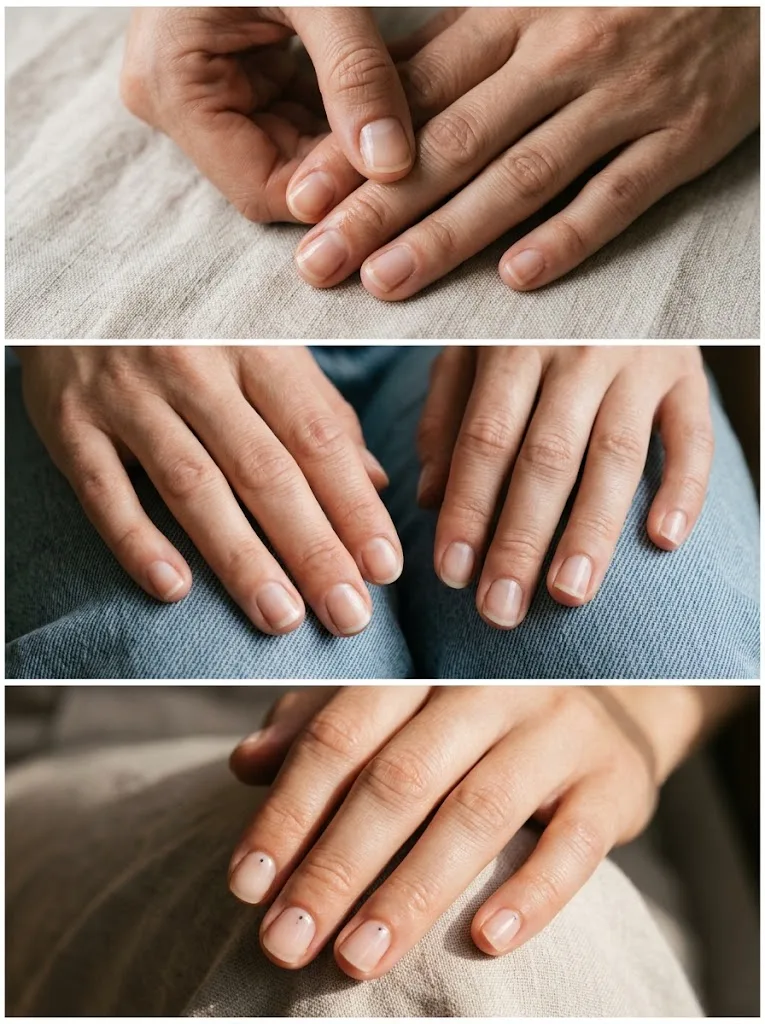
Understanding Natural Nail Anatomy: The Secret to True Resilience
To build stronger natural nails, it helps to understand what you are actually working with. A natural nail is not an impermeable piece of bone or a solid sheet of calcium. Instead, the nail plate is made of roughly 25 to 30 flattened layers of compacted, dead keratin cells bound together by natural intercellular lipids, oils, and a modest amount of water.
These layers resemble the structure of fine plywood. When plywood is well-glued, dry, and balanced, it is exceptionally durable. But if you soak plywood in water, expose it to harsh solvents, or pry at its edges, the glued layers separate. This separation is exactly what happens when your nails peel at the tips—a condition known professionally as delamination.
Nails grow outward from the matrix, which sits hidden beneath the skin just behind your cuticle. Because the visible nail plate is dead tissue, it cannot heal itself like living skin. You cannot “repair” a severed nail cell; you can only protect the cells currently growing, preserve the existing layers from structural breakdown, and nurture new growth at the matrix level.
Real strength means resilience: a nail that has enough moisture and lipid content to flex under daily stress without snapping, and enough structural integrity to resist peeling apart.
Habit 1: Master the Water Defense
Water feels gentle, but it is one of the most destructive everyday elements for natural nails.
The nail plate is extremely porous—significantly more porous than your skin. When exposed to water, a healthy nail can absorb up to thirty percent of its own weight in moisture. As water floods the spaces between the keratin layers, the nail plate expands and softens dramatically.
When your hands dry, that water evaporates, causing the nail plate to shrink back down. This repetitive cycle of swelling and contracting is called the expansion-contraction cycle. Over time, it weakens the natural lipid bonds holding the keratin layers together. The result is brittle, dry nails that peel at the free edge and snap under minimal friction.
Wear Lined Gloves for All Household Chores
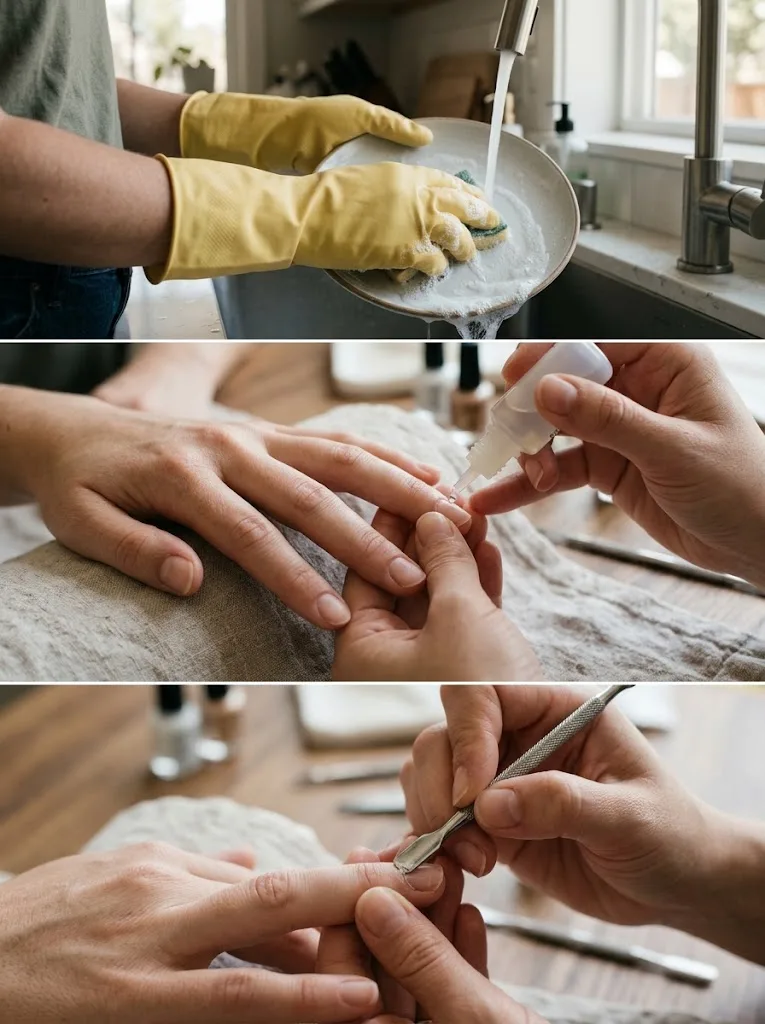
The simplest and most effective habit you can adopt for natural nail health is wearing protective gloves whenever your hands come into contact with water and detergents.
- Washing dishes: Dish soaps are formulated to strip grease and oils, meaning they strip away the essential lipids from your nail plate in seconds.
- Cleaning surfaces: Household disinfectants and cleaning sprays break down nail coatings and dry out the surrounding skin.
- Gardening and heavy scrubbing: Gloves prevent mechanical friction, abrasive contact with soil, and dirt from getting wedged beneath the free edge.
Keep a pair of cotton-lined rubber or nitrile gloves right by the kitchen sink and inside your cleaning caddy. Making this an automatic habit will instantly reduce edge peeling.
Avoid Extended Soaking Manicures
Traditional salon manicures often start with soaking your fingers in a bowl of warm, soapy water to soften the cuticles. While this feels relaxing, it is one of the worst things you can do to your nails immediately before applying polish.
When nails soak, they expand into a flatter, wider shape. If base coat and polish are applied over a waterlogged nail plate, the polish adheres to that swollen shape. Hours later, as the water slowly evaporates, the nail plate contracts back to its natural, curved C-curve. The rigid polish cannot shrink with the nail, which causes the polish to crack, chip, and lift within twenty-four to forty-eight hours.
Switch entirely to waterless manicures. Cleanse your hands, apply a targeted liquid cuticle remover, and keep the nail plate dry before painting.
Related article: https://donutnail.com/10-nail-art-hacks/
Habit 2: Make Daily Oil Soaking and Cuticle Hydration Non-Negotiable
If water is the enemy of natural nail strength, oil is its greatest ally.
When nails are dry, their keratin layers become stiff and brittle. Think of a dry autumn leaf versus a fresh, pliable green leaf. If you step on a dry leaf, it crumbles into pieces; if you step on a green leaf, it bends without breaking. Keeping your nails infused with the right lipids gives them the pliability they need to withstand daily impacts.
Why Jojoba Oil Is the Gold Standard
Not all oils penetrate the dense keratin of the nail plate equally. Heavy oils like mineral oil or thick plant butters are wonderful for sealing surface moisture onto the skin, but their molecular structures are too large to pass deep into the nail plate.
Jojoba oil is chemically unique because it is technically a liquid polyunsaturated wax ester. Its molecular profile closely resembles the natural sebum produced by human skin. Because of this small molecular size, jojoba oil can actually penetrate between the flattened keratinocytes of the nail plate, carrying hydration deep into the structure and restoring flexibility from within.
When shopping for nail treatments, look for pure, cold-pressed jojoba oil or oil blends where jojoba, squalane, and sweet almond oil appear at the top of the ingredient list.
How to Apply Cuticle Oil for Maximum Results
Applying oil once a week during a manicure will not transform weak nails. Consistency is what yields real change:
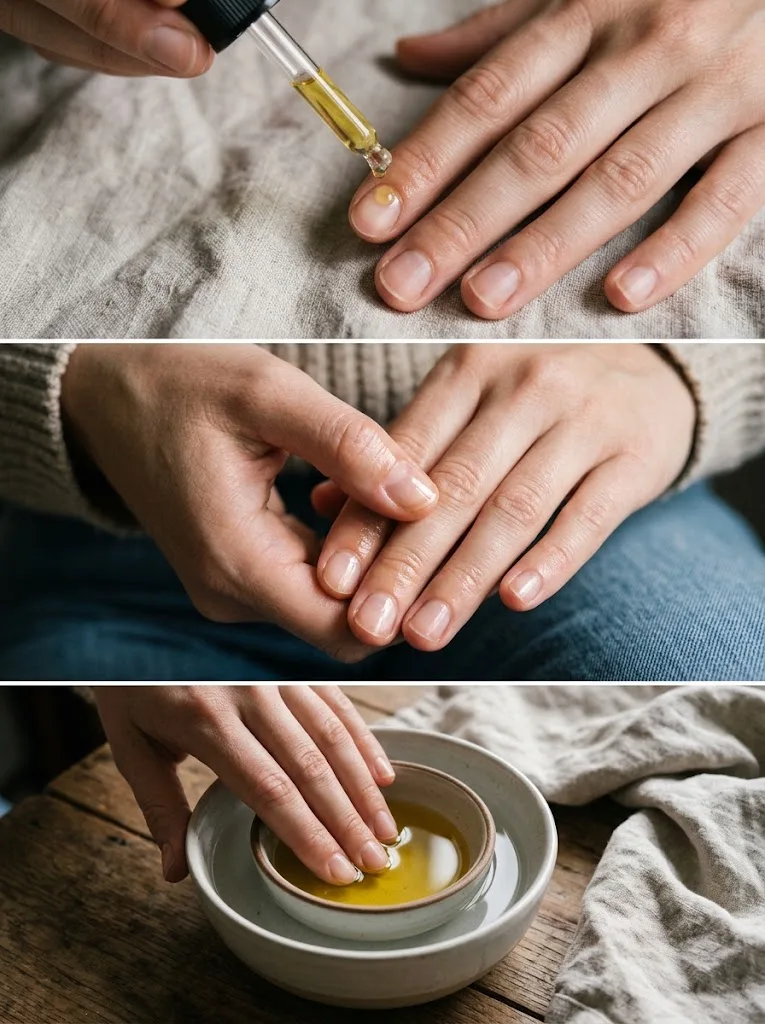
- Keep a dropper bottle or a refillable brush pen at your desk, on your nightstand, and in your handbag.
- Dispense a tiny drop of oil along the base of each nail bed.
- Massage the oil thoroughly into the proximal nail fold, the lateral sidewalls, the nail plate, and crucially, underneath the free edge where the hyponychium sits.
- Aim for at least twice daily—once during the day and once right before you go to sleep so the oil has hours to absorb without being washed away.
The Warm Oil Soak Routine for Damaged Nails
If your nails are recovering from recent enhancement removal or severe peeling, a weekly warm oil soak provides intensive conditioning:
- Pour a few tablespoons of jojoba oil into a small, heat-safe dish.
- Place that dish inside a larger bowl of warm water for a few minutes to gently warm the oil (never microwave the oil directly to dangerous temperatures).
- Soak your bare fingertips in the warm oil for ten to fifteen minutes.
- Massage the excess oil into your hands and forearms rather than washing it off.
Habit 3: Mindful Filing and Edge Architecture
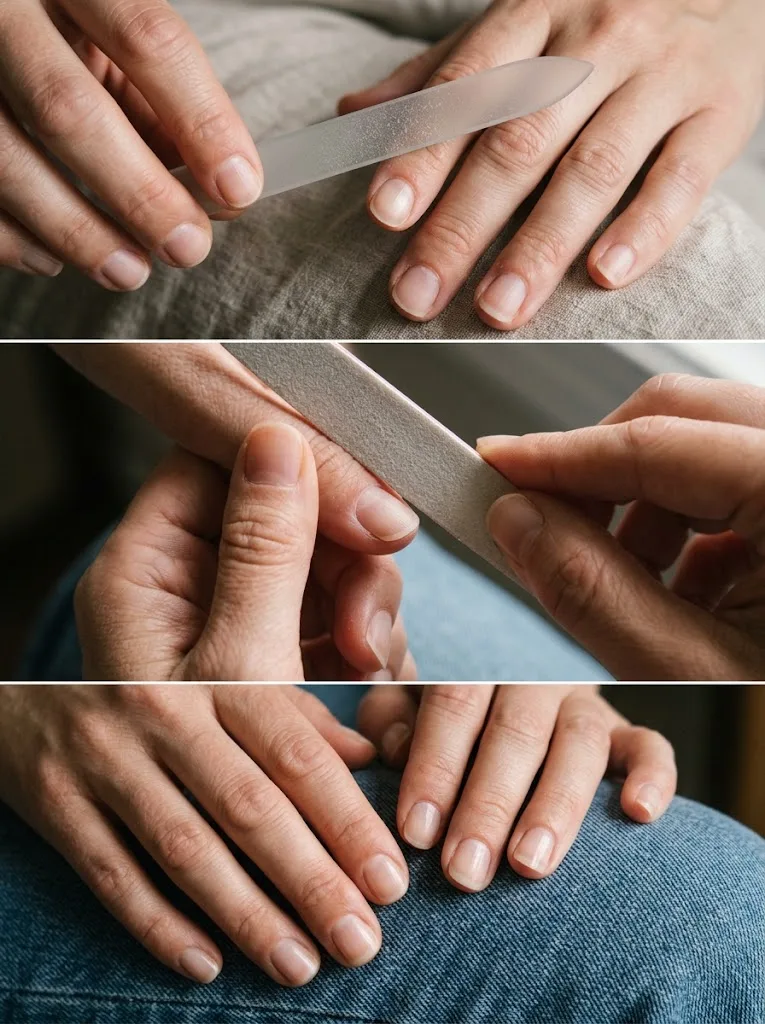
Filing seems straightforward, but improper technique is a primary cause of micro-fractures, side tears, and ragged free edges. The tool you choose and the angle you hold it at determine whether you are sealing your nail edge or shredding it.
Choose Glass or High-Grit Files
Throw away coarse metal nail files and cheap, sandpaper-like emery boards with grit ratings below 180. These abrasive tools act like miniature saws, tearing through the delicate keratin layers and leaving microscopic, jagged frays along the edge that quickly turn into chips and splits.
Instead, invest in a genuine etched-glass (crystal) nail file or a high-grit cushioned file (240 grit or higher):
- Etched glass files: The abrasive surface is chemically etched into the glass itself rather than glued on as rough grit. They grind the keratin down into an ultra-fine dust, sealing the keratin edges together as you file.
- 240-grit cushioned files: These provide gentle, flexible control that prevents taking off too much length at once and avoids stressing the sidewalls.
The Correct Filing Technique
- File only on dry nails: Never file your nails fresh out of the shower or after washing your hands. Saturated nails are too soft, making edge tearing much more likely.
- Move in one fluid direction: Avoid aggressive, back-and-forth sawing motions across the tip. Sawing separates the dorsal and ventral layers of the nail plate. Instead, file from the outer edge toward the center in smooth, light, unidirectional strokes.
- Check the underside: After filing, run your finger pad gently under the tip of the nail. If you feel any thin, ragged “hairs” of loose keratin clinging to the underside, hold your file at a slight 45-degree angle beneath the edge and buff them away in one gentle, upward stroke.
Shape for Strength: Squoval vs. Round
The architectural shape of your free edge dictates how your nails disperse mechanical stress:
- Soft Squoval: Features a straight horizontal edge with softly rounded, curved corners. This is widely considered the strongest natural nail shape because the straight free edge reinforces the lateral stress points where nails most frequently tear.
- Soft Round: An oval or round perimeter is ideal for shorter nails and people who work with their hands. Because there are no distinct corners to catch on fabrics or surfaces, rounded nails experience fewer snagging accidents.
- Avoid aggressive tapers: Pointed stilettos or sharp coffins filed into natural nails remove the critical structural support from your sidewalls, which makes breaks almost inevitable as the nail grows past the fingertip.
Related article: https://donutnail.com/15-bold-black-nail-art/
Habit 4: Treat Your Nails as Jewels, Not Tools
Most broken nails do not happen because the nail suddenly became weak; they happen because we unconsciously subject our hands to leverage stress they were never designed to handle.
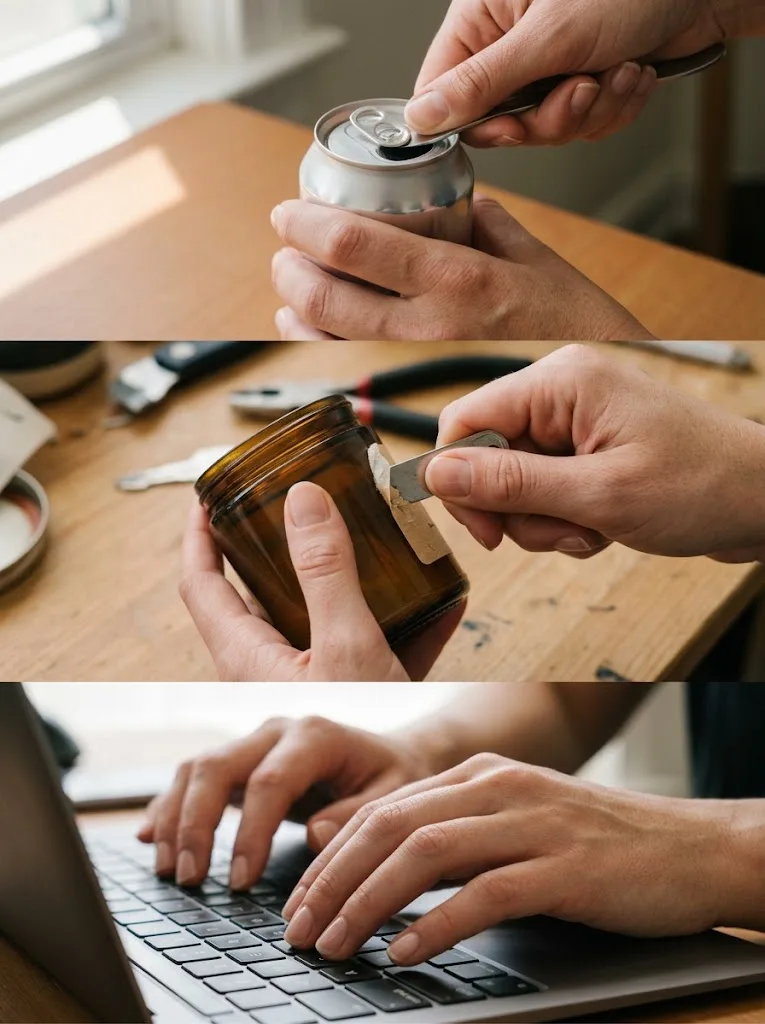
Every time you use your fingernail to pry open a soda can, peel a price tag off glass, scrape dried food off a pan, or untie a tight knot, you apply extreme pressure directly against the nail’s lateral stress points. Even if the nail does not snap immediately, that leverage creates microscopic stress fractures across the nail bed that will give way days later during a mundane task.
Adopt these simple physical swaps:
- Use the pad of your finger or the side of your knuckle to press elevator buttons and light switches.
- Use a butter knife, a coin, or a spoon handle to pop open soda can tabs.
- Keep a small utility blade or scraper handy for opening boxes and peeling labels.
- Type on mechanical keyboards and phone screens using the flat pads of your fingers rather than tapping with the tips of your nails.
Being mindful of how you use your hands throughout the day is often the single change that allows people to finally grow their natural nails past their fingertips.
Habit 5: Safe Cuticle Management
Few beauty topics are plagued by as much misunderstanding as cuticles. Much of the damage done to natural nails happens during well-intentioned but improper cuticle trimming.
Eponychium vs. True Cuticle: The Critical Difference
To care for this area safely, you must know the anatomical difference between living skin and dead tissue:
- The Eponychium: This is the visible, living rim of skin that frames the base of your nail plate. Its biological job is vital: it forms a waterproof, protective seal that shields the underlying nail matrix from bacteria, fungal spores, and irritants. Never cut, trim, or nip the eponychium. Cutting living skin triggers a natural defense response, causing the body to grow back thicker, calloused, and often ragged tissue.
- The True Cuticle: This is the thin, translucent, silvery layer of dead cellular tissue that sheds from the underside of the eponychium and rides forward on the surface of the growing nail plate. This dead tissue can and should be gently cleared away, as polish cannot bond to it and will lift prematurely if painted over.
How to Safely Clear the True Cuticle
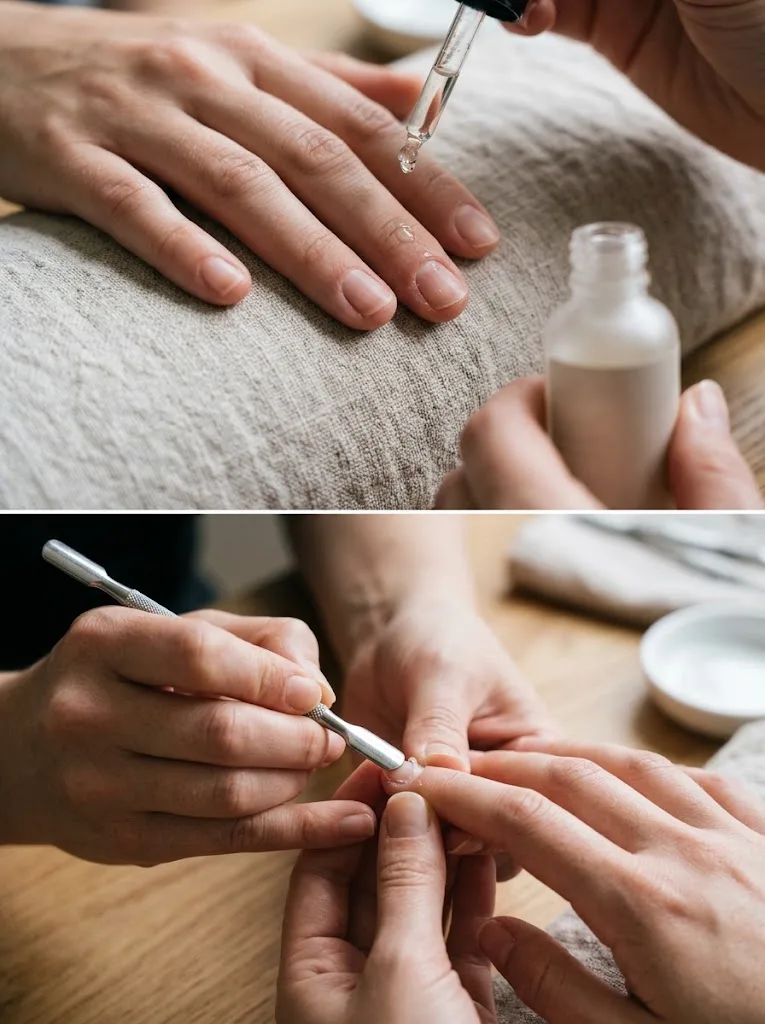
- Apply a few drops of liquid cuticle remover containing potassium hydroxide or alpha hydroxy acids to the base of clean, dry nails. Let it sit for 60 seconds to soften the dead protein build-up.
- Take a rounded stainless-steel cuticle pusher or an orangewood stick wrapped in a sliver of cotton. Hold the tool at a flat, 45-degree angle against the nail plate.
- Gently nudge the dead, gummy residue backward toward the skin fold, skimming across the surface of the nail plate without scraping down into the keratin.
- Wipe the residue away with a damp washcloth or lint-free pad.
- Inspect the area: only use a sanitized cuticle nipper to snip away loose, dead, transparent hangnails that are already detached and catching on clothing. Leave all living borders completely untouched.
Related article: https://donutnail.com/short-nail-art-designs/
Habit 6: Strategic Polishing and Safe Product Removal
There is a widespread myth that natural nails need to “breathe” and that keeping them bare is always healthier. In reality, nails are made of dead keratin cells and do not have lungs or a respiratory system; they receive all of their oxygen and nutrients internally through the blood supply feeding the matrix.
Leaving your nails completely bare often exposes them to more environmental damage, especially from water absorption. A well-applied coat of regular nail polish acts like a protective raincoat, shielding the nail plate from water exposure and providing physical reinforcement against everyday bending.
The danger is not the polish itself—it is how the polish is removed.
Acetone vs. Non-Acetone Removers
Acetone is unmatched at dissolving lacquer quickly, but it is also a powerful solvent that strips natural oils and moisture from the nail plate and surrounding skin.
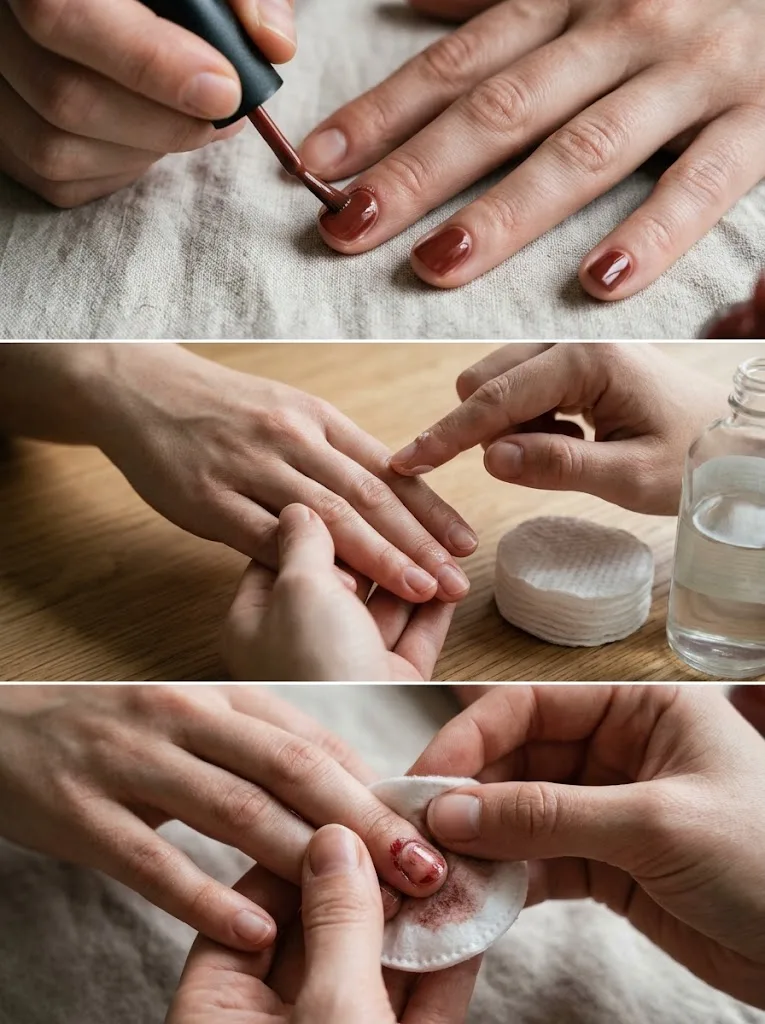
- For regular lacquer: Consider using an acetone-free remover enriched with glycerin or oils for routine polish changes. It takes slightly more friction to dissolve dark pigments, but it does not aggressively strip the nail’s natural moisture barrier.
- When you do use pure acetone: If removing glitter, gel polish, or stubborn formulas, use pure acetone rather than letting your nails sit in low-strength removers for extended periods. The key is to prep and replenish: apply a protective layer of petroleum jelly to the surrounding skin before removal, and immediately follow up with a generous soak in jojoba oil once the polish is gone.
Never Peel, Scrape, or Pry Off Polish
If your nail polish or gel begins to lift at the edge, resist the urge to peel it off. When polish adheres to the nail, it anchors tightly to the outermost dorsal layers of keratin. Peeling off lifted polish literally tears those top layers of keratin cells away with it, leaving white, pitted, thinned patches across the nail plate.
If polish chips, remove it properly with a solvent-soaked cotton pad held firmly against the nail for fifteen seconds before wiping away cleanly.
The Truth About Nail Hardeners: When They Help and When They Hurt
When natural nails feel weak, the instinctive reaction is to buy a commercial “nail hardener” or “strengthener.” However, these products are among the most misunderstood tools in nail care and frequently make the problem worse if used incorrectly.
The Problem with Chemical Cross-Linkers
Many traditional nail hardeners contain ingredients like formaldehyde, formalin, or methylene glycol. These chemicals work by artificially cross-linking the keratin proteins in your nail plate, forcing the cells to lock tightly together.
In the short term, this makes a bendy nail feel impressively rigid. But over time, excessive cross-linking robs the nail plate of its natural, necessary elasticity. The nail transforms from flexible keratin into something resembling brittle glass: it feels very hard, but the moment you bump it against a tabletop or counter, it shatters cleanly across the stress line.
Choosing the Right Strengthening Treatment
Instead of reaching for aggressive hardening formulas, look for treatments tailored to your nail’s actual deficiency:
- For soft, flimsy nails that bend like paper: Look for gentle protein or calcium-infused treatments used sparingly for two to three weeks to rebuild temporary structural support. Once the nails feel stable, transition back to regular base coats and daily oiling.
- For dry, brittle nails that snap and peel: Avoid hardeners entirely. Your nails do not need more rigidity; they need hydration and flexibility. Focus exclusively on jojoba oil treatments, hydrating base coats, and protective ridge fillers.
- Ridge-filling base coats: These contain fine minerals or silk fibers that settle into surface grooves without chemically altering the nail plate’s structure, giving you a smooth surface and gentle physical reinforcement.
Related article: https://donutnail.com/the-complete-guide-to-nail-stamping-art/
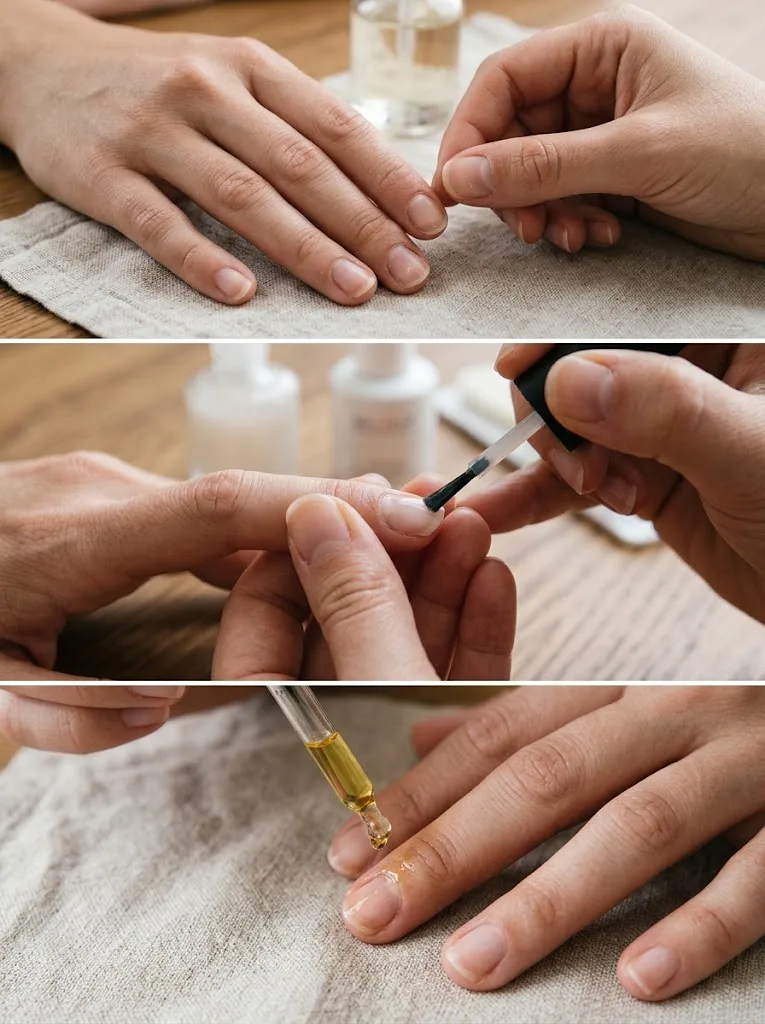
Step-by-Step Weekly Natural Nail Care Routine
Building a simple, repeatable routine removes the guesswork from natural nail health. Here is a practical, sustainable schedule to keep your nails in peak condition.
The Daily Ritual (Under 2 Minutes)
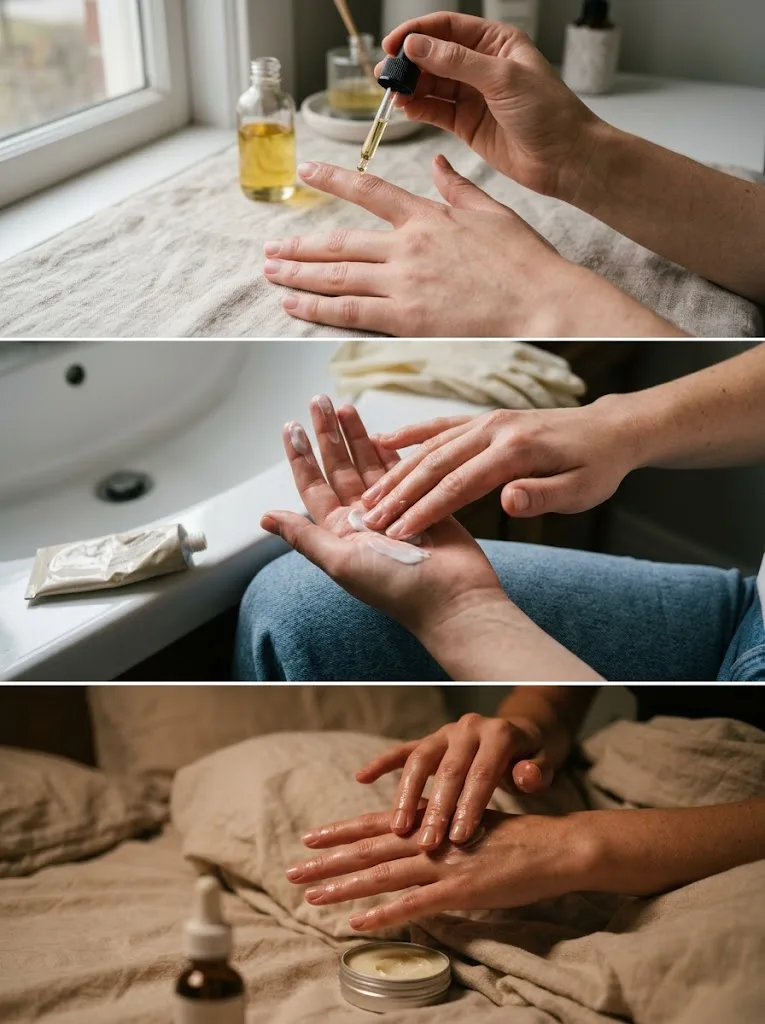
- Morning: After washing your face and hands, apply a drop of jojoba oil across your cuticles and massage it into the nail beds.
- Throughout the day: Slip on gloves whenever washing dishes or handling household chemicals. Apply hand cream after handwashing, making sure to work it over your fingertips.
- Evening: Apply a generous coat of cuticle oil right before getting into bed. Follow with a rich hand balm or ointment to lock in the hydration overnight.
The Weekly Reset (15 to 20 Minutes)
- Remove Old Polish Gently: Saturate a cotton pad with remover, press it against the nail for fifteen seconds to dissolve the lacquer, and sweep downward in one stroke.
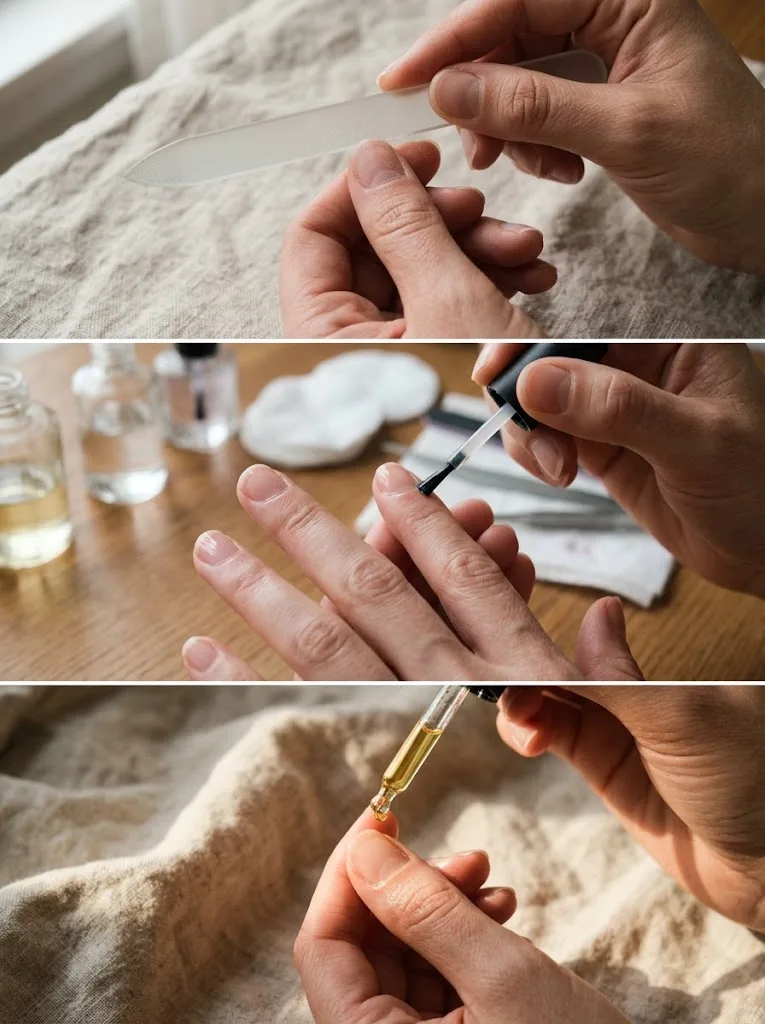
- Dry File and Shape: Using a clean etched-glass file, refine your shape using light, unidirectional strokes. Keep corners gently rounded to prevent snagging.
- Target the Cuticles: Apply a liquid cuticle remover for sixty seconds. Gently push back the dead cuticle tissue with a rounded pusher. Wipe completely clean with a damp towel.
- Cleanse the Nail Plate: Wipe each nail with a lint-free pad dampened with 70% isopropyl alcohol to remove surface residues, dust, and natural oils. This ensures proper adhesion without soaking the nail in water.
- Apply a Protective Base Coat: Apply one to two thin coats of a nourishing, flexible base coat or ridge filler. Make sure to lightly cap the free edge to seal the exposed keratin layers.
- Color and Top Coat (Optional): If applying color, keep coats thin and even. Finish with a high-gloss top coat to create an impermeable barrier against daily water exposure.
- Rehydrate: Once the top coat is dry to the touch, finish by massaging a fresh drop of cuticle oil back into the skin and nail folds.
Troubleshooting Common Natural Nail Problems
Even with consistent care, nails occasionally react to environmental changes, seasonal shifts, or physical stress. Here is how to diagnose and resolve the most common issues.
Peeling Free Edges (Delamination)
- The Cause: Excessive water exposure, using coarse nail files in a sawing motion, or peeling off polish.
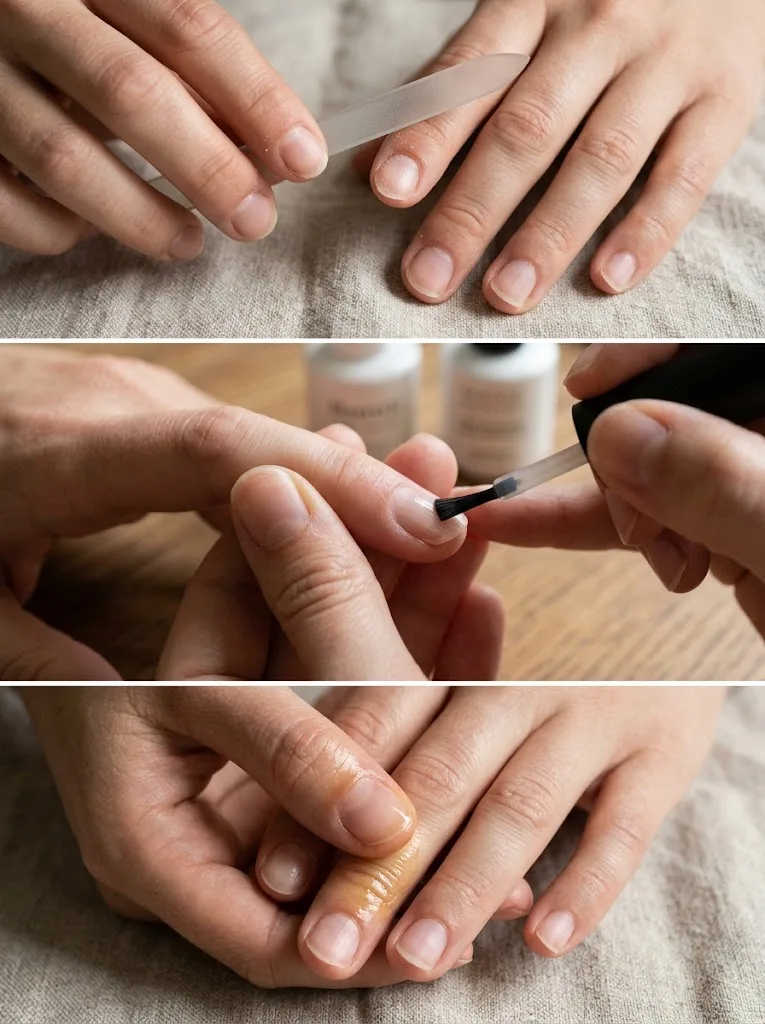
- The Solution: File the peeling portion down using an etched-glass file so the split does not travel further down the nail plate. Keep the nails coated in a flexible base coat at all times to seal the exposed edges, wear gloves diligently during chores, and double your daily oil applications.
Vertical Ridges Running from Cuticle to Tip
- The Cause: Vertical ridges (onychorrhexis) are a completely normal characteristic of natural nails, much like fine lines on the skin. They tend to become more pronounced with age as the nail matrix’s lipid production naturally slows.
- The Solution: Never aggressively buff vertical ridges flat. Buffing away the ridges removes the dorsal layer of keratin, drastically thinning the nail plate and inviting breaks. Instead, leave the ridges alone and use a high-quality ridge-filling base coat, which smooths out the surface visually without compromising nail thickness.
Persistent Sidewall Tears
- The Cause: Removing too much width from the sides of the nail during filing, or accidental leverage stress from typing or opening containers.
- The Solution: Avoid filing into the corners where the nail meets the skin fold (the lateral nail fold). Keep that structural corner intact. If a tear begins, patch it immediately using a tiny piece of tea bag mesh or silk wrap adhered with nail glue until the damaged area safely grows past the fingertip.
Small White Spots (Leukonychia)
- The Cause: Despite the common myth that white spots indicate a calcium or zinc deficiency, punctate leukonychia is almost always the result of minor physical trauma to the nail matrix weeks earlier—such as aggressive cuticle pushing or accidentally banging your finger against a door.
- The Solution: White spots are harmless and will naturally grow out with the nail plate over time. To prevent future spots, be extremely gentle around the cuticle and matrix area when pushing back skin.
Frequently Asked Questions
How long does it take to see real results from a new nail routine?
Because fingernails grow at an average rate of roughly 2.5 to 3.5 millimeters per month, growing out an entirely new, healthy nail from the matrix to the free edge typically takes four to six months. However, you will notice significant improvements in edge peeling, flexibility, and hydration within three to four weeks of consistent oiling and water protection.
Do nail supplements actually make nails grow faster and stronger?
While supplements containing biotin, collagen, or multivitamin blends are widely marketed for nail health, they primarily benefit individuals who have an actual clinical nutritional deficiency. For someone eating a balanced, varied diet with adequate protein, supplements rarely provide dramatic changes. Focusing on topical habits—minimizing water exposure, regular oiling, and gentle filing—yields far more reliable, noticeable results for nail strength.
Should I take breaks from wearing regular nail polish?
You do not need to take breaks from regular nail polish, provided you use gentle removal methods and do not peel or scrape the lacquer off. A layer of regular polish acts as a protective shield against water and daily mechanical wear. If your nails look white or chalky after removing polish, it is usually dehydration from the remover rather than damage from the polish itself—simply replenish the plate with a thorough warm oil soak.
Why do my nails always break at the exact same spot on the sides?
This point is your nail’s natural stress area, where the free edge detaches from the lateral nail bed. Breaks here are almost always caused by over-filing the sides (narrowing the nail too much) or repeated mechanical pressure from daily tasks like typing with the nail tip instead of the finger pad. Switching to a soft squoval or round shape and preserving the sidewall thickness will help stop breaks at this junction.
Can I use olive oil or coconut oil instead of jojoba oil?
While olive oil and coconut oil provide surface nourishment and help soften surrounding skin, their molecular structures are substantially larger than jojoba oil. They struggle to penetrate deeply between the tight keratin layers of the nail plate. They are certainly better than using nothing at all, but pure cold-pressed jojoba oil remains vastly superior for restoring flexibility to the actual nail structure.
Is buffing the surface of natural nails safe?
Occasional, gentle buffing with a high-grit micro-buffer (1000 grit or higher) to smooth away minor flaking is safe if done sparingly. However, frequent buffing with coarse blocks strips away the durable dorsal layers of the nail plate, permanently thinning the nail until the thinned section grows out entirely. Rely on ridge-filling base coats rather than physical buffing to achieve a smooth finish.
Building stronger natural nails is a practice of patience, protection, and consistent care. When you shield your hands from excessive water, nourish the keratin layers with daily oiling, and respect the architecture of your nail edges, your natural nails will reward you with lasting strength and effortless beauty.
Explore our collection of step-by-step manicure tutorials, discover the best nail shapes for your hands, and browse our easy DIY nail art guides to keep your natural nails looking their absolute best.
Pin This Guide for Later!
Struggling with weak, peeling, or brittle nails? Discover the essential habits for stronger natural nails that actually work. Learn the truth about cuticle care, the power of jojoba oil, and how to protect your nails from water damage. Click to start your natural nail journey!
#NaturalNails #NailCareRoutine #HealthyNails #NailCareTips #StrongNails

