
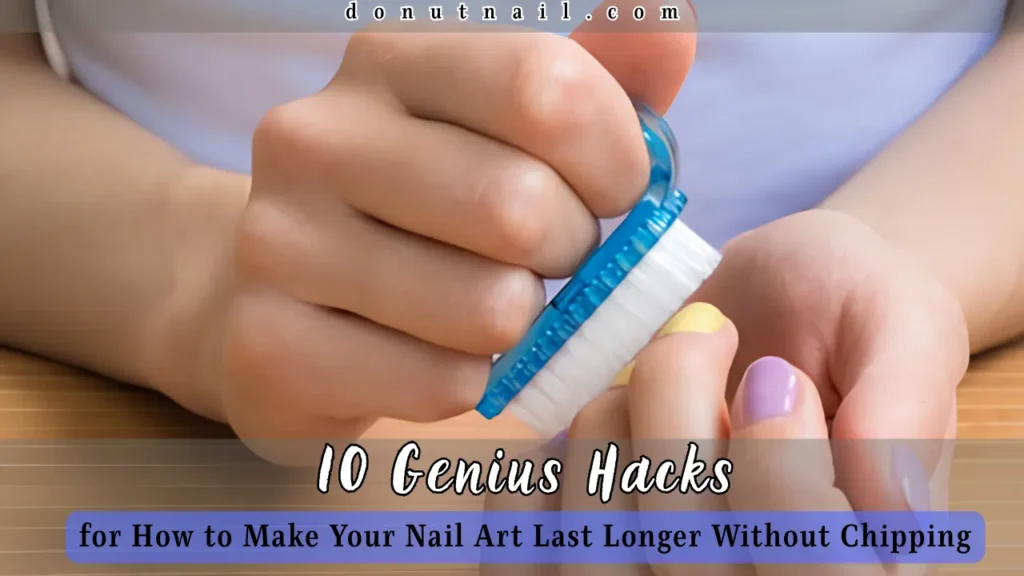
Discover 10 Genius Hacks for How to Make Your Nail Art Last Longer Without Chipping. From prep to top coat, learn pro tips for salon worthy, chip free nails.
Have you ever spent hours creating the perfect nail art masterpiece, only to see it chip or peel within a day or two? It is so frustrating, right? You put in all that effort, and then a tiny chip ruins everything. The good news is that you do not have to accept short lived manicures as your reality.
How to Make Your Nail Art Last Longer Without Chipping is a skill you can learn, and it is easier than you think. With a few simple changes to your routine, you can enjoy beautiful, chip free nails for days, even weeks. In this guide, you will discover 10 Genius Hacks for How to Make Your Nail Art Last Longer Without Chipping – Pro Tips Inside. Say goodbye to chips and hello to long lasting, gorgeous nails.
1. Start with Clean, Dry Nails
The foundation of any long lasting manicure is proper nail preparation. You cannot expect polish to stick to oily or dirty nails. It is like trying to paint on a greasy surface, it just will not hold.
Begin by washing your hands thoroughly with soap and water. Then, remove all traces of old polish using an acetone based remover. Next, apply isopropyl alcohol (75% or higher) to each nail bed using a cotton ball or Q tip. This acts like an astringent, bringing your nail to the proper pH level while eliminating dust, debris, and natural oils that can prevent polish from adhering properly. After this step, avoid touching your nails with your fingers.
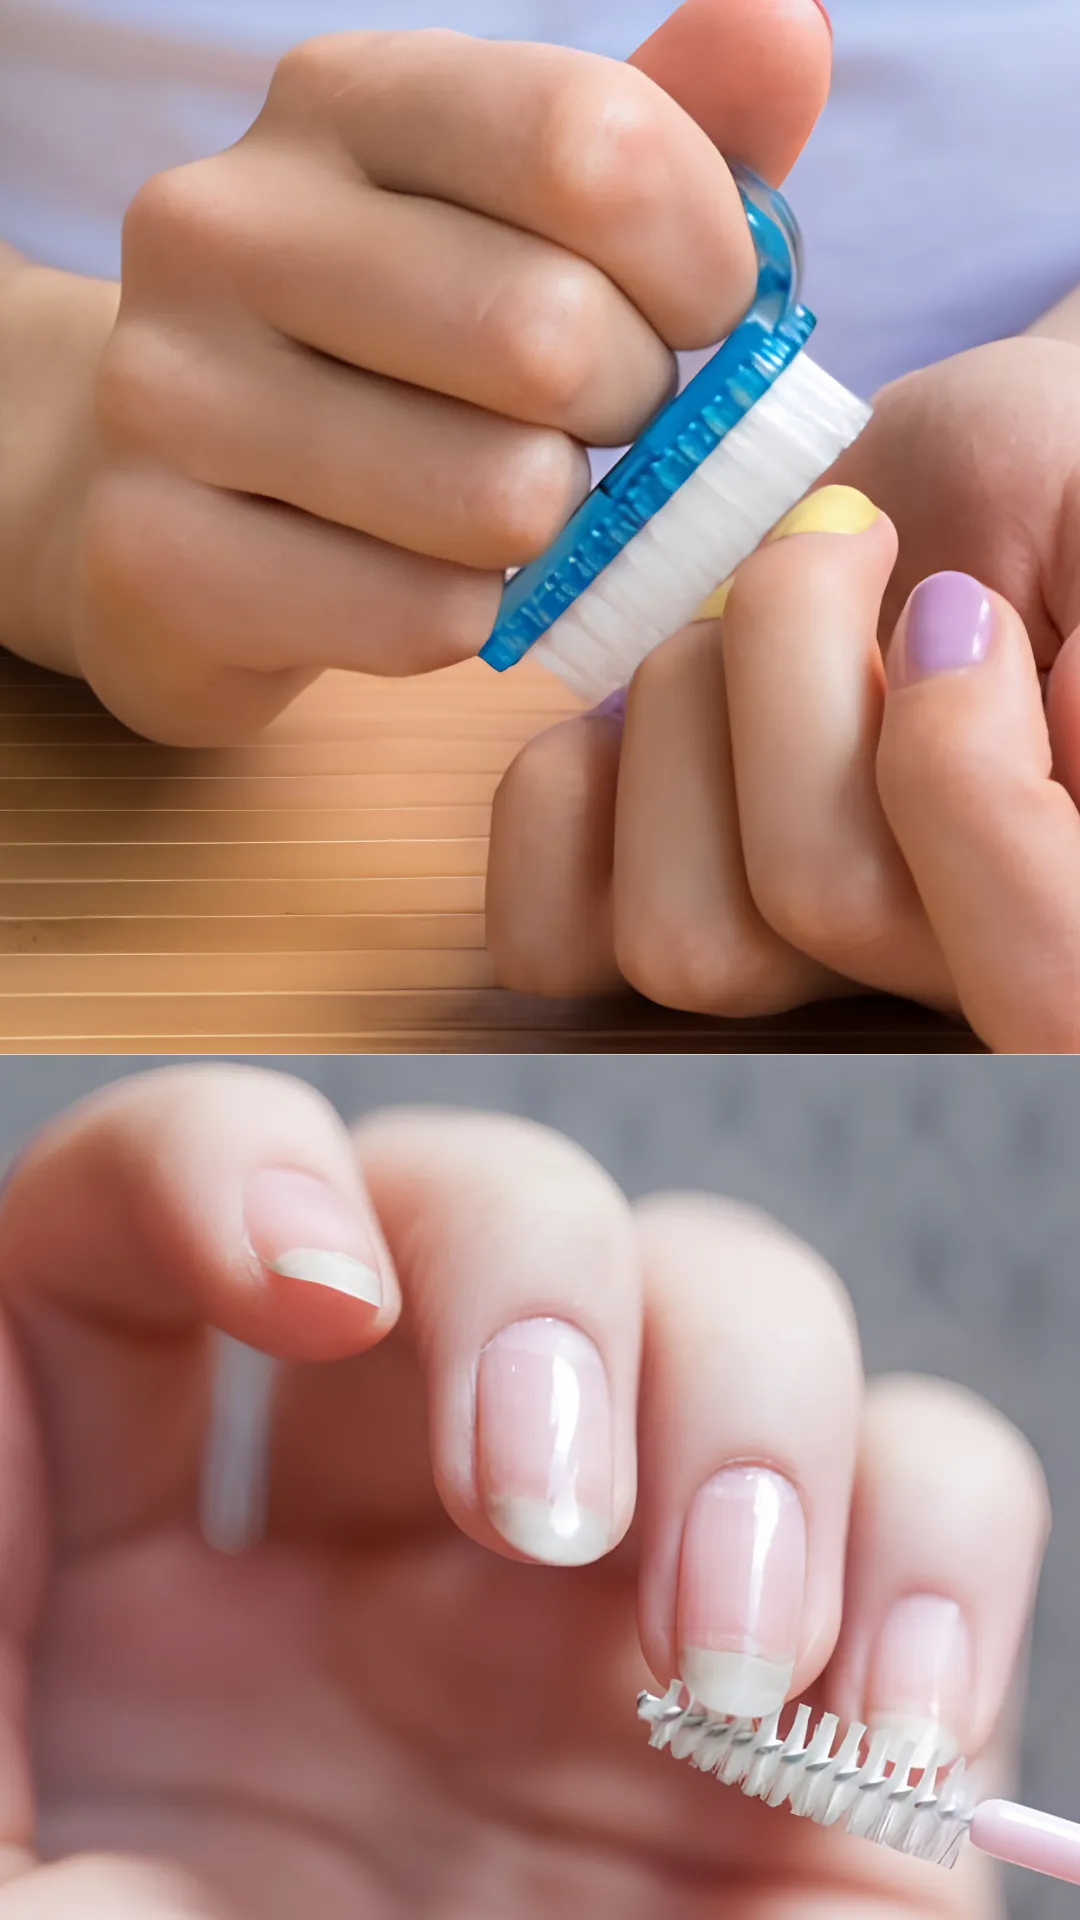
Pro Tip: Keep your nails completely dry for at least 30 minutes before painting. Water expands the nail plate, and as it shrinks back, it can cause polish to lift and chip.
2. Gently Push Back Your Cuticles
Cuticle care is essential for a long lasting manicure. Overgrown cuticles can lift your polish from the base, causing premature chipping and peeling.
Gently push back your cuticles using an orange stick or a cuticle pusher. Do not cut them aggressively, as cuticles protect your nail matrix from bacteria. The goal is to create a clean, smooth surface for your polish to adhere to. Be gentle and take your time to avoid damaging the delicate skin around your nails.
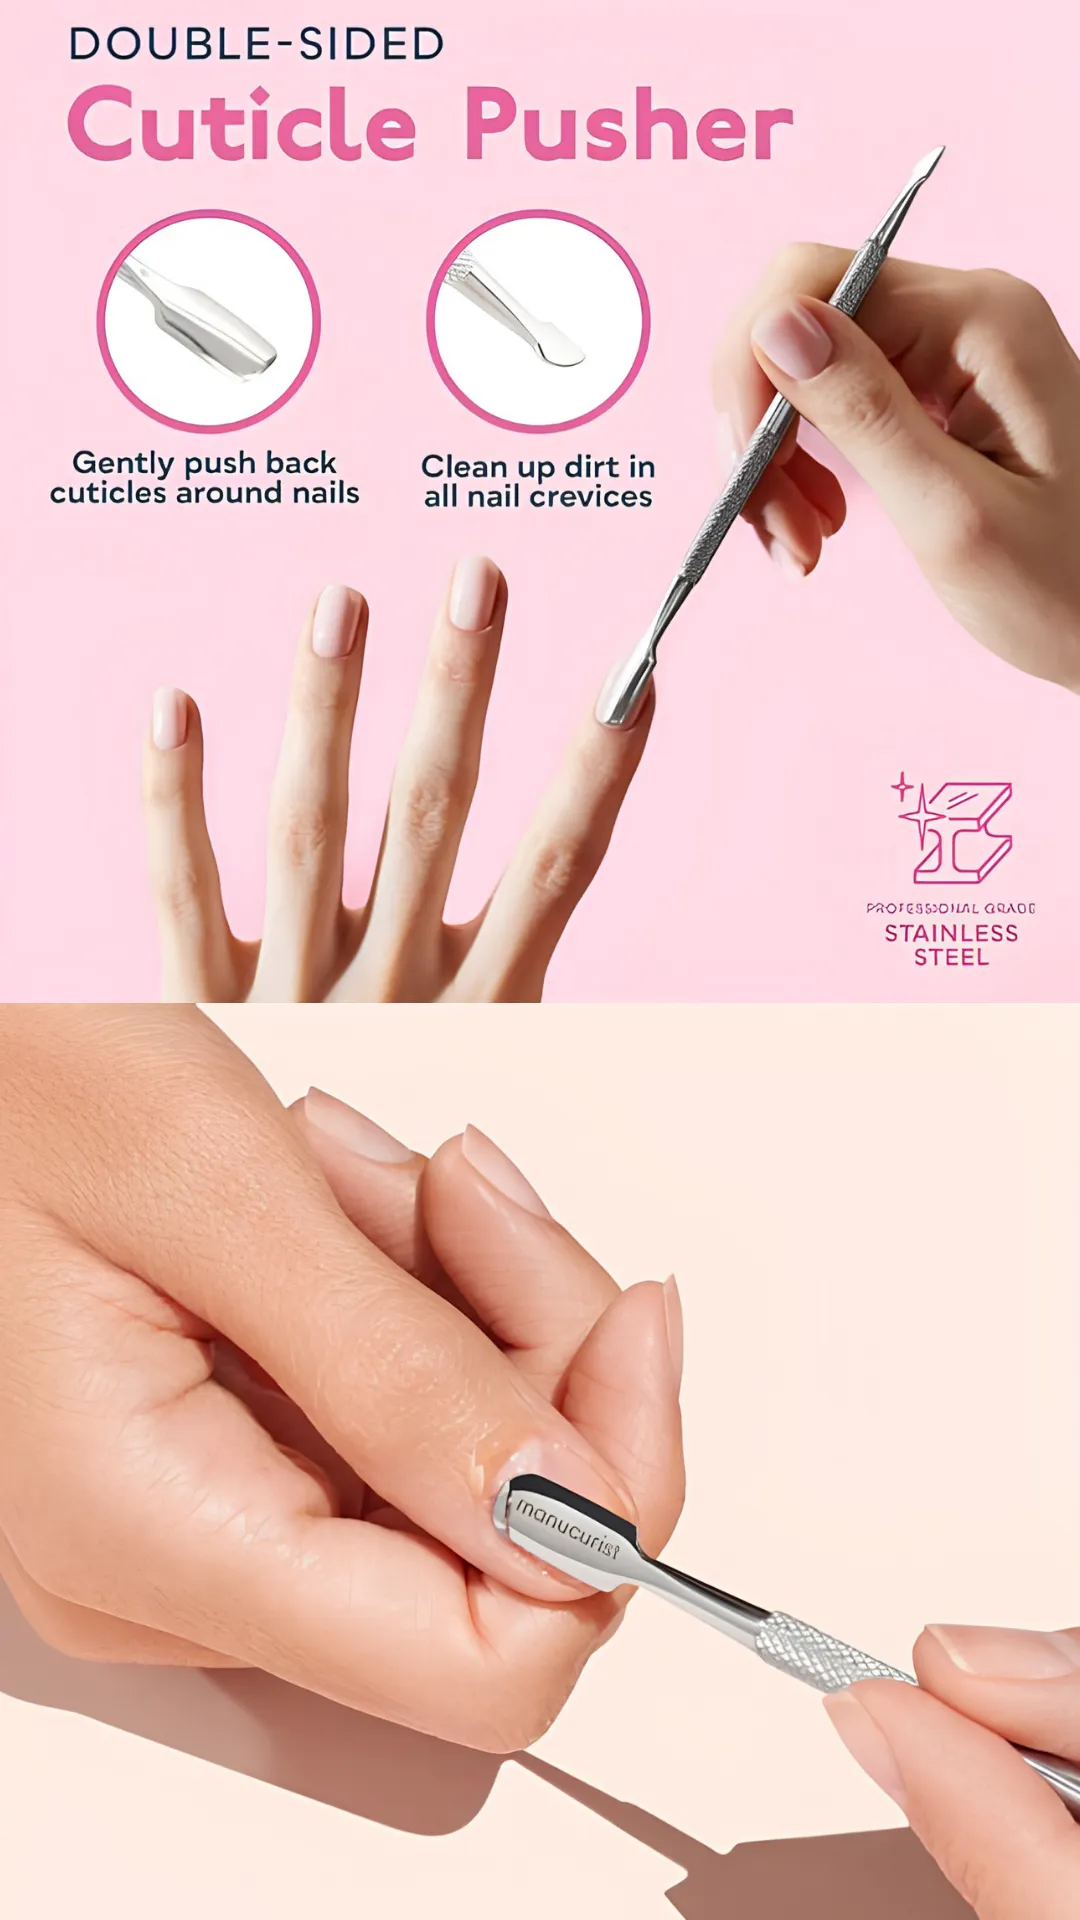
Pro Tip: Apply cuticle oil a few days before your manicure to soften the cuticles and make them easier to push back.
3. Lightly Buff the Nail Surface
Buffing creates a slightly rough texture on your nails, which gives your polish something to grip onto. This small step can make a huge difference in how long your manicure lasts.
Use a fine grit buffer to gently buff the surface of each nail. You do not need to be aggressive, just enough to remove the natural shine from your nails. This creates a “key” for the polish to adhere to. Be careful not to over buff, as this can thin your nails and make them weak.
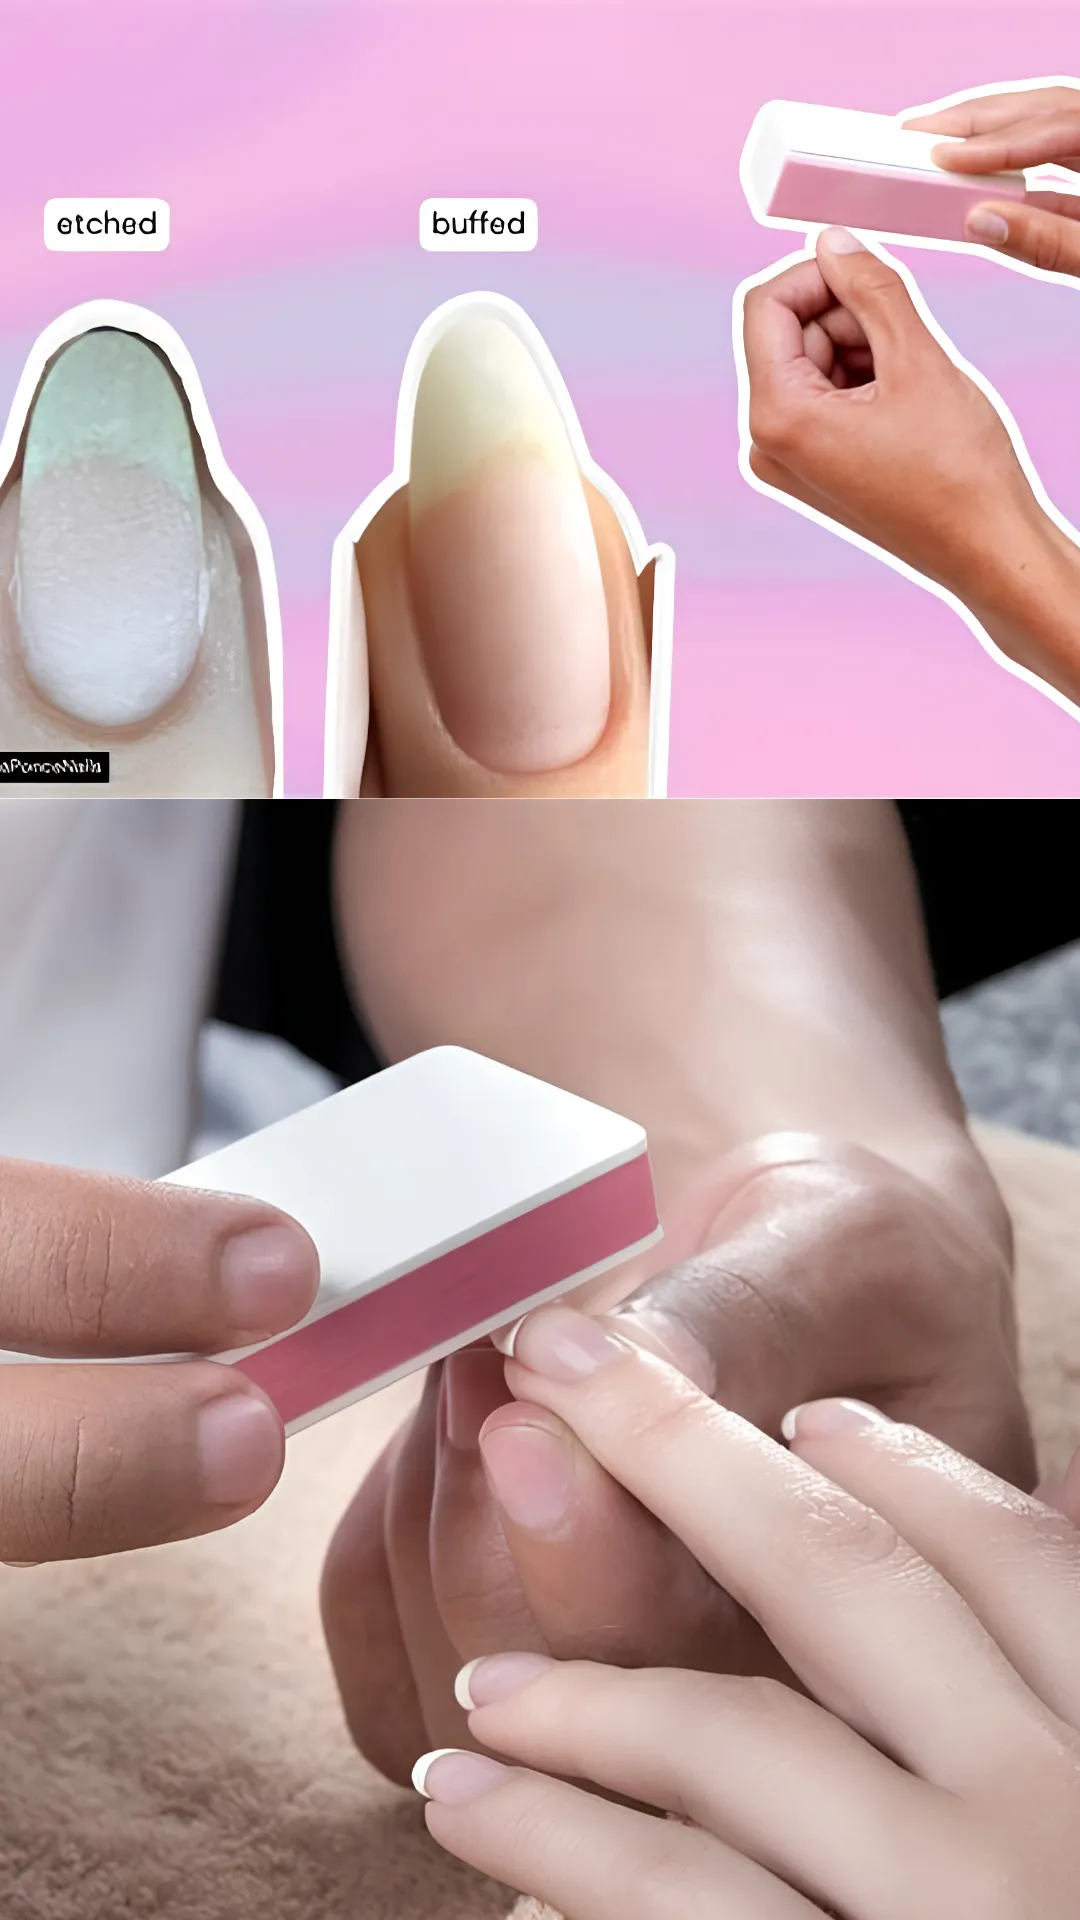
Pro Tip: Buff in one direction only. Back and forth buffing can create ridges and damage the nail plate.
4. Never Skip the Base Coat
The base coat is the unsung hero of a long lasting manicure. It acts like a primer, creating a sticky, smooth surface for your color polish to adhere to. It also prevents staining and fills in ridges.
Always apply a thin, even layer of base coat to each nail. Choose a base coat that suits your nail type. If you have brittle nails, look for a strengthening base coat. If you have oily nails, a rubberized base coat can provide extra grip. Allow the base coat to dry completely before moving on to your color.
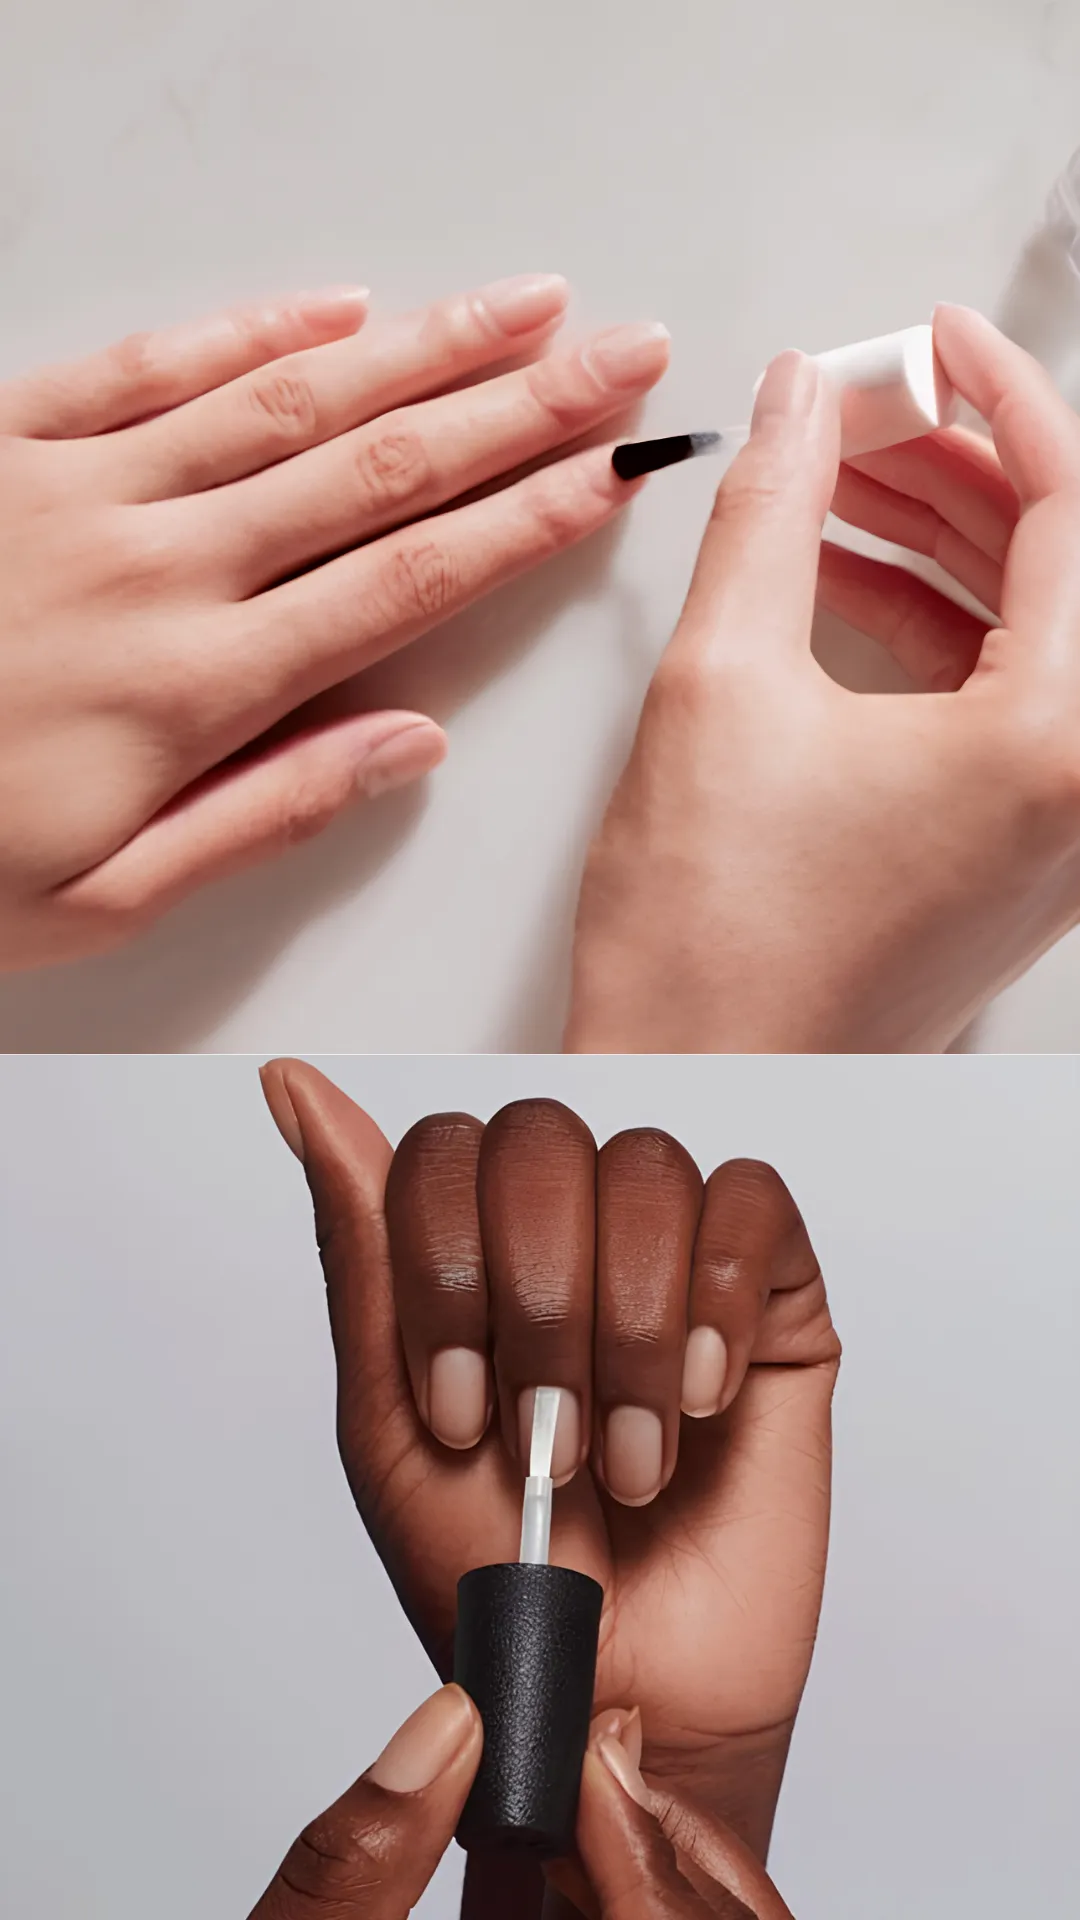
Pro Tip: Apply a second layer of base coat on the tips of your nails to “cap” the edge and prevent lifting from the free edge.
5. Apply Thin, Even Color Coats
Thick coats of polish take longer to dry and are much more prone to smudging, bubbling, and chipping. The secret to a smooth, long lasting finish is thin, even layers.
Apply your color polish in two or three thin coats rather than one thick coat. Allow each layer to dry completely before applying the next one. Thin coats dry faster and create a more durable, flexible finish. They also look much more professional and streak free.
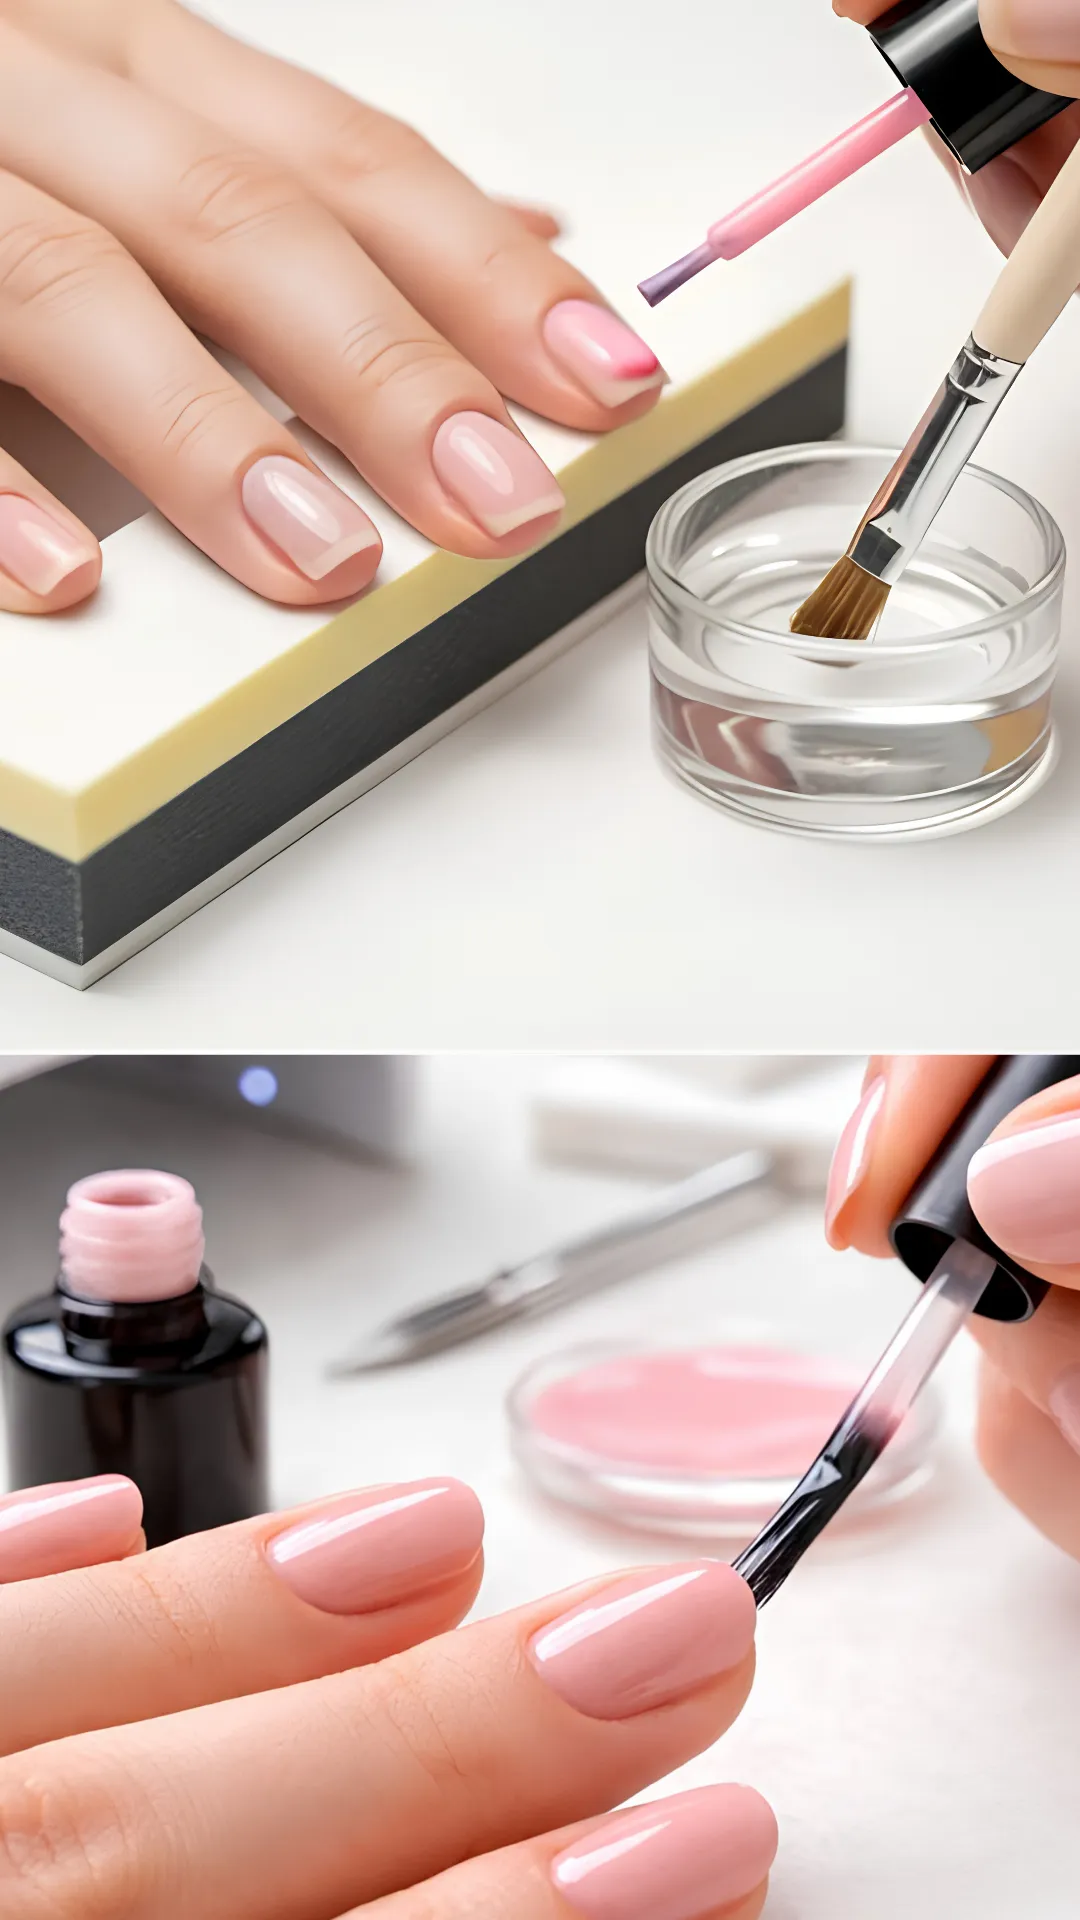
Pro Tip: Wait at least 2 minutes between each coat of color to ensure proper drying and prevent bubbling.
6. Cap the Free Edge Every Time
Capping the free edge is one of the most important steps for preventing chipping. This technique involves running your brush along the tip of your nail to seal the edge with polish.
Capping creates a protective barrier that prevents water and friction from lifting your polish at the tip. You should cap the edge with your base coat, each layer of color, and your top coat. This small extra step adds a significant amount of durability to your manicure.
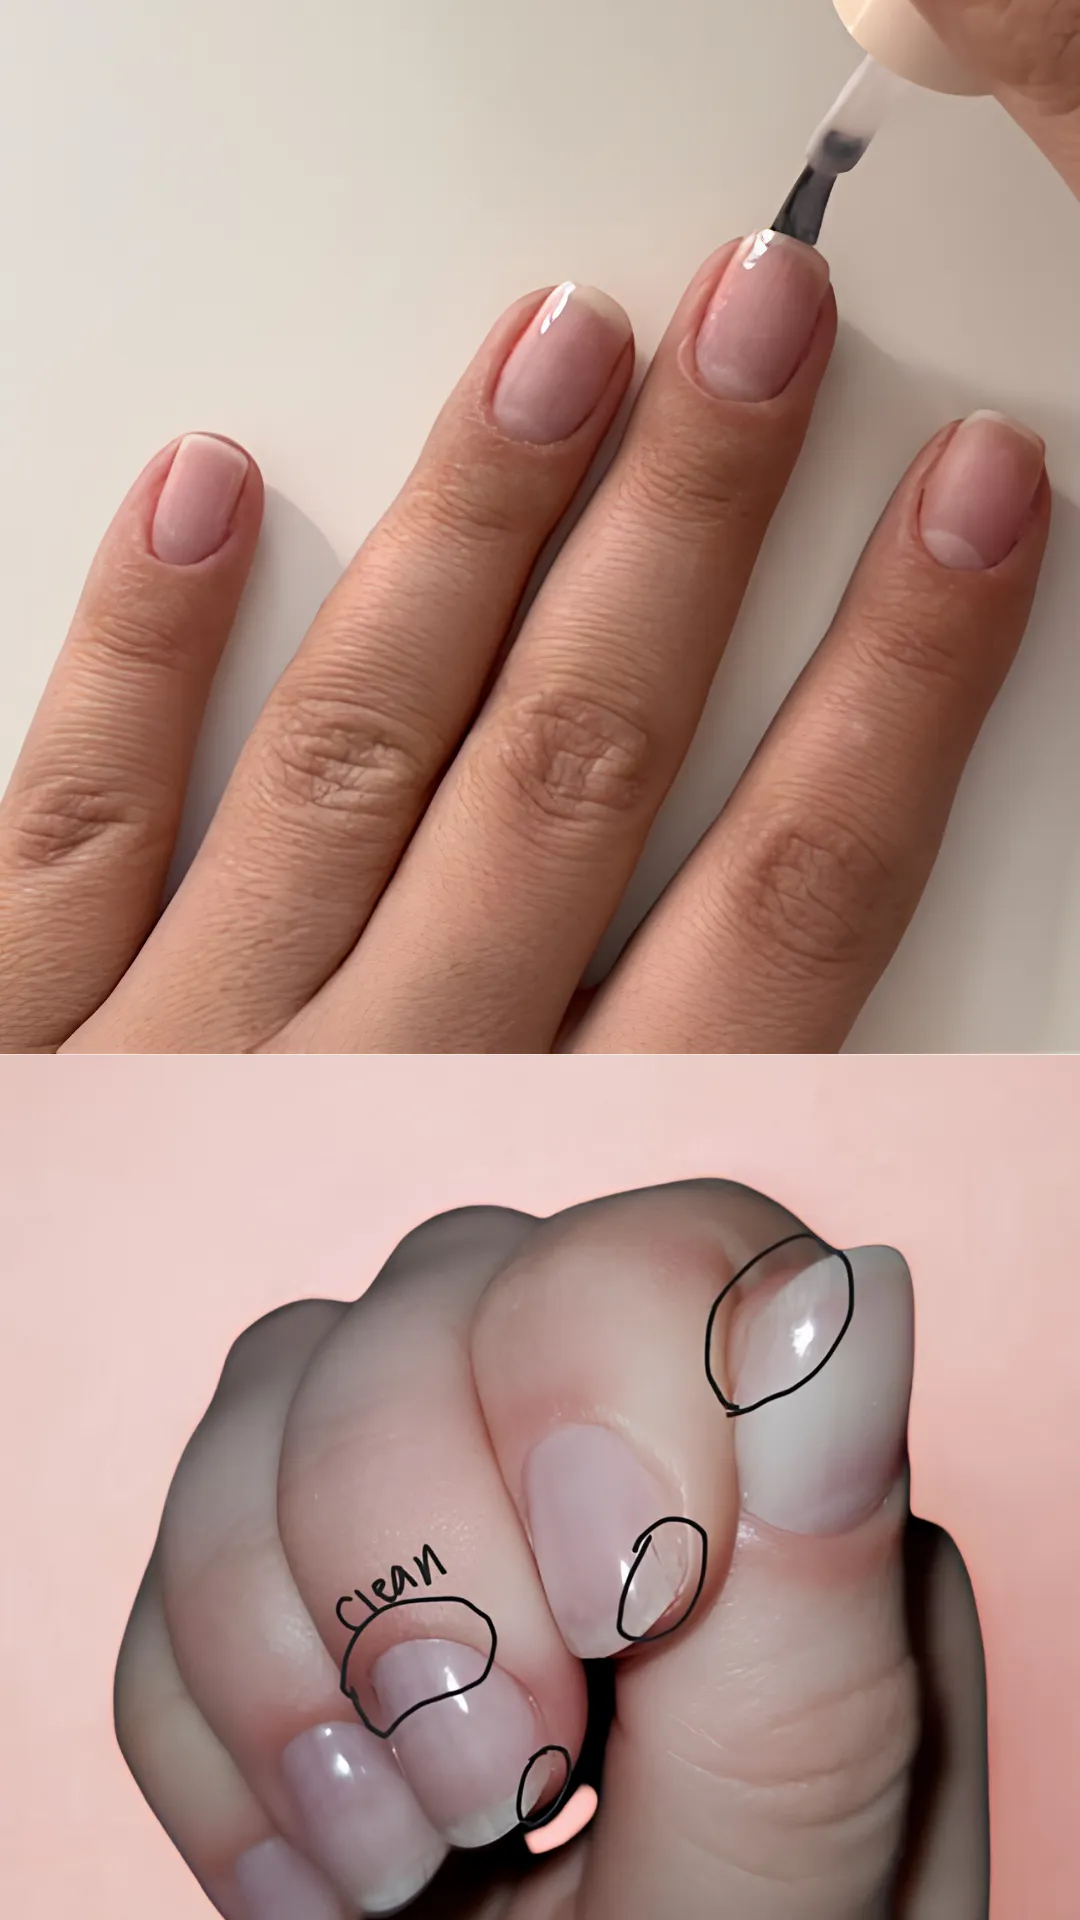
Pro Tip: If your nails are very short, you can still cap the edge by gently rolling the brush over the tip of your nail.
7. Use a Quality Top Coat
The top coat is your polish’s bodyguard. It locks in your color, adds a protective shield, and gives your nails a beautiful, glossy finish. Without a good top coat, your nail art is vulnerable to chips, scratches, and dullness.
Choose a quick dry top coat for the best results. These formulas harden quickly and create a durable, chip resistant layer. Apply a generous, even layer of top coat over your dried color polish, being careful to seal the edges. Allow it to dry completely.
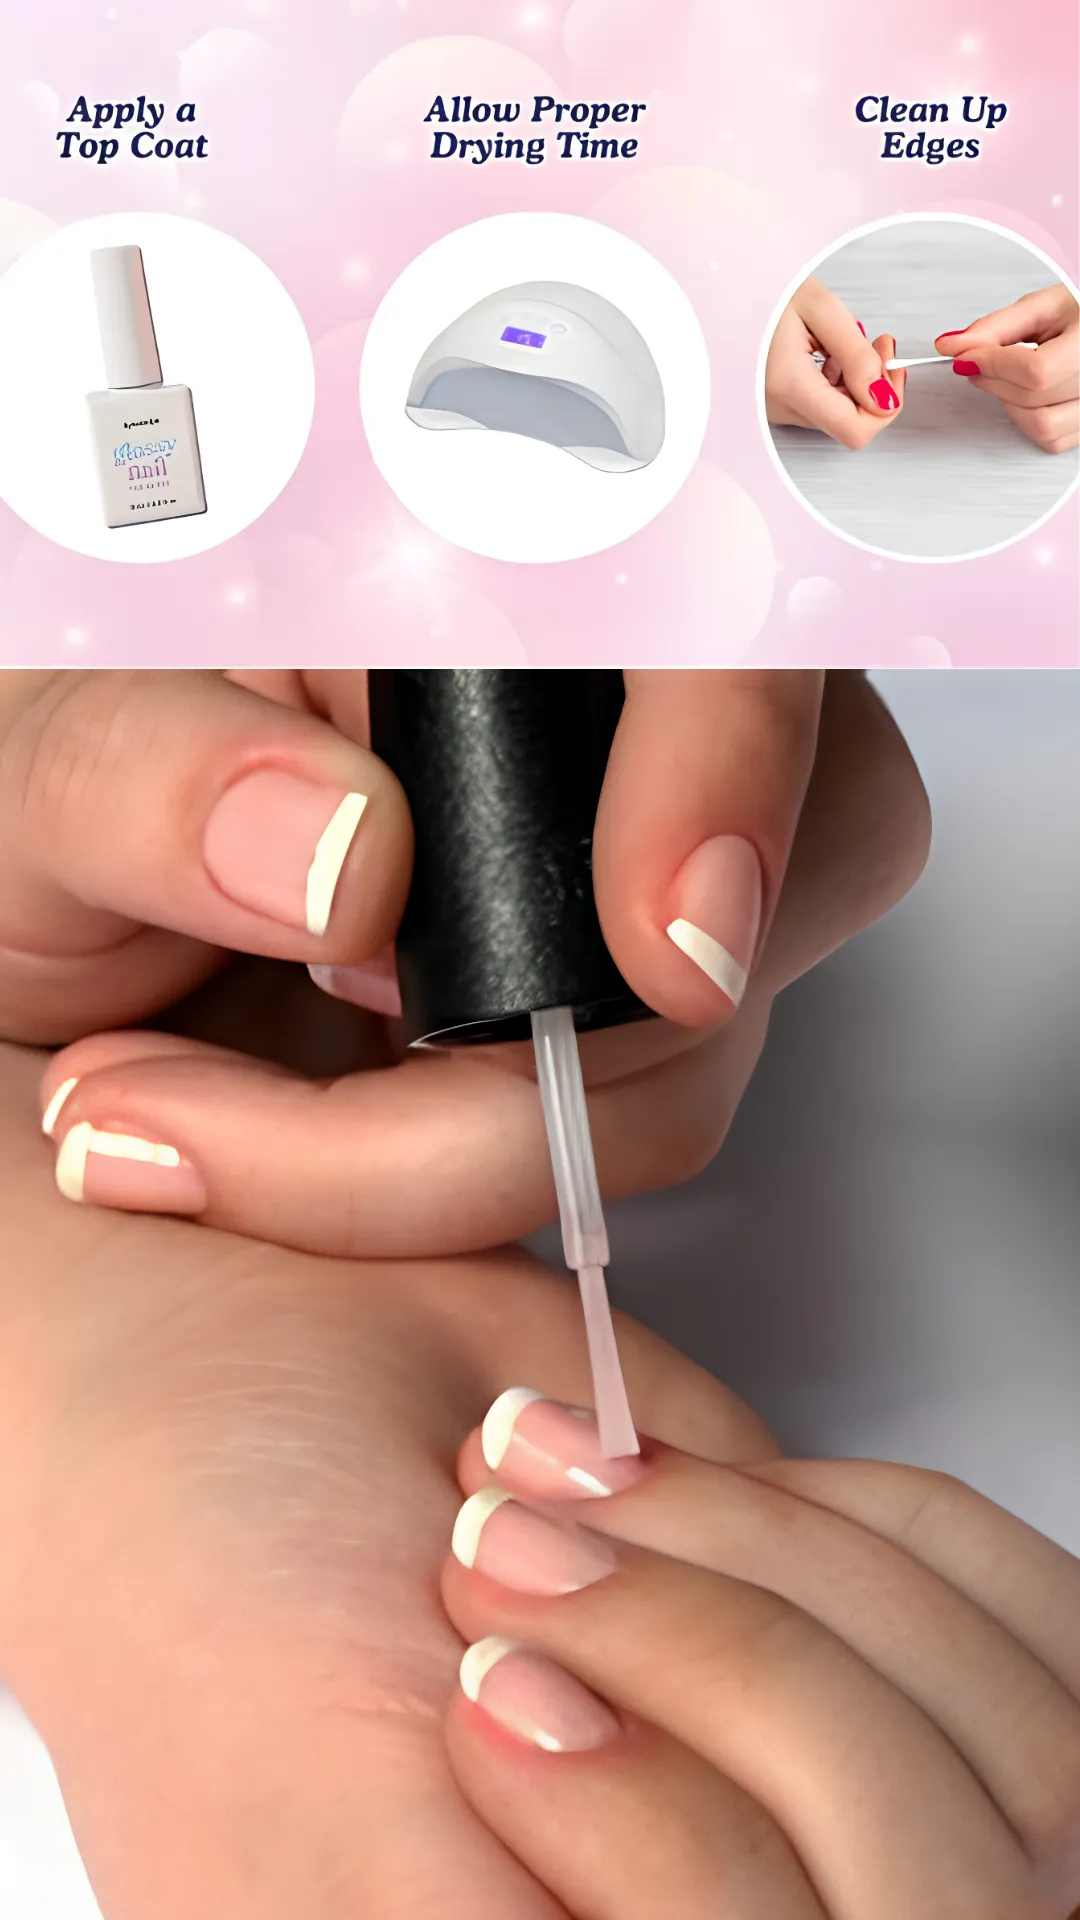
Pro Tip: Apply a second layer of top coat the next day for extra durability and shine.
8. Reapply Top Coat Every Few Days
One layer of top coat is not enough for week long wear. To keep your manicure looking fresh and protected, you need to reapply top coat every 2 to 3 days.
A fresh layer of top coat refreshes the shine, fills in any tiny scratches, and adds an extra layer of protection against chipping and peeling. It is a quick and easy way to extend the life of your manicure by several days. Keep a bottle of top coat handy and make it part of your regular nail care routine.
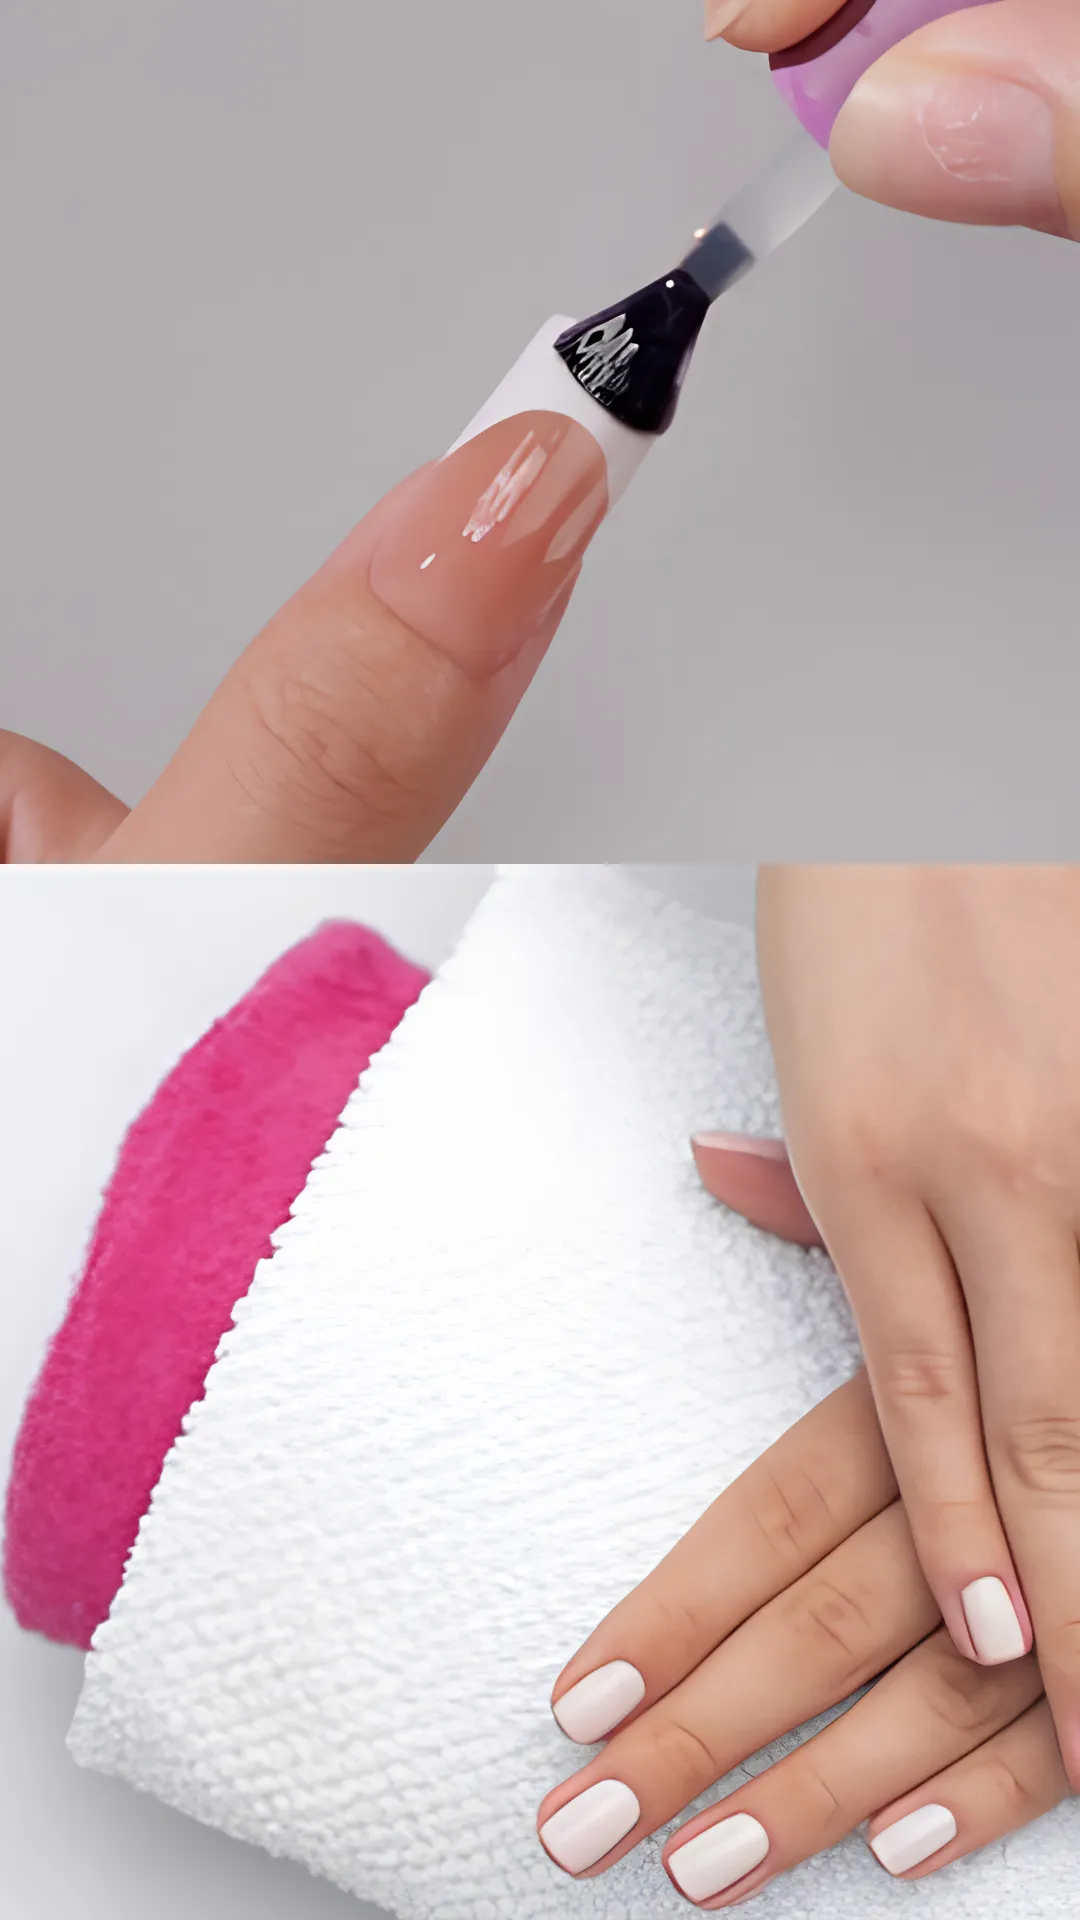
Pro Tip: Lightly buff the surface of your nails before reapplying top coat to help the new layer adhere properly.
9. Protect Your Nails from Water and Chemicals
Water and harsh chemicals are the enemies of long lasting nail art. Prolonged soaking can soften the nail and polish, leading to peeling and chipping. Household cleaners can also break down polish and cause fading.
Always wear gloves when washing dishes, cleaning, or doing any household chores that involve water or chemicals. Try to limit long baths and swimming when you want your manicure to last. If your nails do get wet, make sure to dry them thoroughly afterward.
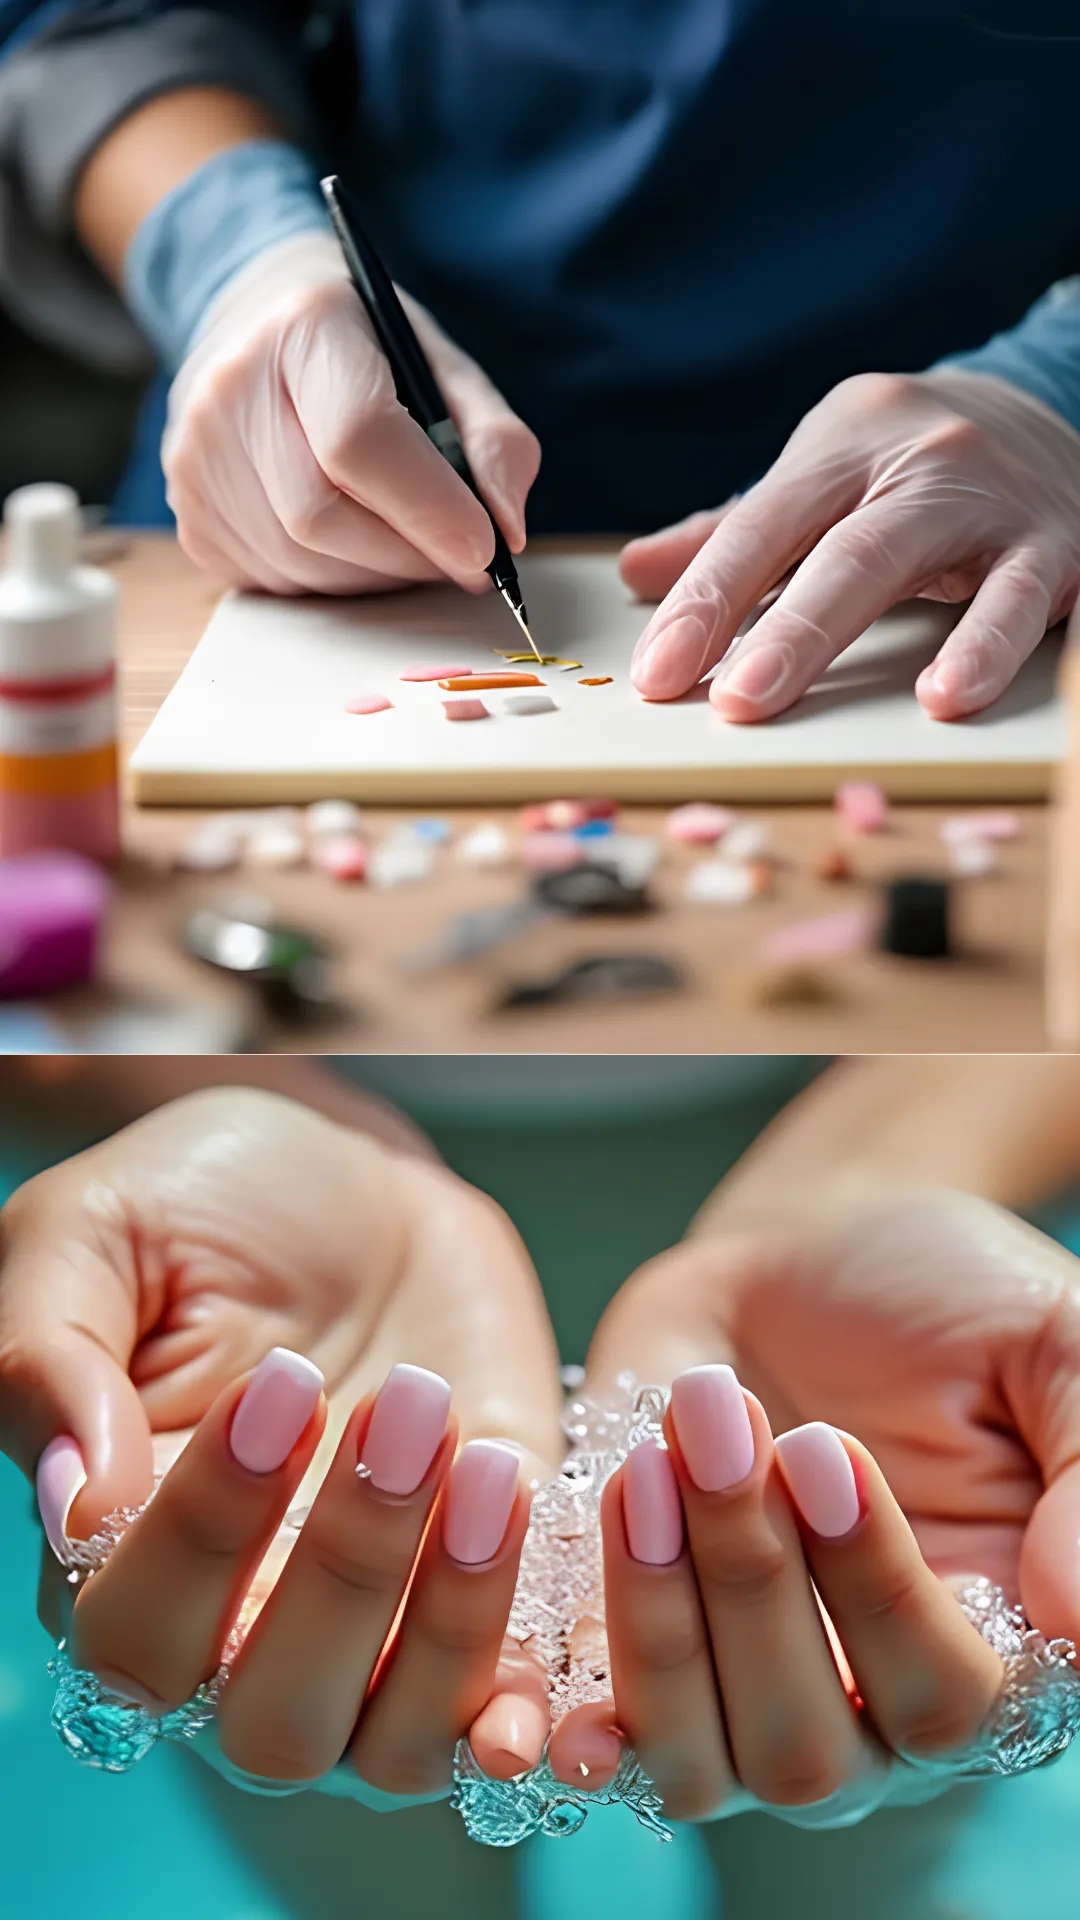
Pro Tip: Apply a layer of cuticle oil after your nails get wet to replenish moisture and protect the polish.
10. Hydrate Your Nails and Cuticles
Dry nails and cuticles are brittle and prone to breaking and chipping. Keeping your nails and cuticles hydrated is essential for maintaining a beautiful, long lasting manicure.
Apply cuticle oil at least once a day, preferably before bed. Massage the oil into your cuticles and nails to promote healthy growth and flexibility. Well hydrated nails are less likely to crack or peel, which means your nail art stays intact for longer.
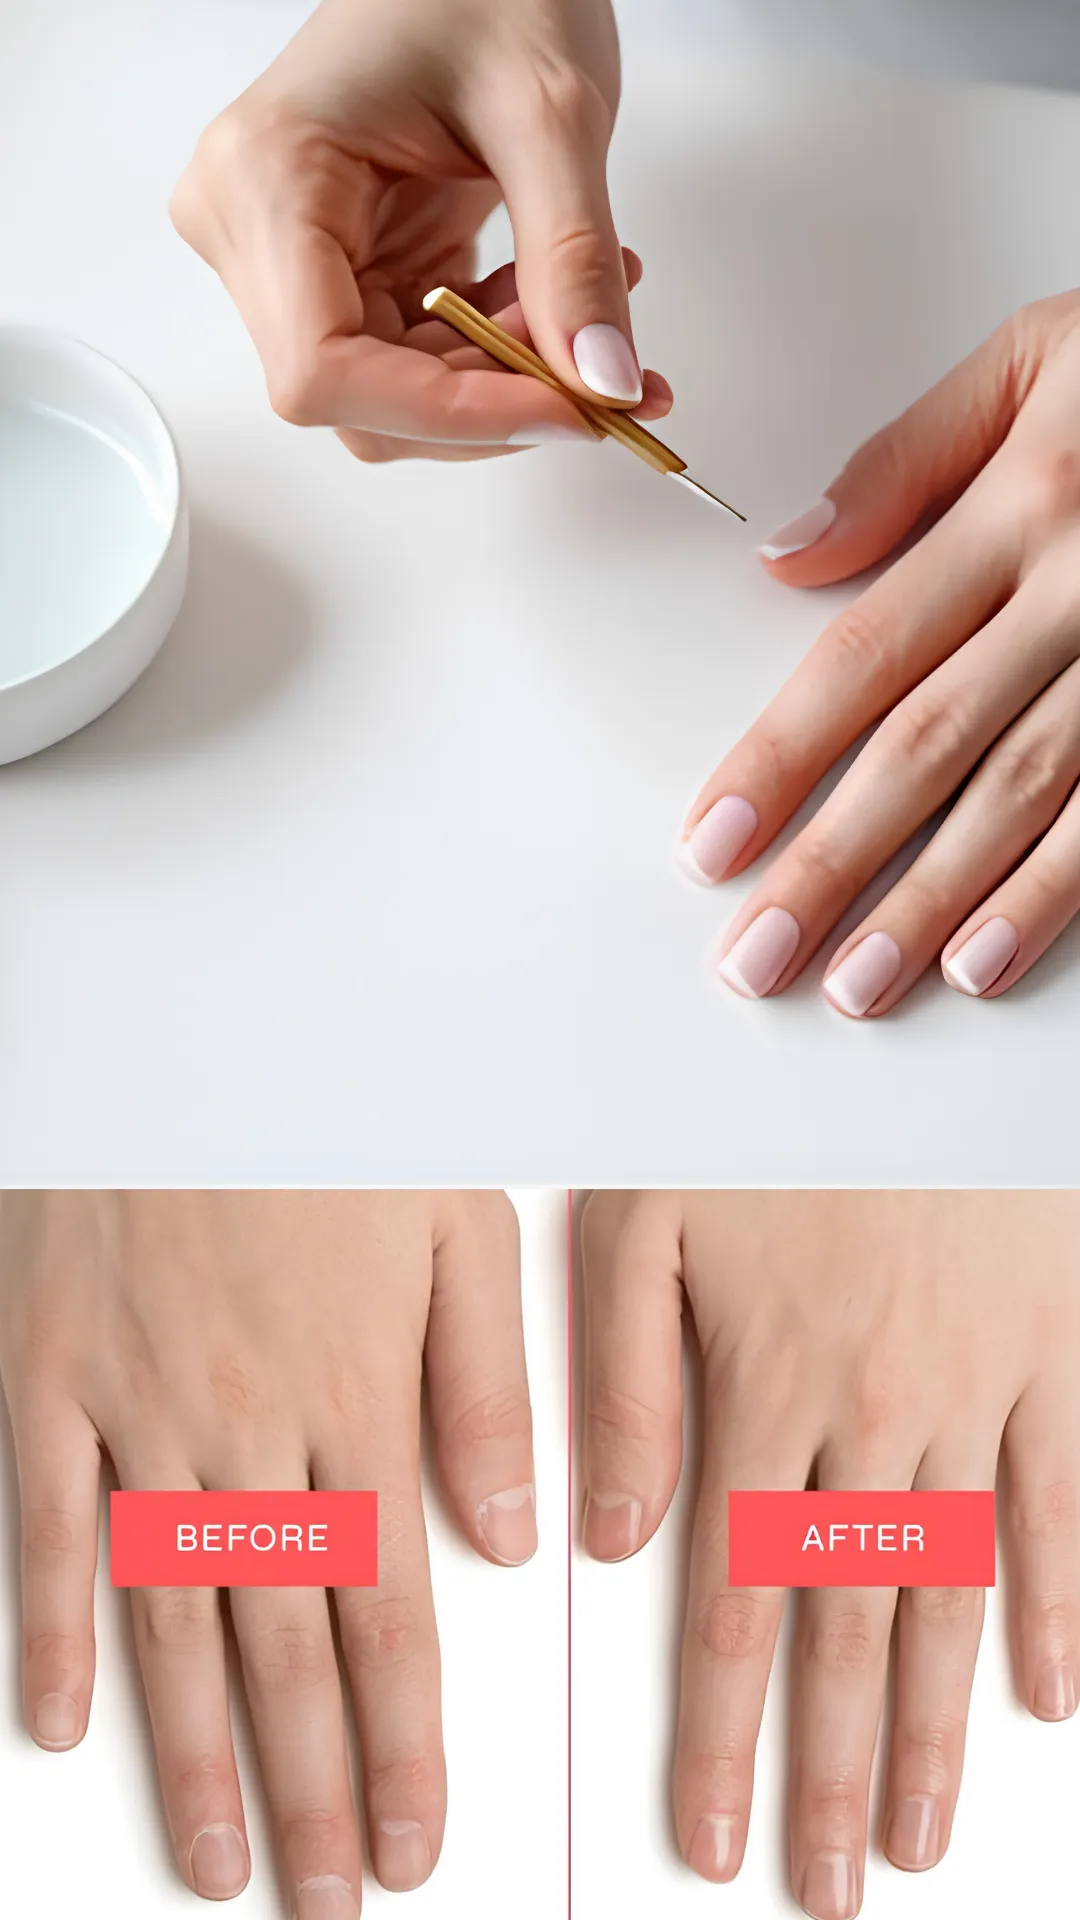
Pro Tip: Keep a cuticle oil pen in your bag and apply it throughout the day for continuous hydration and protection.
Long lasting nail art is not a mystery. It is a combination of proper preparation, careful application, and ongoing maintenance. With these 10 Genius Hacks for How to Make Your Nail Art Last Longer Without Chipping – Pro Tips Inside, you can enjoy beautiful, chip free nails that last and last. Say goodbye to frustrating chips and hello to stunning, durable manicures.
Ready to transform your nail routine? Visit my website for more nail care tips, product recommendations, and step by step tutorials to help you achieve the perfect, long- asting manicure every time. I would love to hear about your nail art victories, so share your creations with me on social media.
Tired of chipped nails ruining your beautiful designs? How to Make Your Nail Art Last Longer Without Chipping has you covered. From proper prep to top coat tricks, discover 10 genius hacks for salon worthy, long lasting nails. Save this pin for your next DIY session. #NailArtTips #ChipFreeNails #ManicureHacks #LongLastingNails #DIYNails #NailCareRoutine
Table of Contents
You might also Like:15 Bold Black Nail Art Inspo for the Edgy Girl in You – Dark, Daring & Stunning!

