
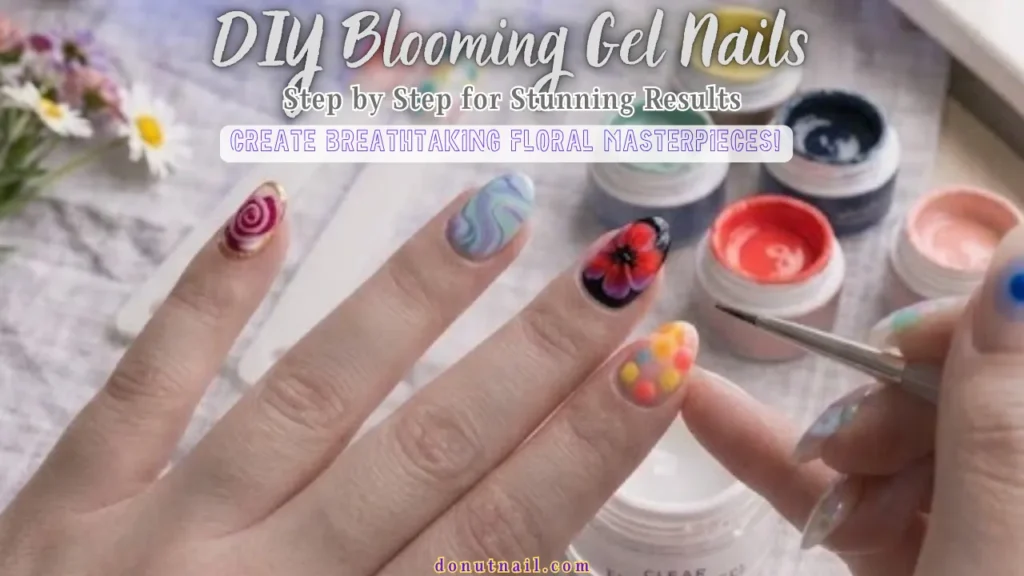
Learn DIY Blooming Gel Nails: Step by Step for Stunning Results! Create dreamy watercolor nails at home with our easy tutorial. Click for the magic!
Have you ever scrolled through Pinterest and stopped dead at those dreamy, watercolor-style nails that look like tiny works of art? You know the ones. Soft, diffused colors blending into each other like a beautiful painting. And you probably thought, “There is no way I could do that at home.”
Well, get ready to be amazed. Because blooming gel is about to change everything.
Blooming gel is the secret weapon that makes creating soft, diffused floral designs almost effortless. It is a special gel formula that allows colors to spread and bloom into beautiful, organic patterns. And the best part? It is surprisingly easy to use.
This comprehensive guide will walk you through DIY Blooming Gel Nails: Step by Step for Stunning Results from start to finish. We will cover everything from the tools you need to pro tips for controlling the bloom. Whether you want romantic roses, abstract watercolor art, or even a marbled look, this technique delivers gorgeous results every single time.
So grab your supplies, get comfortable, and get ready to create the most stunning blooming gel nails you have ever seen.
What Is Blooming Gel and Why You Need It
Blooming gel is a special type of gel polish that is designed to stay wet and uncured until you cure it under a UV or LED lamp. This uncured surface allows other gel colors to spread and diffuse in beautiful, organic patterns.
Think of it as the magic ingredient that turns simple dots of color into stunning floral designs. When you place a drop of gel polish onto a wet layer of blooming gel, the color will spread outward on its own, creating soft, petal-like shapes.
The beauty of blooming gel is that it does all the hard work for you. You do not need to be a professional artist to create intricate, watercolor-style nails. The blooming gel creates those gorgeous, diffused effects automatically.
Blooming gel is also incredibly versatile. You can use it to create everything from soft florals and watercolor effects to marble patterns and abstract art. Every design is unique because you cannot control exactly how the colors will spread, making each manicure a one-of-a-kind masterpiece.
Essential Tools and Supplies
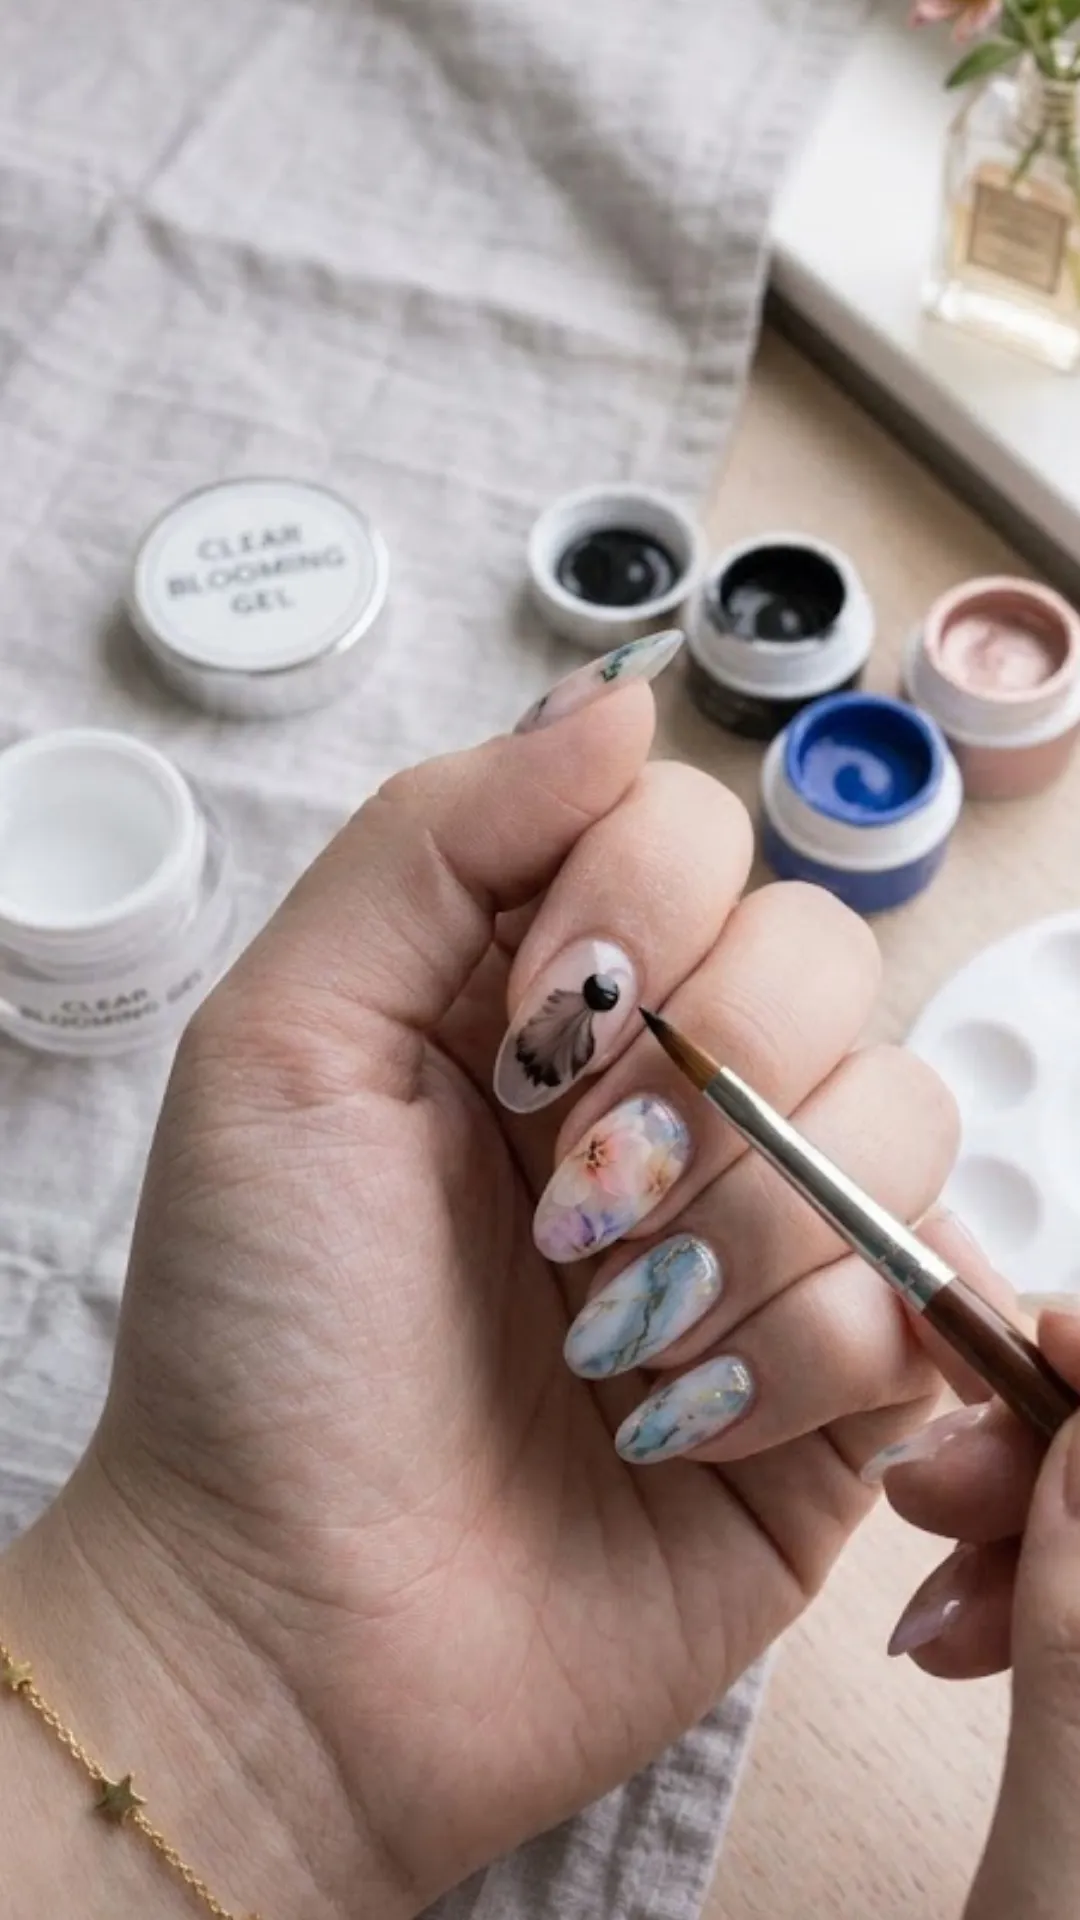
Before you start your blooming gel journey, you need to make sure you have all the right tools and products. Here is what you will need for DIY Blooming Gel Nails: Step by Step for Stunning Results.
- UV or LED nail lamp for curing
- Blooming gel (the star of the show)
- Gel base coat
- Gel top coat
- Gel polishes in your chosen colors (2 to 4 colors work well)
- A fine dotting tool or thin nail art brush
- Nail file and buffer
- Cuticle pusher
- Rubbing alcohol or nail cleanser
- Lint-free wipes
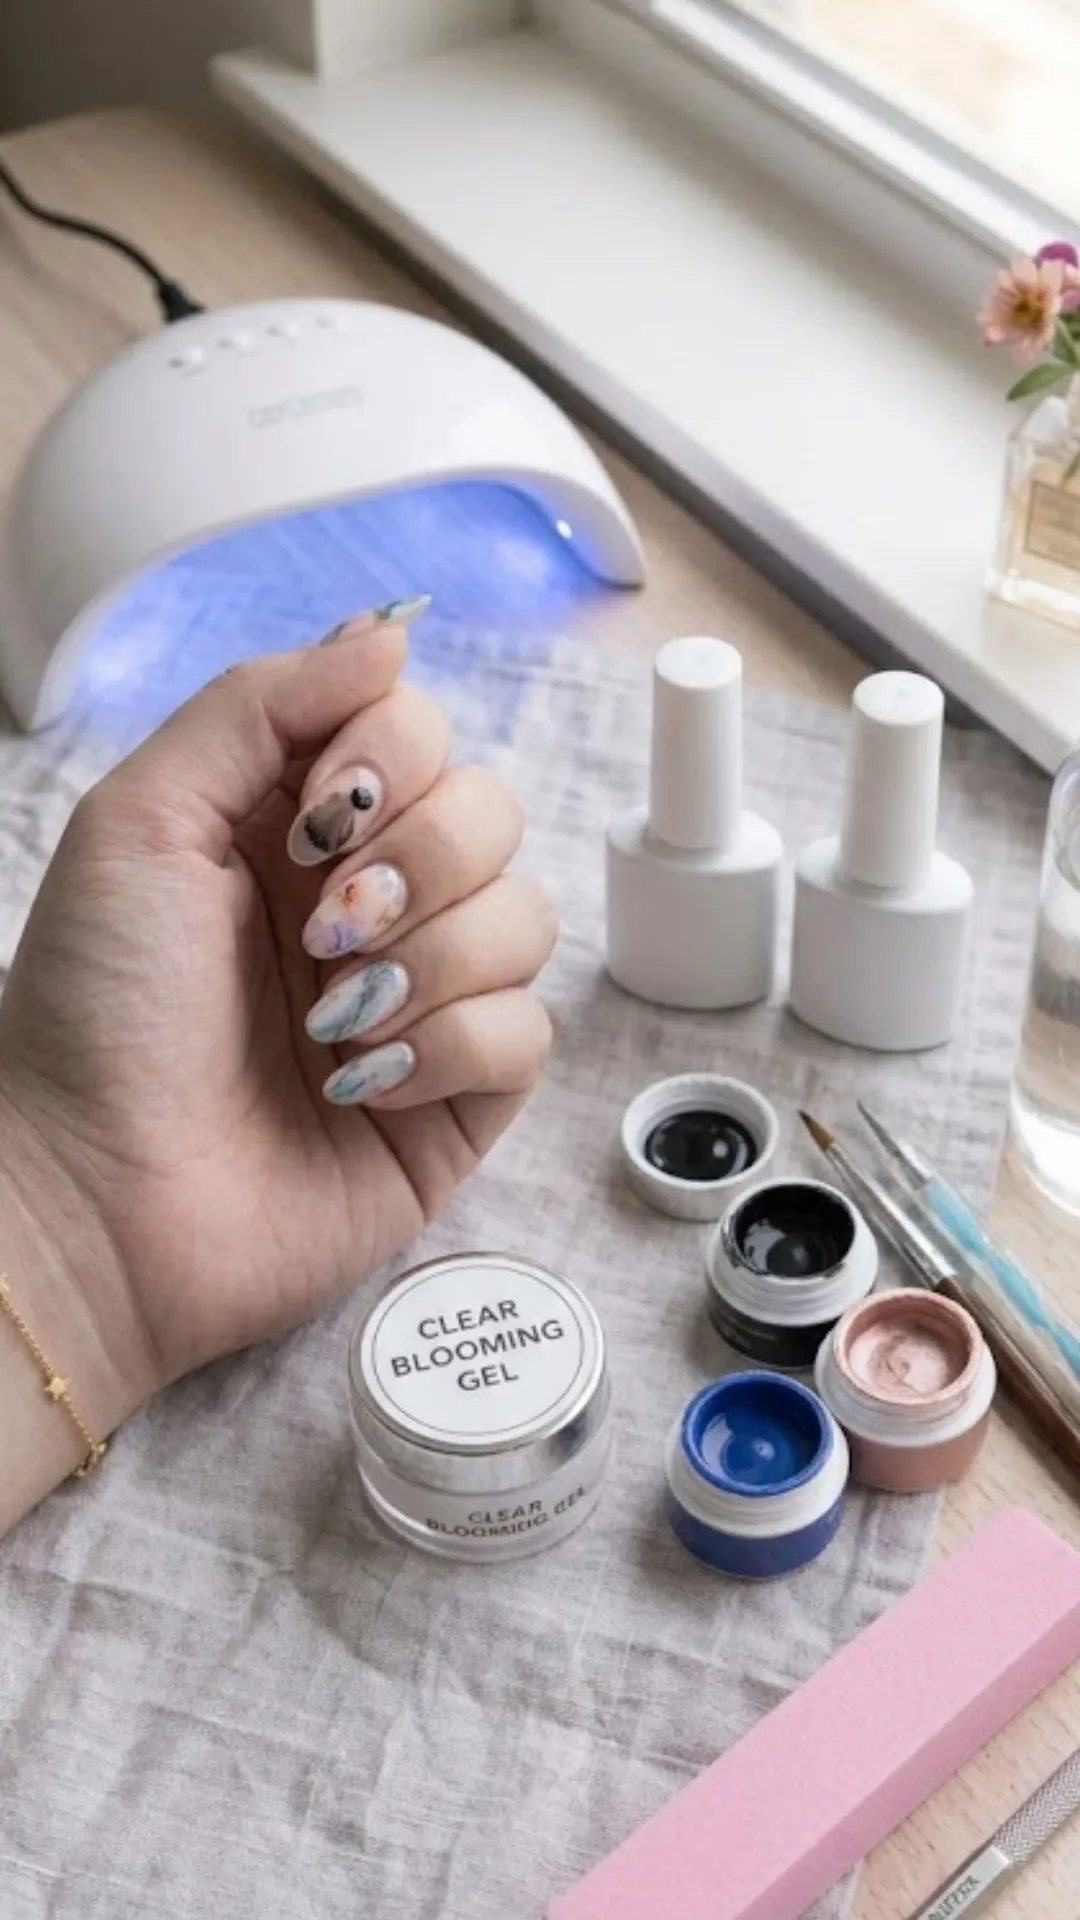
When choosing gel polishes for blooming, choose colors that contrast well with your base color. Dark colors against a light base create a striking effect. Light colors against a dark base create a softer, more ethereal look.
Choosing the Perfect Base Color
The base color you choose sets the stage for your blooming gel design. It can dramatically affect the final look of your nails.
- For a classic, romantic look, choose a soft, neutral base like nude, blush pink, or creamy white. These shades allow your blooming colors to really pop and create a beautiful contrast.
- For a bolder statement, try a darker base like black, navy, or deep burgundy. Light or metallic colors blooming over a dark base create a stunning, dramatic effect that is sure to turn heads.
- You can also coordinate your base color with the season or your mood. Pastel bases are perfect for spring, bright bases for summer, and warm bases for fall.
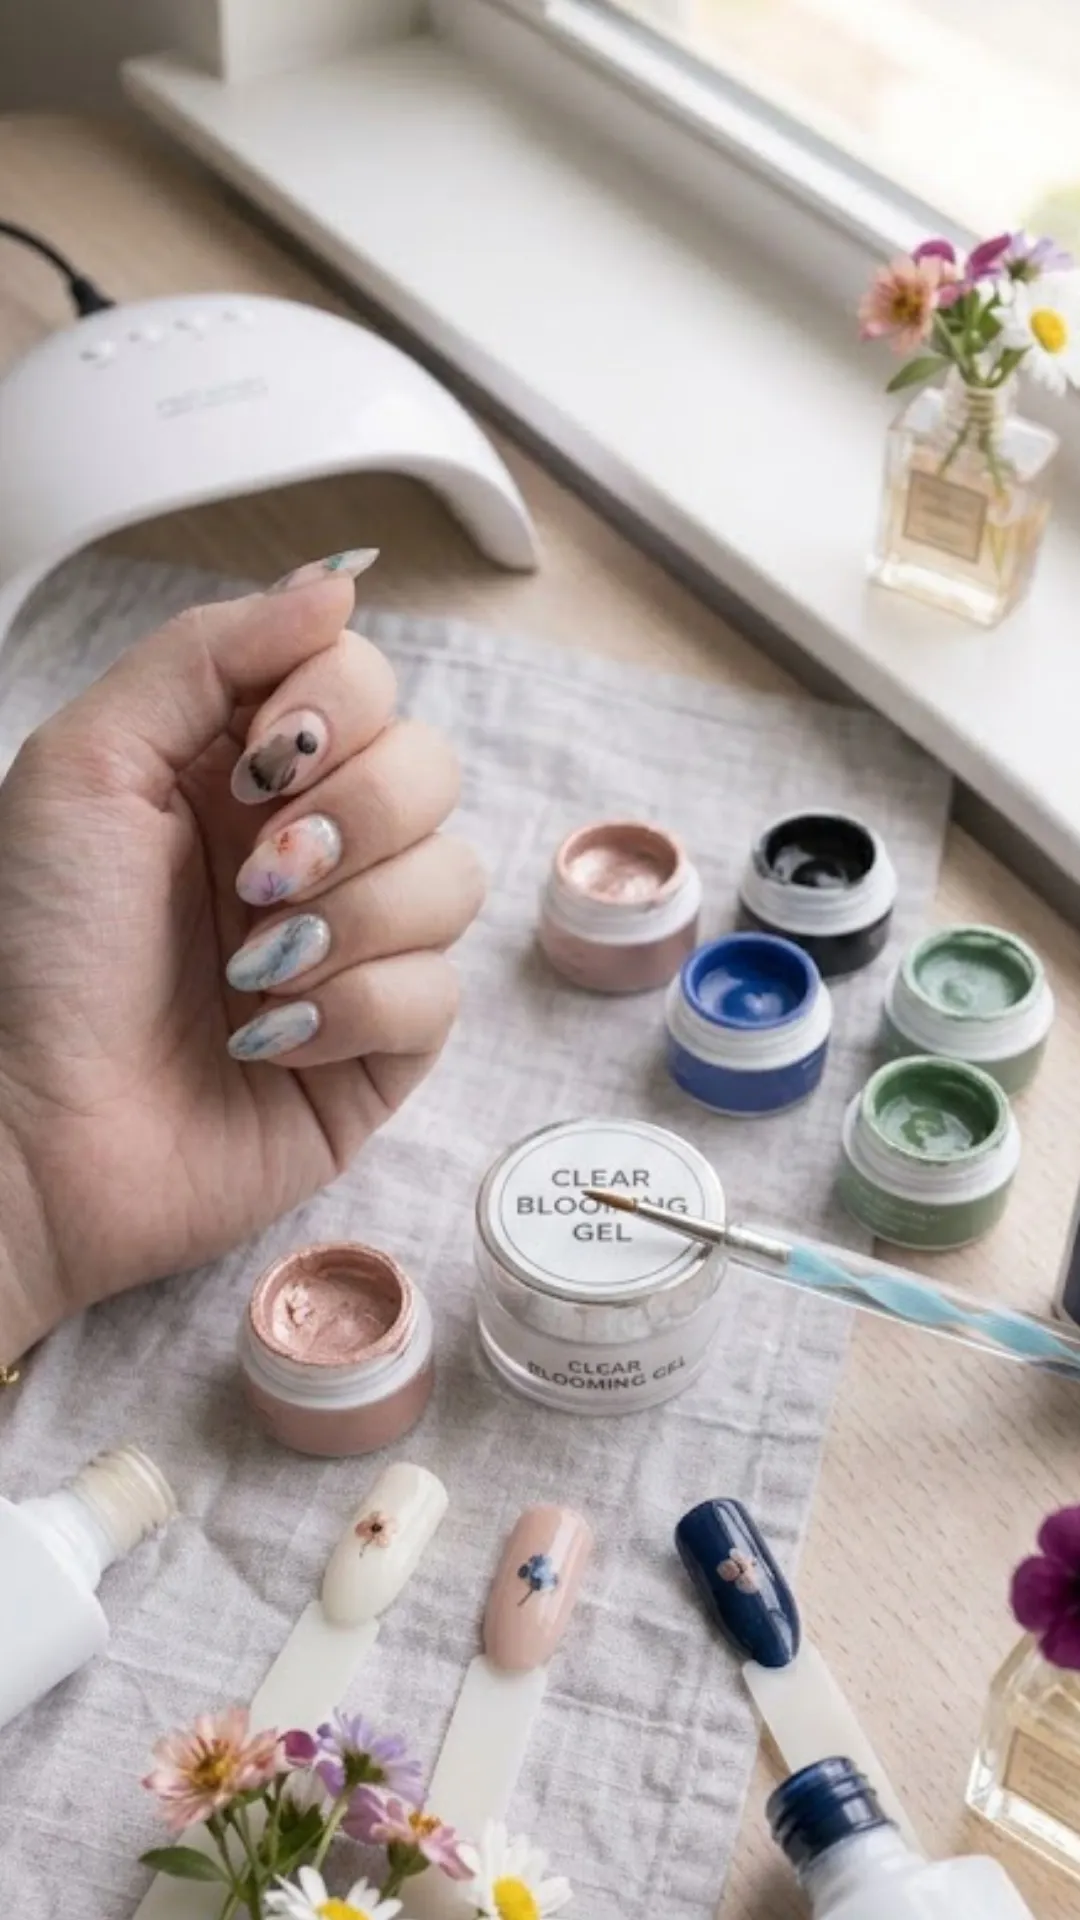
Pro Tip: Always apply 2 to 3 thin coats of your base color and cure each layer before applying the blooming gel. A smooth, even base is essential for the best results.
Step by Step Application Process
Now it is time to dive into the actual process. Follow these steps carefully for DIY Blooming Gel Nails: Step by Step for Stunning Results.
- Start by prepping your nails. Remove any old polish, file your nails into your desired shape, and gently push back your cuticles. Buff the surface of your nails lightly and wipe with rubbing alcohol to remove any oils.
- Apply a thin layer of gel base coat and cure under your lamp for 30 to 60 seconds. Then apply 2 to 3 thin coats of your chosen base color, curing each layer in between.
- Apply a thin, even layer of blooming gel over your entire nail. Here is the key: do not cure it. The blooming gel must stay wet for the magic to happen.
- Using a dotting tool or fine brush, place small dots of your chosen gel polish colors onto the wet blooming gel. Watch as the colors begin to spread and bloom into beautiful patterns.
- Work on one nail at a time. Once you are happy with the bloom, cure the nail under your lamp for 30 to 60 seconds. Then move on to the next nail.
- After all nails are cured, apply a generous layer of gel top coat and cure one final time. Wipe off any tacky residue with rubbing alcohol and a lint-free wipe.
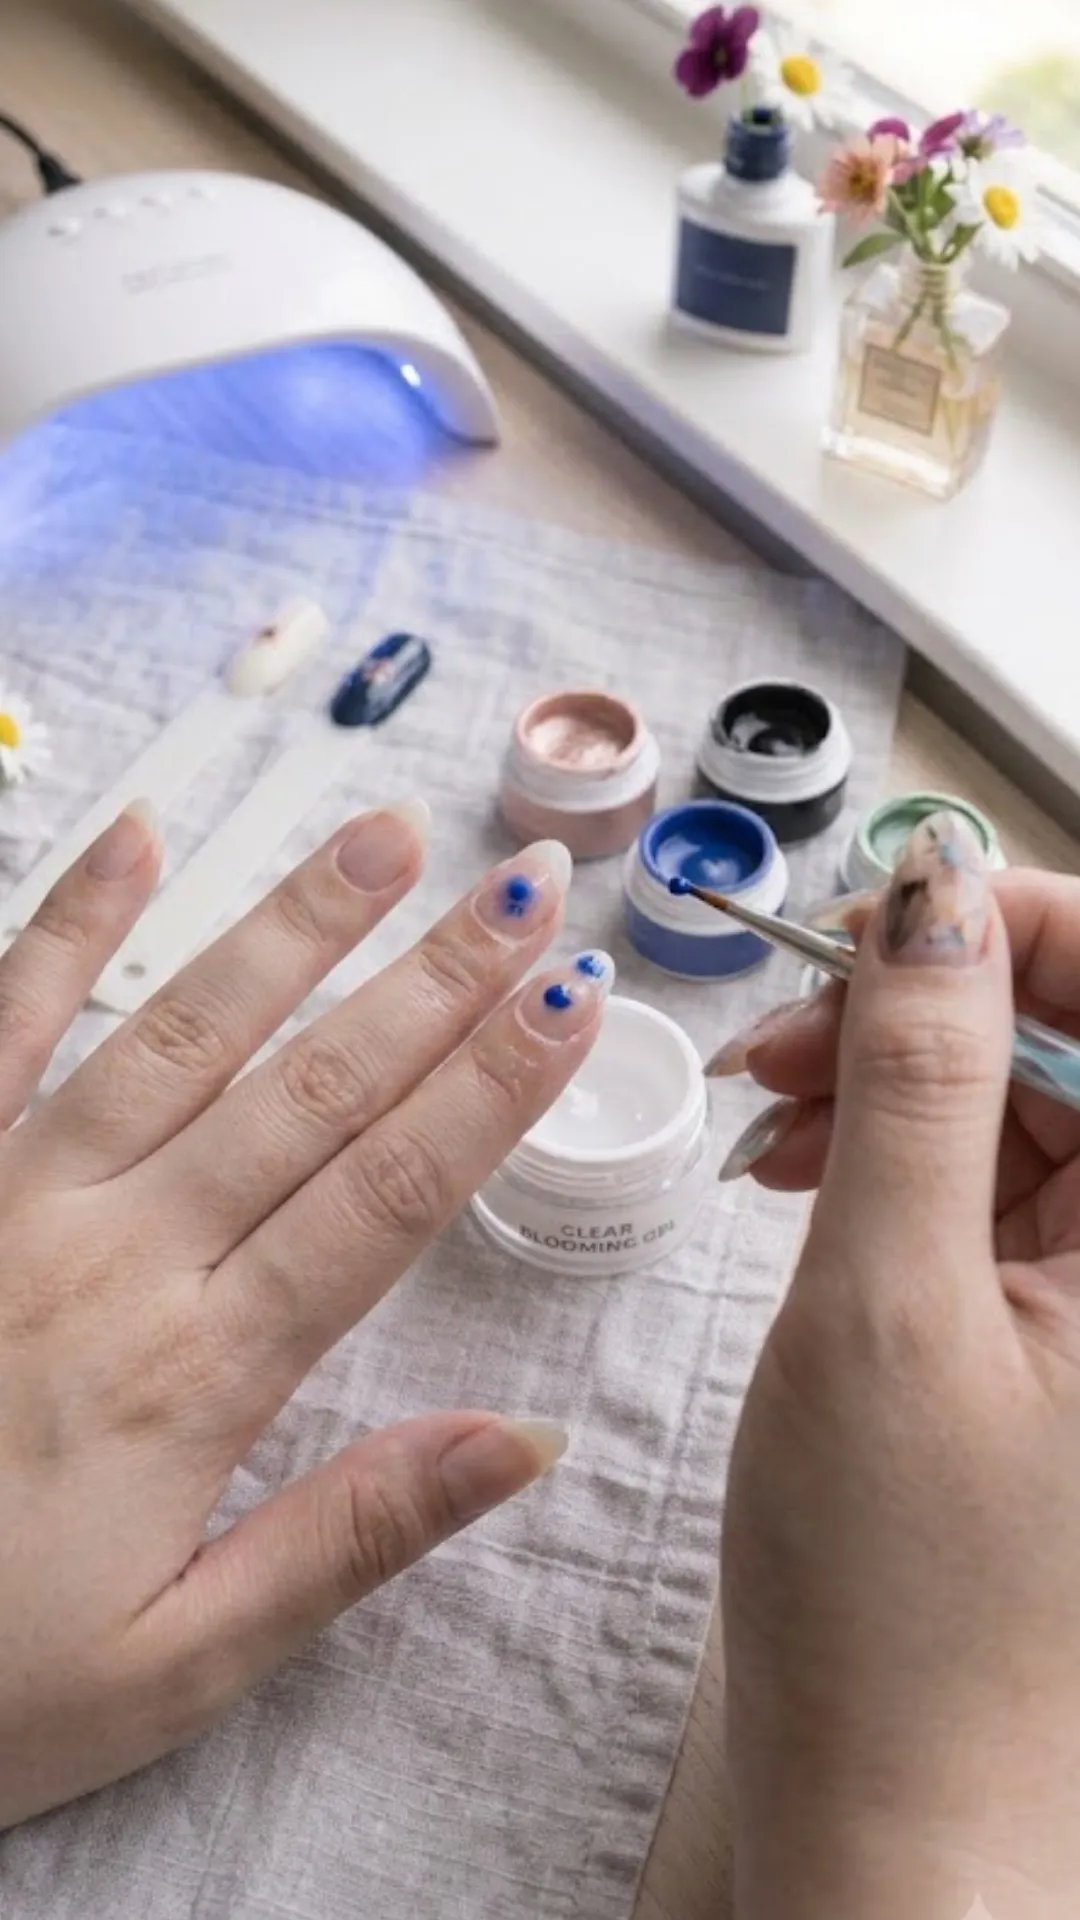
Designer’s Insight: The key to a perfect bloom is the thickness of your blooming gel layer. A thin layer gives you more controlled, subtle blooms. A thicker layer creates bigger, more dramatic blooms.
Creating Gorgeous Floral Designs
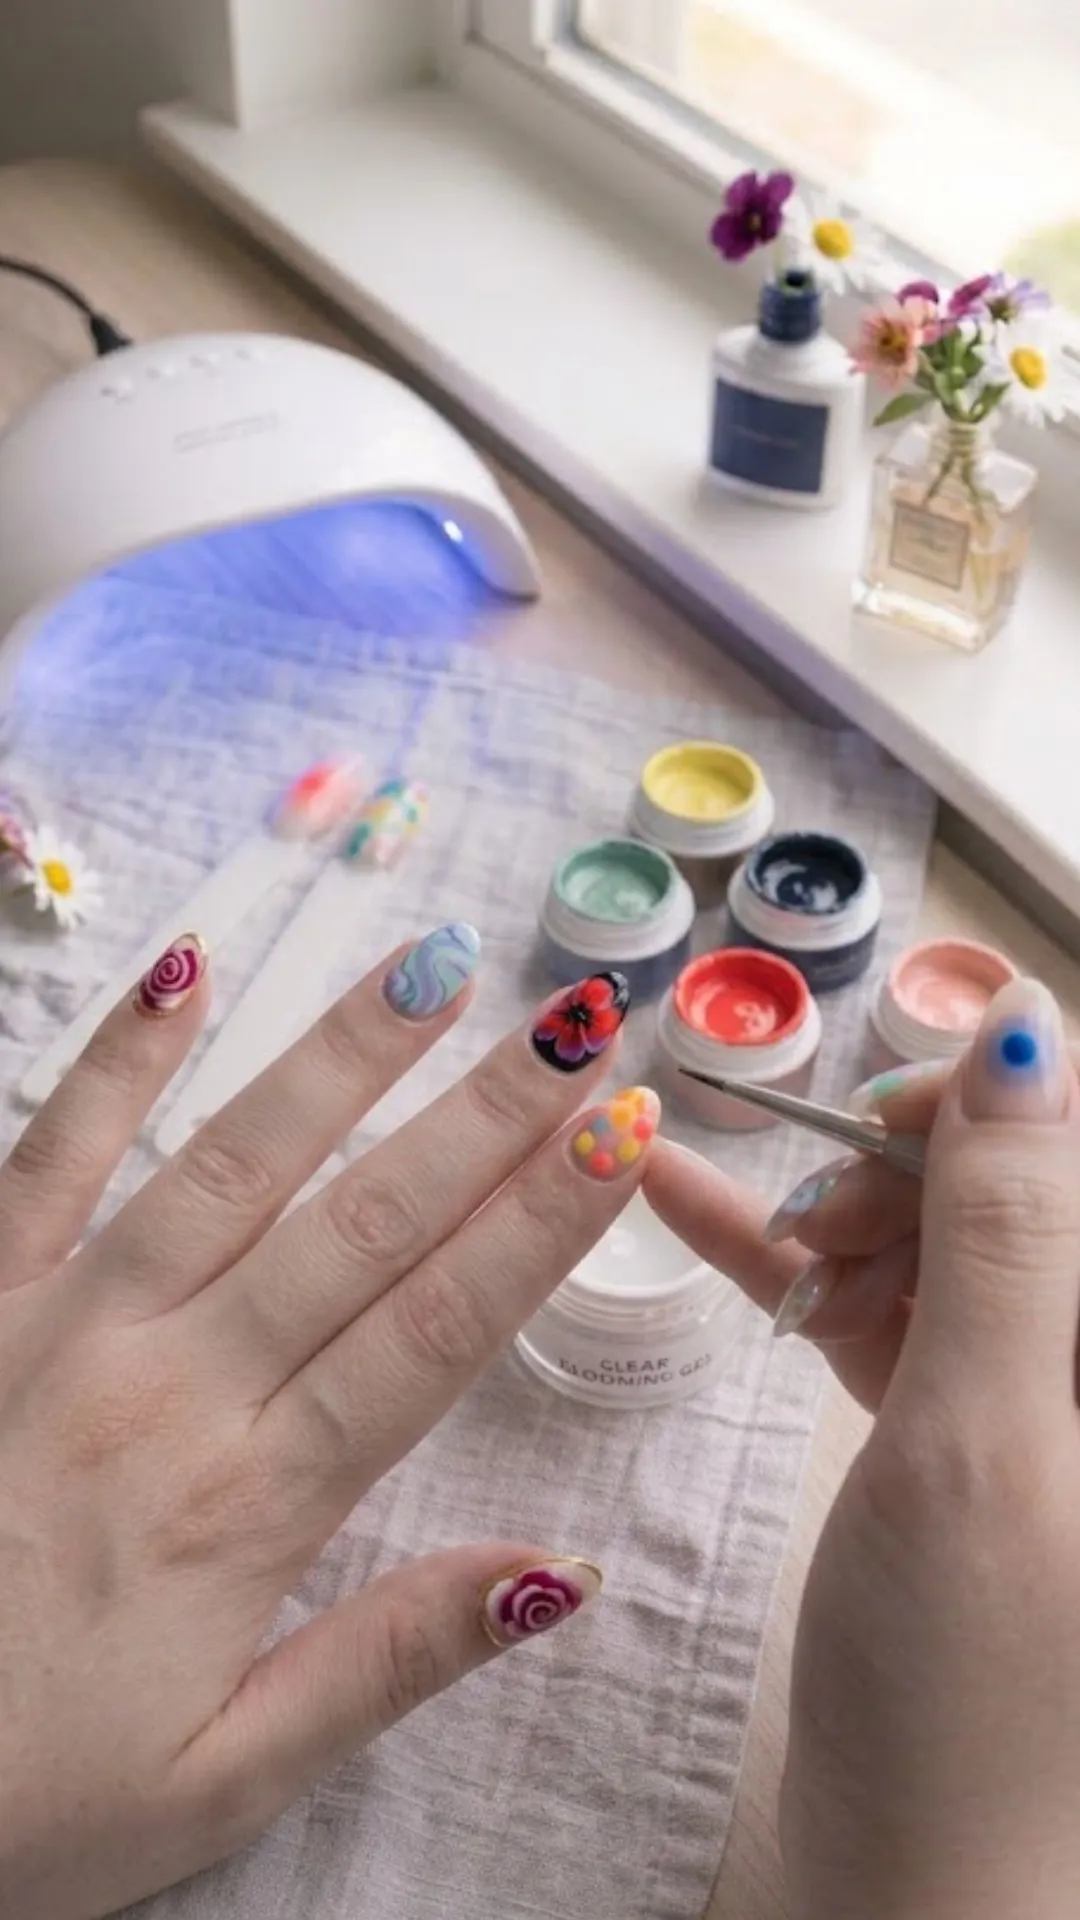
Floral designs are one of the most popular uses for blooming gel, and it is easy to see why. The blooming effect creates stunning, lifelike flowers that look like tiny watercolor paintings.
- For a classic rose design, start by placing a small dot of color in the center of your nail. Then add curved strokes around the center to build petal layers. The blooming gel will soften the edges and create a beautiful, diffused effect.
- For a daisy design, place a central dot of yellow or gold for the center. Then place small white dots around it for the petals. Watch as the blooming gel spreads the petals into a beautiful, organic flower.
- You can also create abstract floral designs by placing random dots of color and letting them bloom into organic shapes. The beauty of this approach is that every design is completely unique.
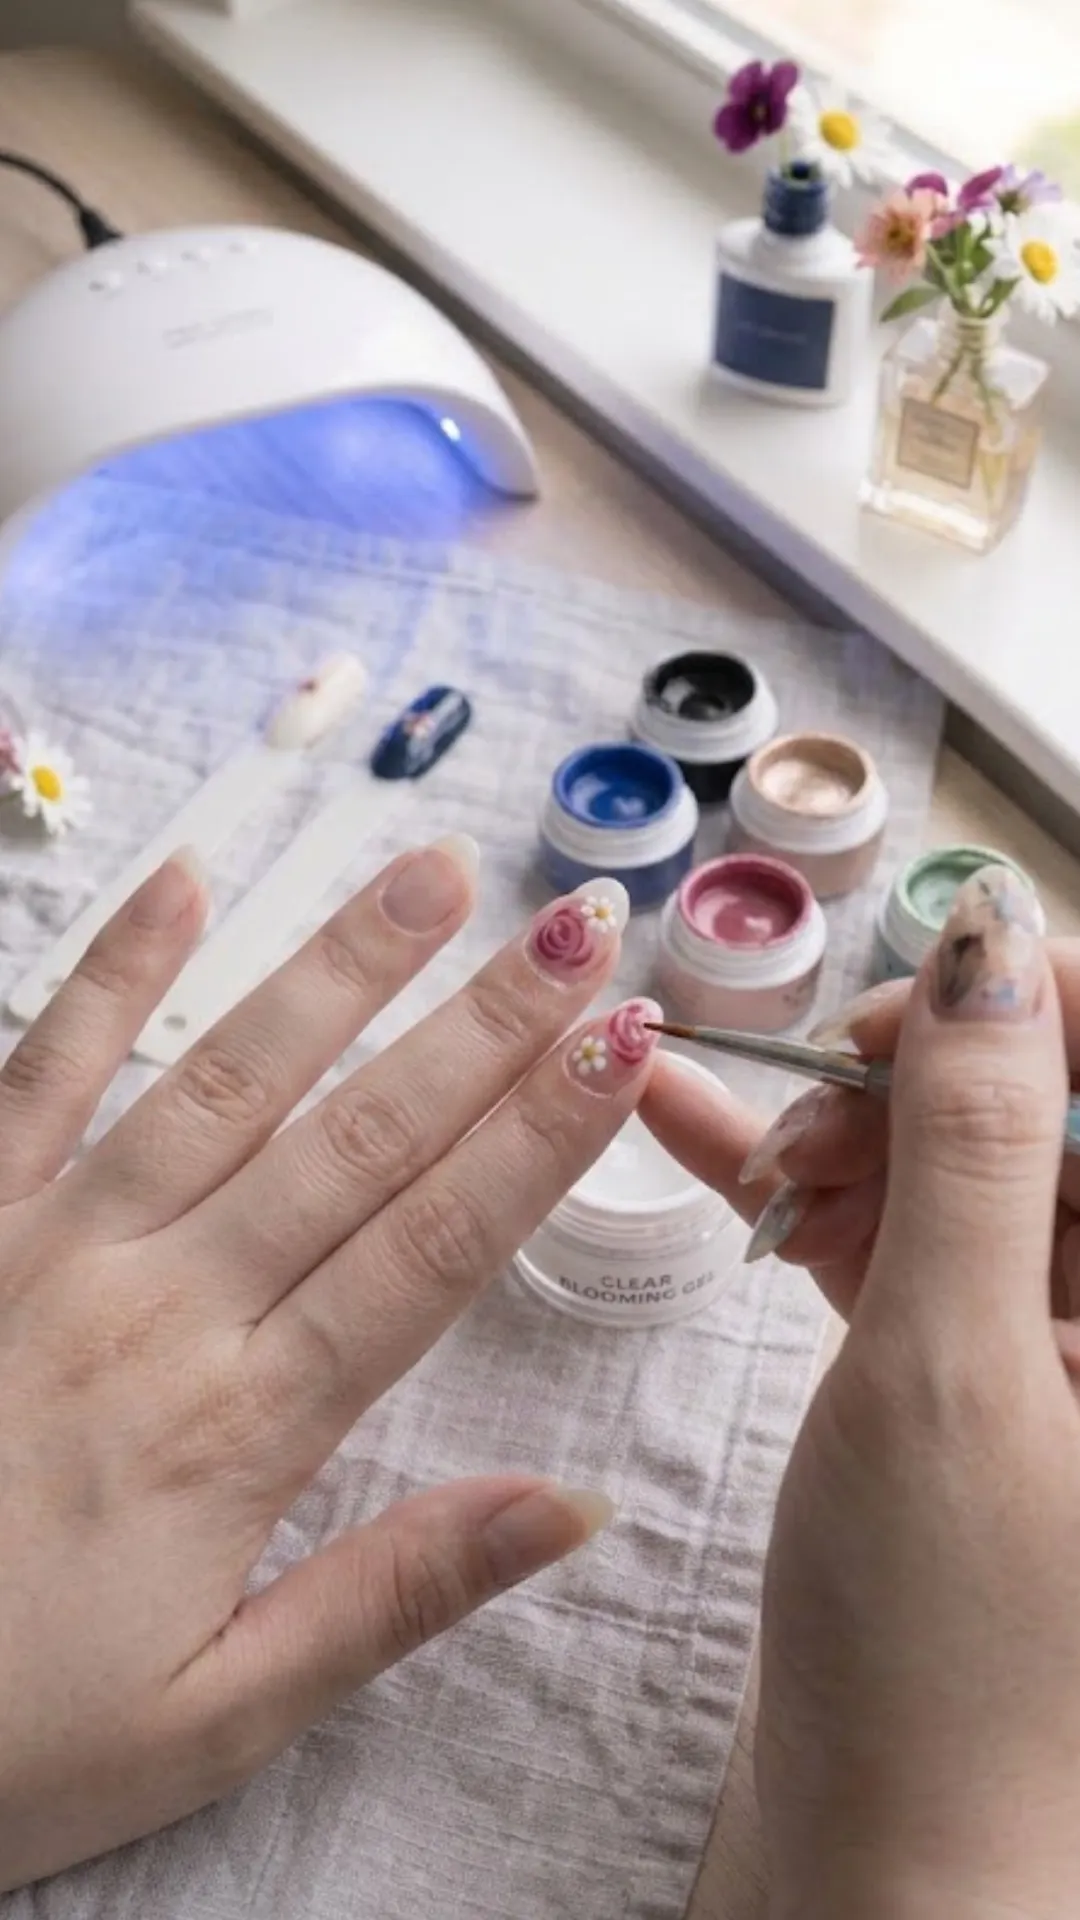
This guide to DIY Blooming Gel Nails: Step by Step for Stunning Results covers everything you need to know about creating breathtaking floral masterpieces. From choosing the right color combinations to controlling the bloom, we have you covered.
Marble and Watercolor Effects
Blooming gel is not just for flowers. It also creates stunning marble and watercolor effects that look incredibly sophisticated.
- For a marble effect, place small dots of different colored gels onto the wet blooming gel. Use a thin brush to gently swirl the colors together. The blooming gel will soften the edges and create a beautiful, marbled pattern.
- For a watercolor effect, use more transparent gels and add a tiny amount of clear gel to your color dots. This creates a softer, more washed-out effect that looks exactly like watercolor painting.
You can also create an aura effect by placing a single color in the center of the nail. Watch as it blooms outward, creating a beautiful, radiating pattern. This is especially stunning with bright colors on a dark base.
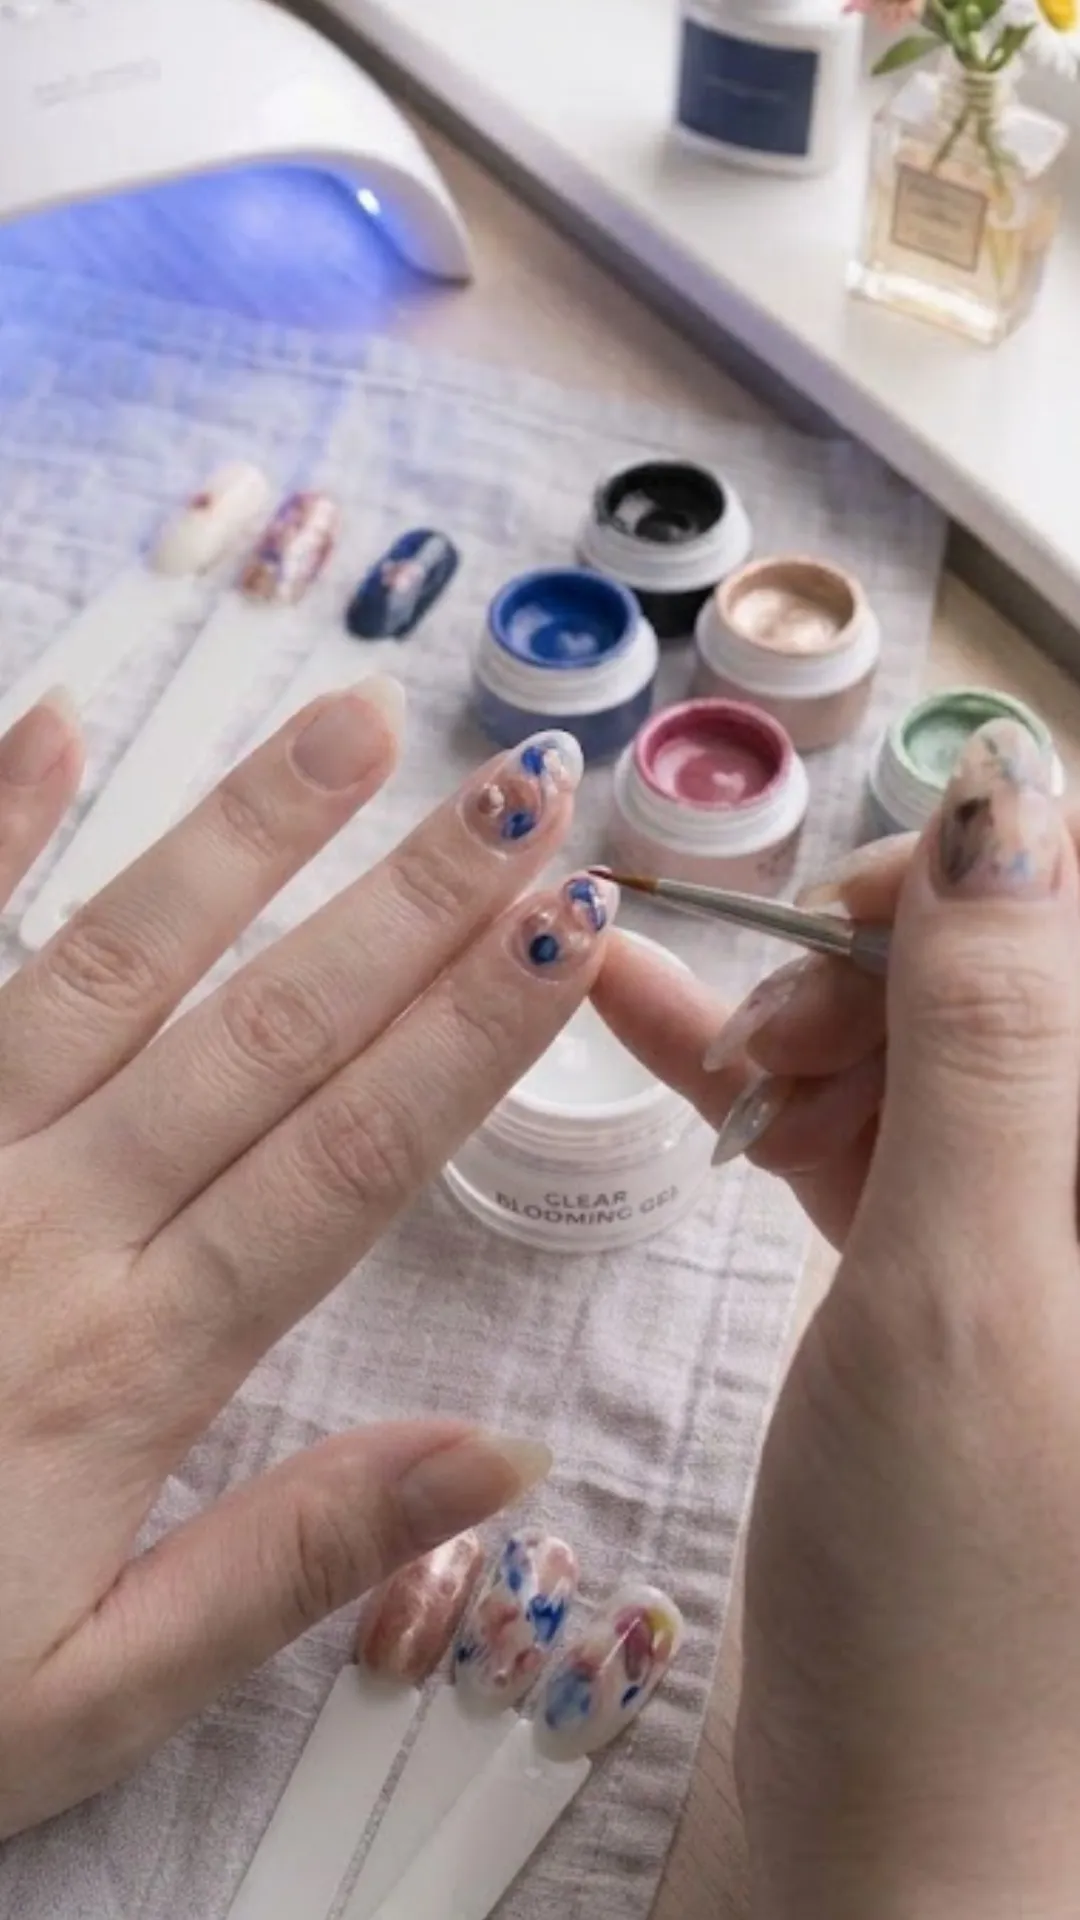
Designer’s Secret: For a more controlled marble effect, use a thin brush to gently guide the colors before they bloom. This helps you create specific patterns rather than relying entirely on the random bloom.
Aura and Tie-Dye Effects
Aura nails are one of the hottest trends right now, and blooming gel makes them incredibly easy to achieve.
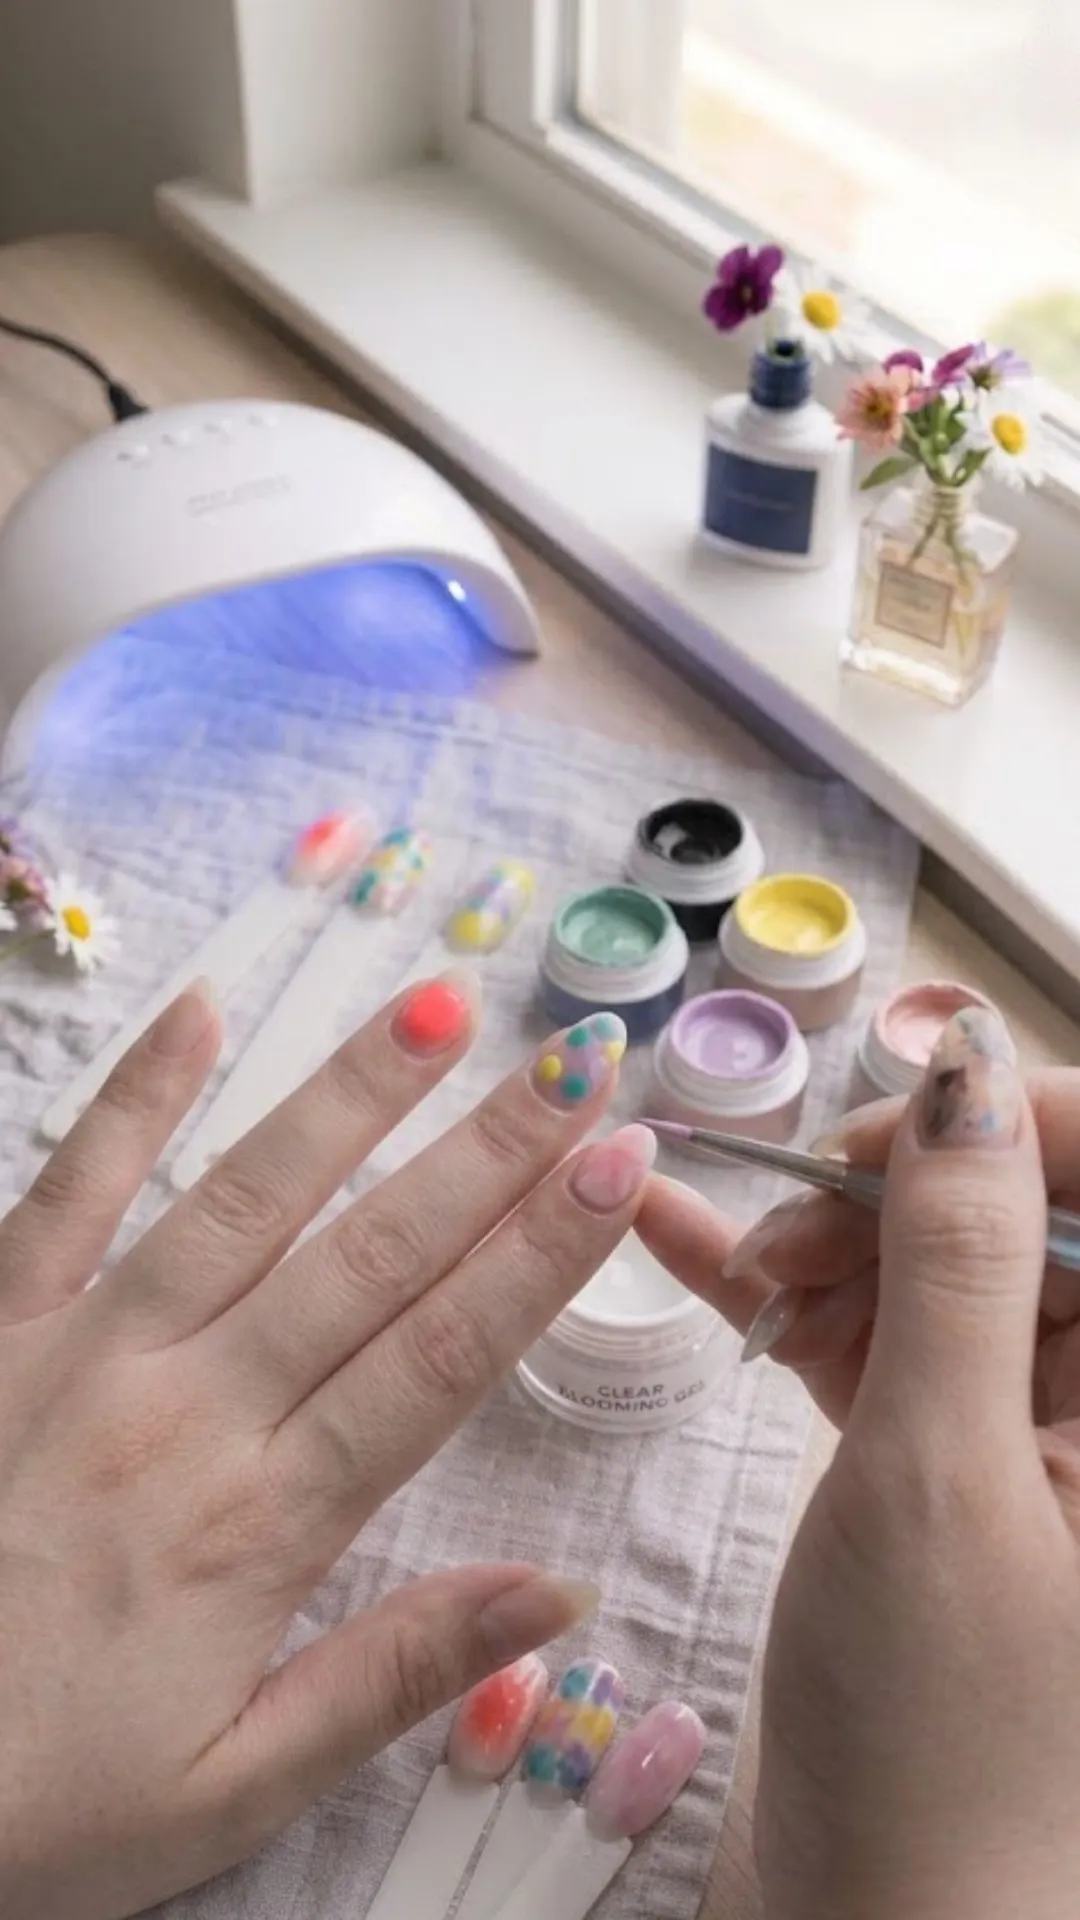
- For an aura effect, place a single dot of bright color in the center of your wet blooming gel. Watch as the color blooms outward, creating a beautiful, radiating halo effect. Choose a bright, vibrant color for the center and a soft, neutral base for the best results.
- Tie-dye effects are also stunning with blooming gel. Place small dots of different colors around your nail and let them bloom into each other. The result is a beautiful, psychedelic pattern that is unique every time.
- For a more subtle tie-dye, use colors that are in the same family, like different shades of pink or blue. The blooming gel will create a beautiful, gradient effect that feels sophisticated and modern.
Common Mistakes and How to Avoid Them
Even with the best technique, things can go wrong. Here are the most common blooming gel mistakes and how to fix them.
- Using too much blooming gel is a common mistake. A thick layer creates huge, uncontrollable blooms that can overwhelm your design. Always apply a thin, even layer for the best results.
- Not curing quickly enough can also cause problems. The longer you wait, the more the colors will spread. If your colors are spreading too much, cure them immediately. If they are not spreading enough, wait a few more seconds.
- Using too much color polish also creates issues. Large dots spread into large blooms that can take over your entire nail. Start with small dots and add more if needed.
- Using a tacky blooming gel is another mistake. Some blooming gels have a tacky layer after curing that can affect the final look. Always check the product instructions and wipe off any tacky residue after curing.
Designer’s Wisdom: Practice makes perfect. Your first attempt might not be flawless, but each time you try, you will get better. Keep experimenting and learning what works best for you.
Color Combinations That Wow
The right color combinations can take your blooming gel nails from pretty to absolutely stunning. Here are some combinations to try.
- For a romantic look, try soft pinks with creamy whites and a touch of gold. The result is soft, feminine, and incredibly beautiful.
- For a bold, dramatic look, try bright reds, deep purples, and black. The contrast creates a stunning, edgy effect that is perfect for special occasions.
- For a calm, peaceful look, try soft blues, lavenders, and mint greens. These colors create a tranquil, serene effect that feels like a breath of fresh air.
- For a tropical vibe, try bright oranges, yellows, and pinks. These colors create a fun, energetic look that is perfect for summer.
- For a sophisticated look, try neutrals with a pop of color. A nude base with a single, vibrant color blooming in the center is elegant and modern
.
Caring for Your Blooming Gel Nails
You have put in the work to create gorgeous blooming gel nails. Now you want them to last. With proper care, they can stay beautiful for weeks.
- Always wear gloves when doing household chores. Harsh chemicals and prolonged water exposure can weaken your gel polish and cause lifting.
- Apply cuticle oil daily to keep your natural nails and cuticles nourished. This also helps prevent your gel polish from lifting at the edges.
- Avoid using your nails as tools. Opening cans, scratching off labels, or picking at things can cause chipping and damage.
- When you are ready to remove your blooming gel nails, use the soak-off method. Wrap cotton pads soaked in acetone around your nails with foil and wait 10 to 15 minutes. Never peel or scrape your gel polish off, as this can damage your natural nails.
Your Blooming Gel Journey Awaits
Blooming gel is one of the most exciting innovations in nail art. It allows anyone to create stunning, professional-looking designs with minimal effort. The blooming effect is always beautiful, always unique, and always impressive.
Whether you choose romantic florals, sophisticated marble, bold aura designs, or playful tie-dye, your blooming gel nails will be a reflection of your creativity and personal style.
So go ahead and experiment. Try different colors, different techniques, and different effects. The possibilities are endless, and the results are always stunning.
Your blooming gel journey starts now. And it is going to be beautiful.
Ready to Create Your Stunning Blooming Gel Nails?
Now that you have this complete guide, it is time to put your knowledge into action. Gather your supplies, set up your workspace, and start creating those dreamy, watercolor-style nails you have always admired.
Head over to donutnail.com for more nail art tutorials, product recommendations, and inspiration for your next manicure. We have everything you need to become your own nail artist.
Your stunning blooming gel nails are just a few steps away. Go ahead and treat yourself to a manicure that will turn heads and make you feel absolutely fabulous.
Master DIY Blooming Gel Nails: Step by Step for Stunning Results with our easy tutorial! 🌸 Create dreamy watercolor, floral, and marble designs at home. Save this pin for your next creative manicure! 💅✨ #BloomingGel #DIYNails #NailArtTutorial
Table of Contents
You might also Like: 10 Nail Art Hacks That Professionals Don’t Want You to Know (Try #7 Today!)

