
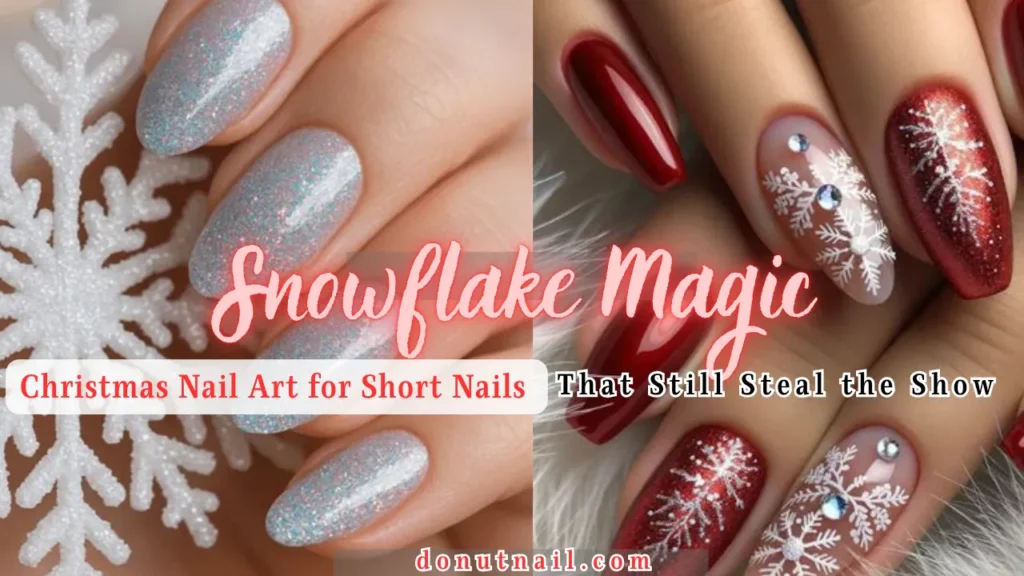
Discover Christmas Nail Art for Short Nails That Still Steal the Show with 12 easy designs. From snowflakes to candy canes, get festive nails you’ll love!
Let’s be honest for a second. Have you ever stared at those intricate Christmas nail art videos on Pinterest and thought, “That’s gorgeous, but my nails are way too short for that”?
I’ve been there too. For years, I assumed that stunning holiday nail art was reserved for people with long, glamorous nails. Every December, I’d admire all the elaborate reindeer and snowflake designs, feeling like my short, practical nails just couldn’t measure up.
But here’s the secret I wish I’d known sooner: short nails are actually the perfect canvas for Christmas nail art. They’re chic, sophisticated, and surprisingly easy to decorate. You don’t need a ton of space to make a big statement. In fact, some of the most elegant holiday looks I’ve ever seen were on short nails.
Whether you’re a busy mom, a working professional, or just someone who prefers keeping their nails practical, this guide is for you. Today, I’m sharing 12 stunning Christmas nail art ideas specifically designed for short nails. From classic candy canes to elegant snowflakes, these designs prove that Christmas Nail Art for Short Nails That Still Steal the Show is absolutely achievable. Let’s dive in!
Why Short Nails Are Actually Perfect for Christmas Nail Art
Short nails aren’t a limitation. They’re an opportunity! Think about it. Short nails are neat, practical, and don’t snag on sweaters or gloves during the cold winter months. They’re also incredibly versatile and suit every hand shape.
Bold colors and intricate designs actually pop beautifully on shorter nail beds. The compact space forces you to be intentional with your design, which often results in a more polished and sophisticated look.
Plus, short nails are low-maintenance. They chip less, break less, and are generally easier to maintain throughout the busy holiday season. So let’s stop thinking of short nails as a disadvantage and start celebrating them as the chic, practical canvases they are!
What You’ll Need to Get Started
Before we dive into the designs, let’s make sure you have the right tools. You don’t need a professional nail kit. A few basic items will do the trick:
- Base coat – Protects your nails and helps polish last longer
- Top coat – Seals your design and adds shine
- Nude or sheer pink polish – Great for “negative space” designs
- Classic red polish – A Christmas staple
- Opaque white polish – Essential for snowflakes and candy canes
- Green polish – For Christmas trees and holly
- Gold or silver glitter polish – Adds that festive sparkle
- Fine nail art brush – The star tool for creating sharp lines
- Dotting tool – Or a toothpick for creating dots and swirls
- Nail polish remover and clean-up brush – For fixing small mistakes
That’s it! With these basics, you can create almost any design on this list.
Design 1: Classic Red with a Twist
You can never go wrong with red nails at Christmas. But let’s elevate the classic red manicure with a tiny twist.
Paint all your nails with two coats of a gorgeous, glossy red polish. Then, on your ring finger (or any accent nail), add a thin gold stripe down the center or a tiny gold dot near the cuticle. This small detail catches the light beautifully and instantly makes your manicure feel special.
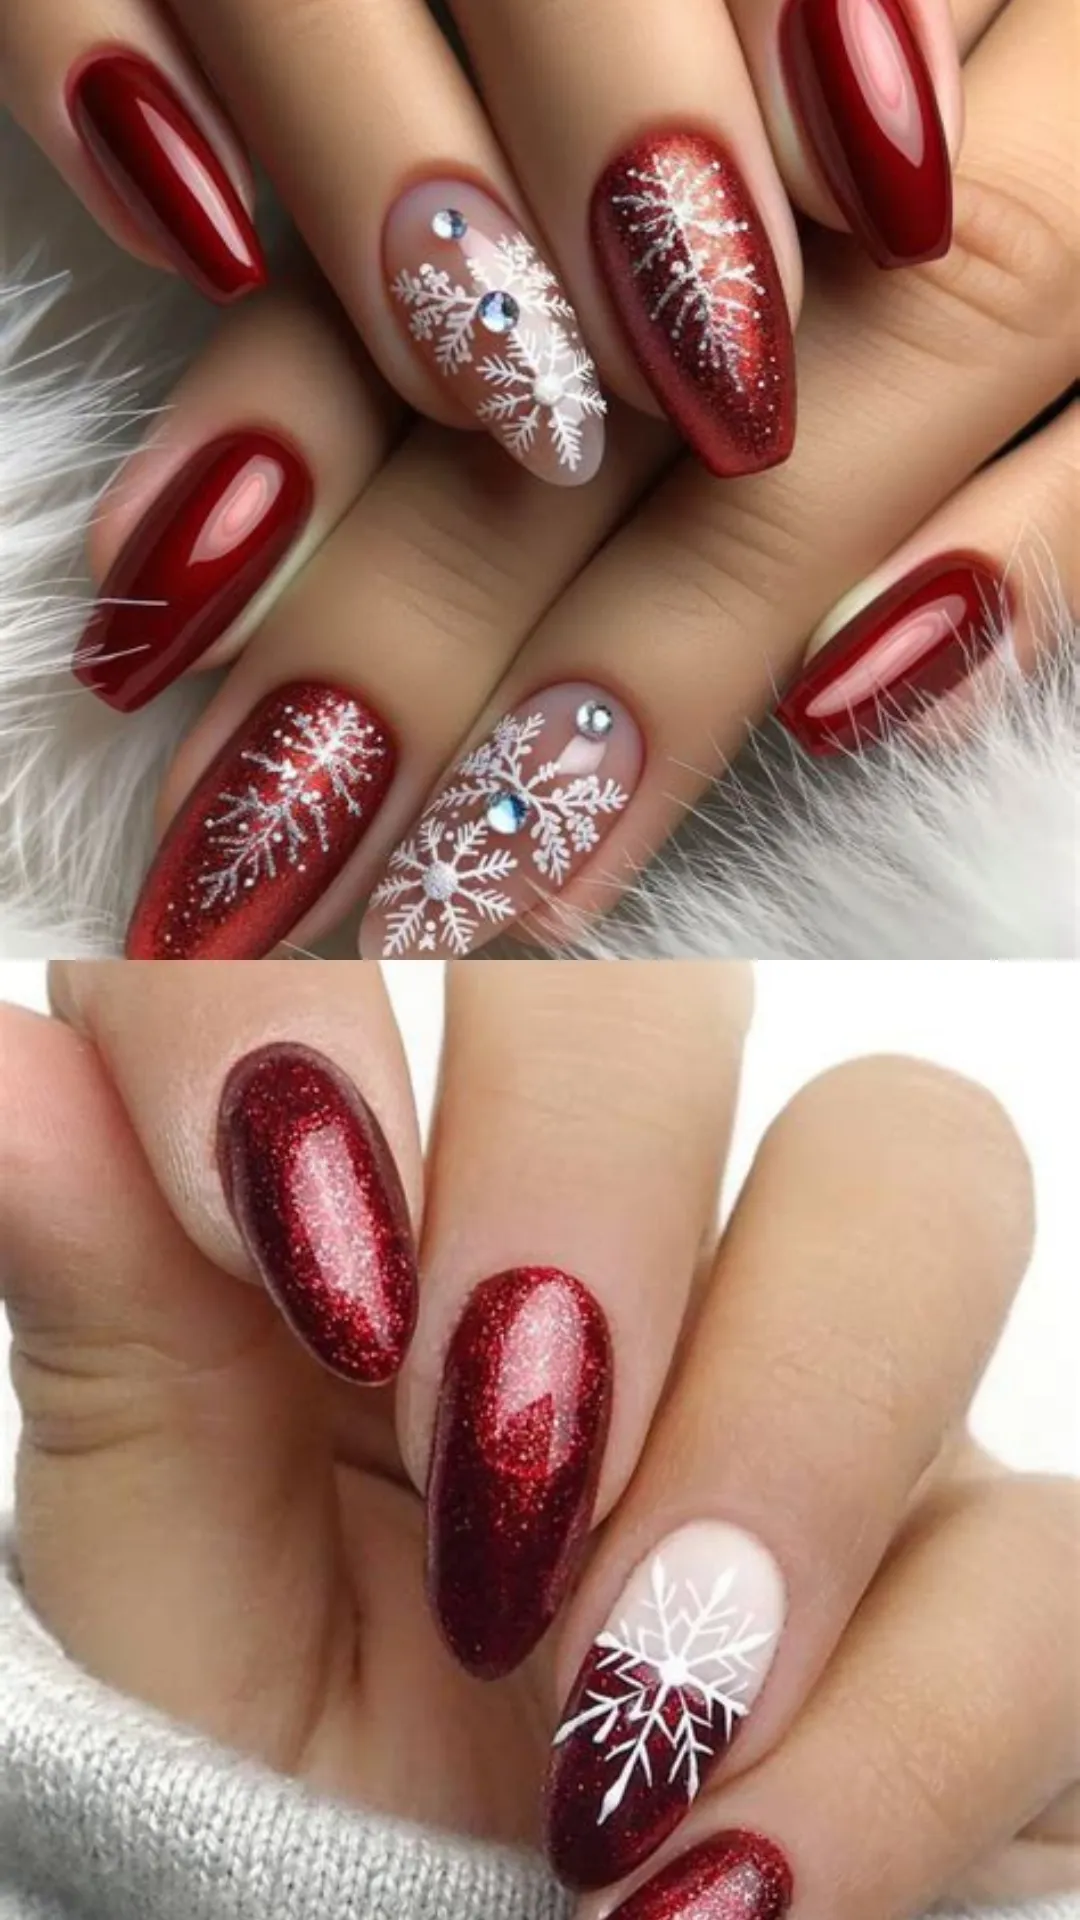
Try this: Use a matte top coat on all nails and a glossy top coat on just the accent nail. The contrast in textures is subtle but stunning!
Design 2: Snowflake Magic on a Nude Base
This is one of my absolute favorites. It’s elegant, timeless, and surprisingly easy to achieve.
Start with a nude or clear base coat. Once dry, use a fine nail art brush and white polish to paint a delicate snowflake on your ring finger. Don’t worry about perfection! Even a simple asterisk shape with a few dots looks gorgeous. For extra sparkle, add a few tiny dots of silver glitter around the snowflake.
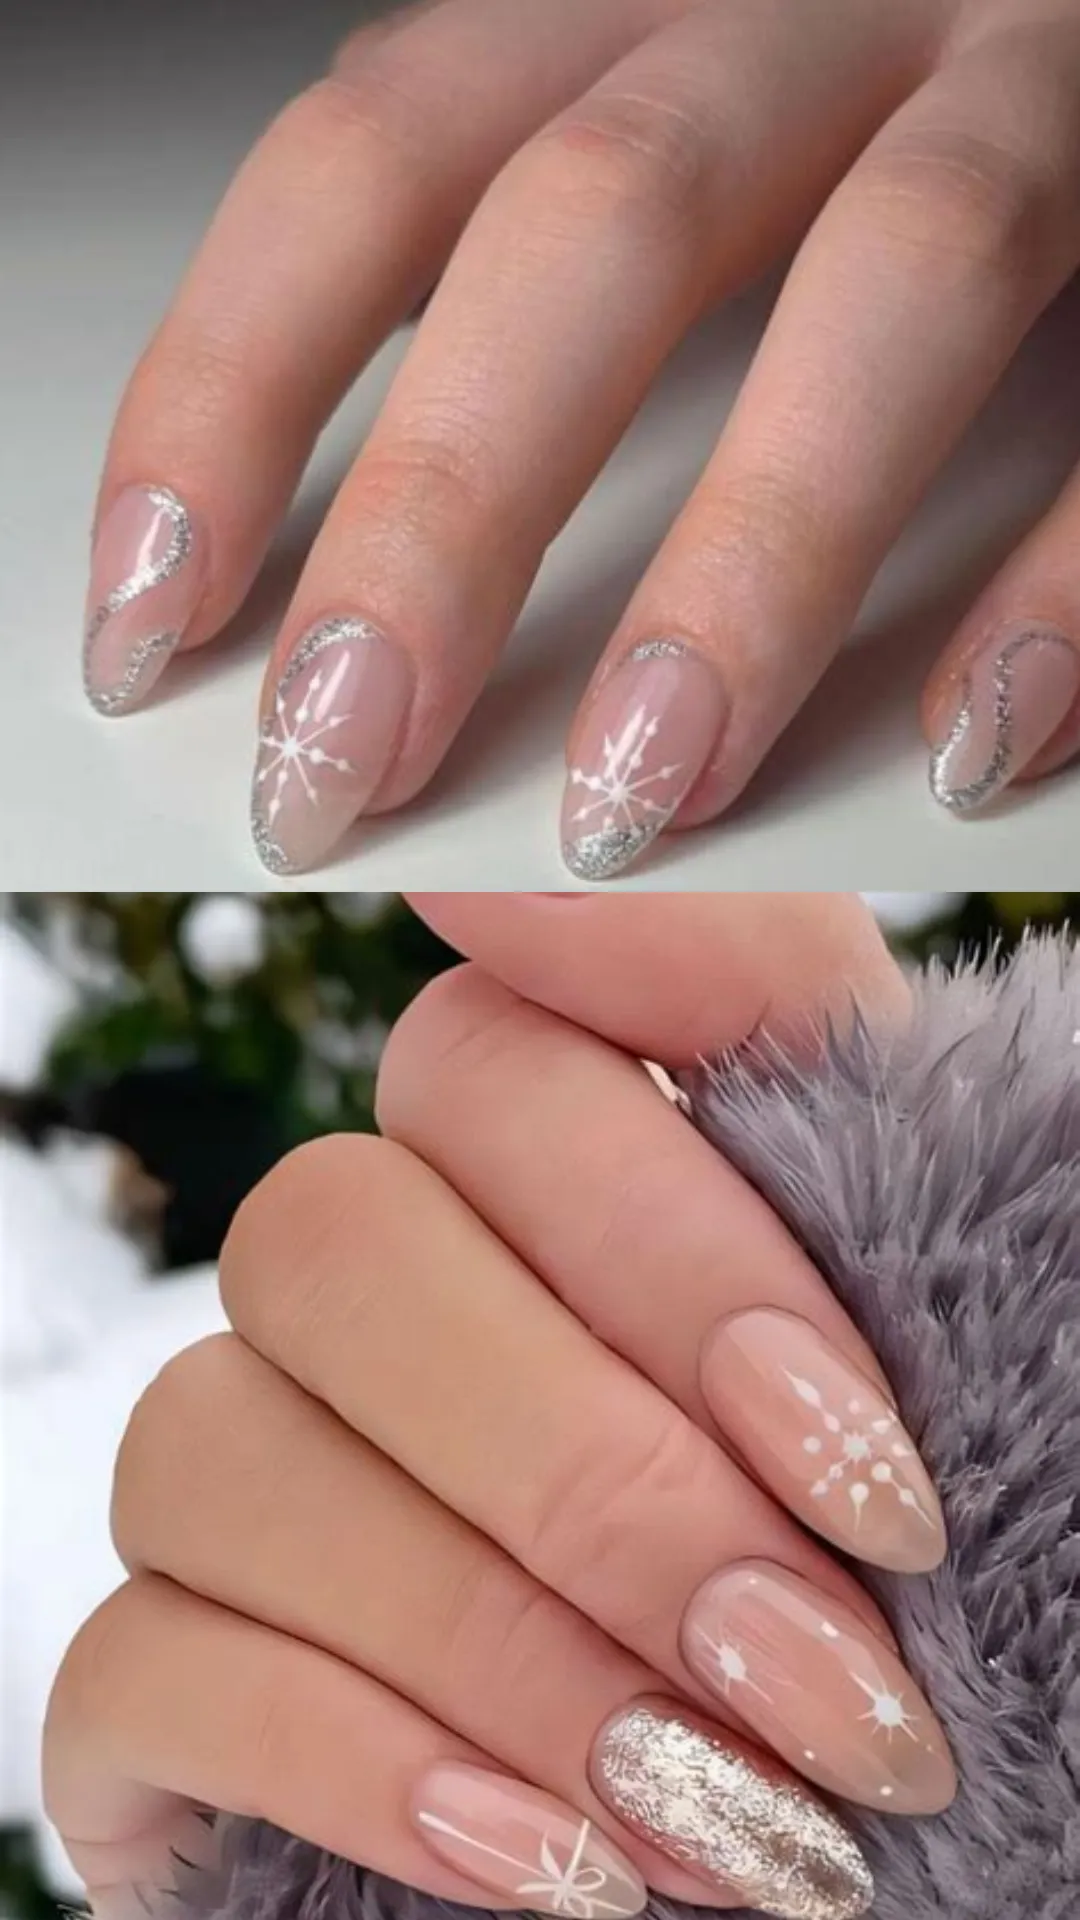
Remember: Snowflakes don’t have to be perfect. Each one is unique, just like in nature!
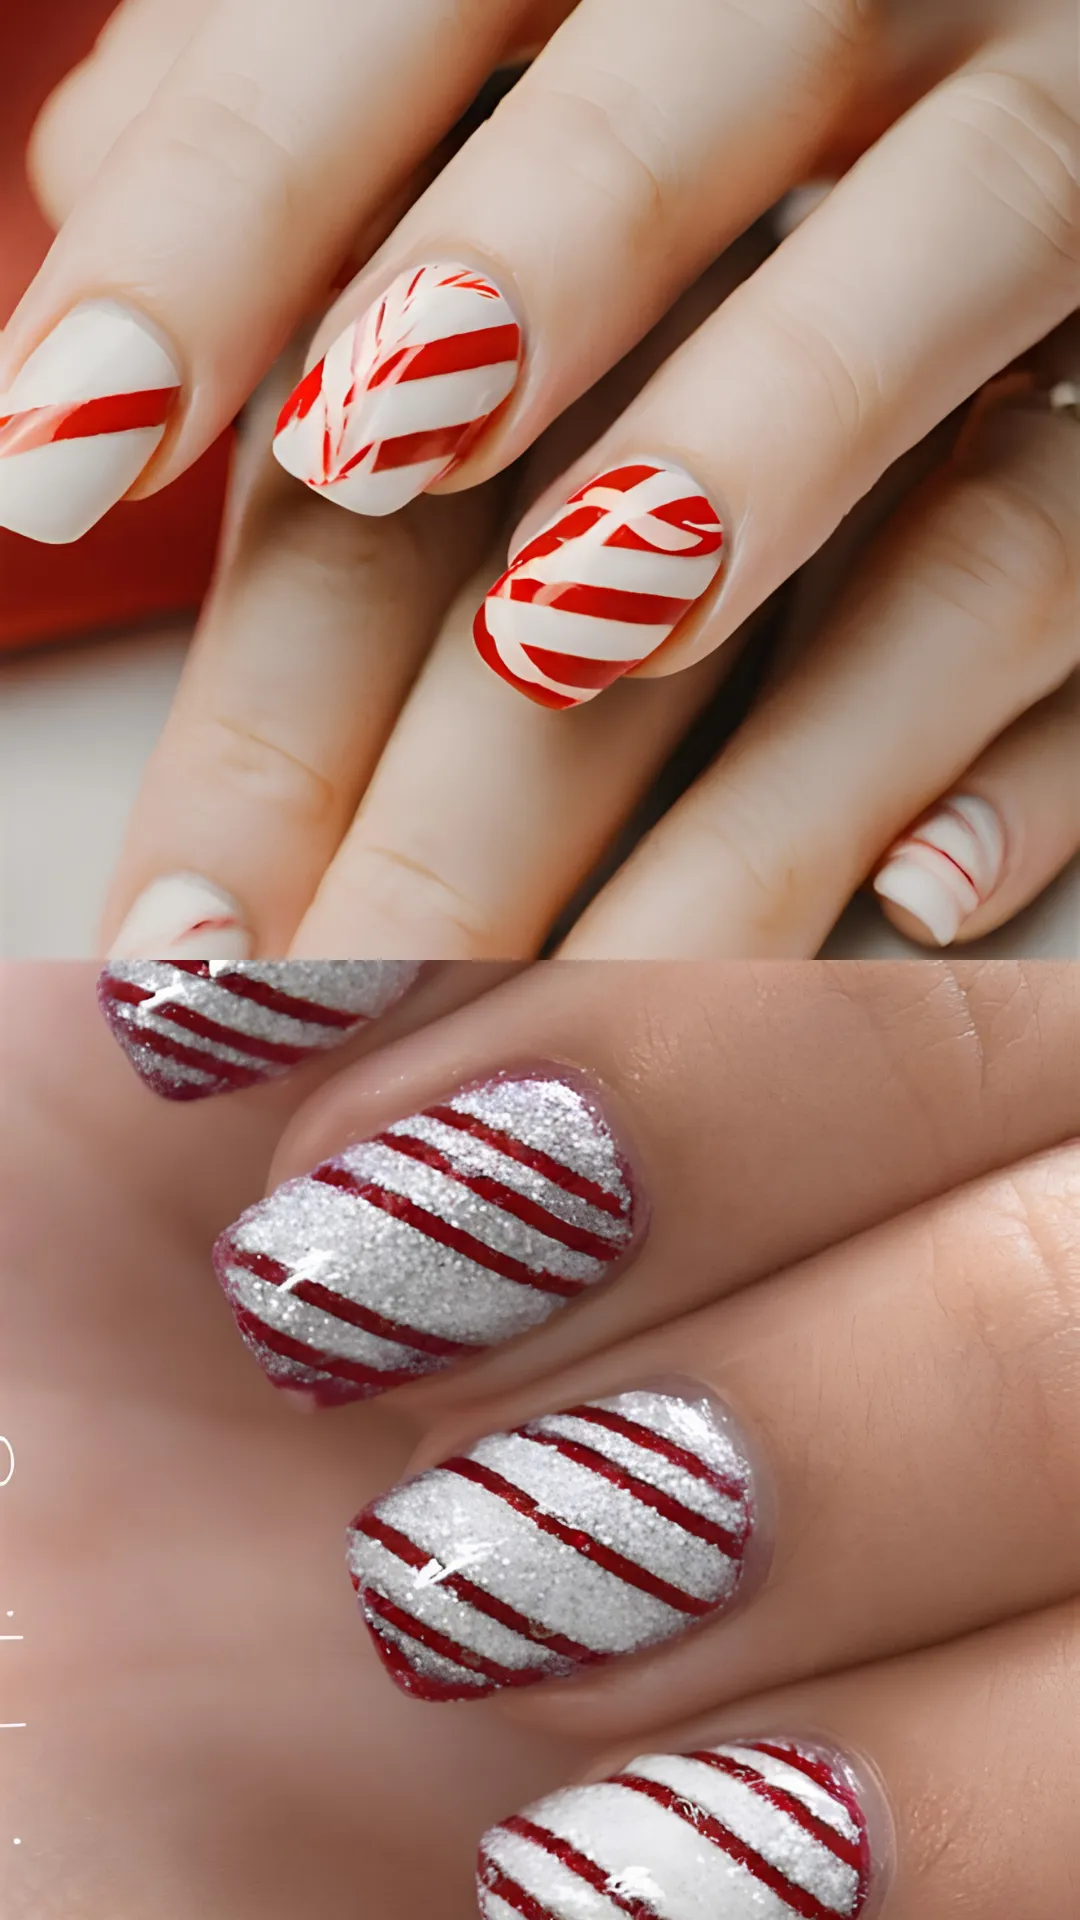
Design 3: Peppermint Swirl Nails
Peppermint swirl nails are surprisingly easy to create, even if you’re not a nail art pro. They look incredibly neat and charming on short nails.
Paint your nails with two coats of crisp white polish and let them dry completely. Using a fine nail art brush or even a toothpick, draw thin, curved lines in vibrant red polish across your white nail. While the red lines are still wet, gently drag a clean toothpick through them in a circular motion to create that classic marbled swirl effect. Finish with a glossy top coat.
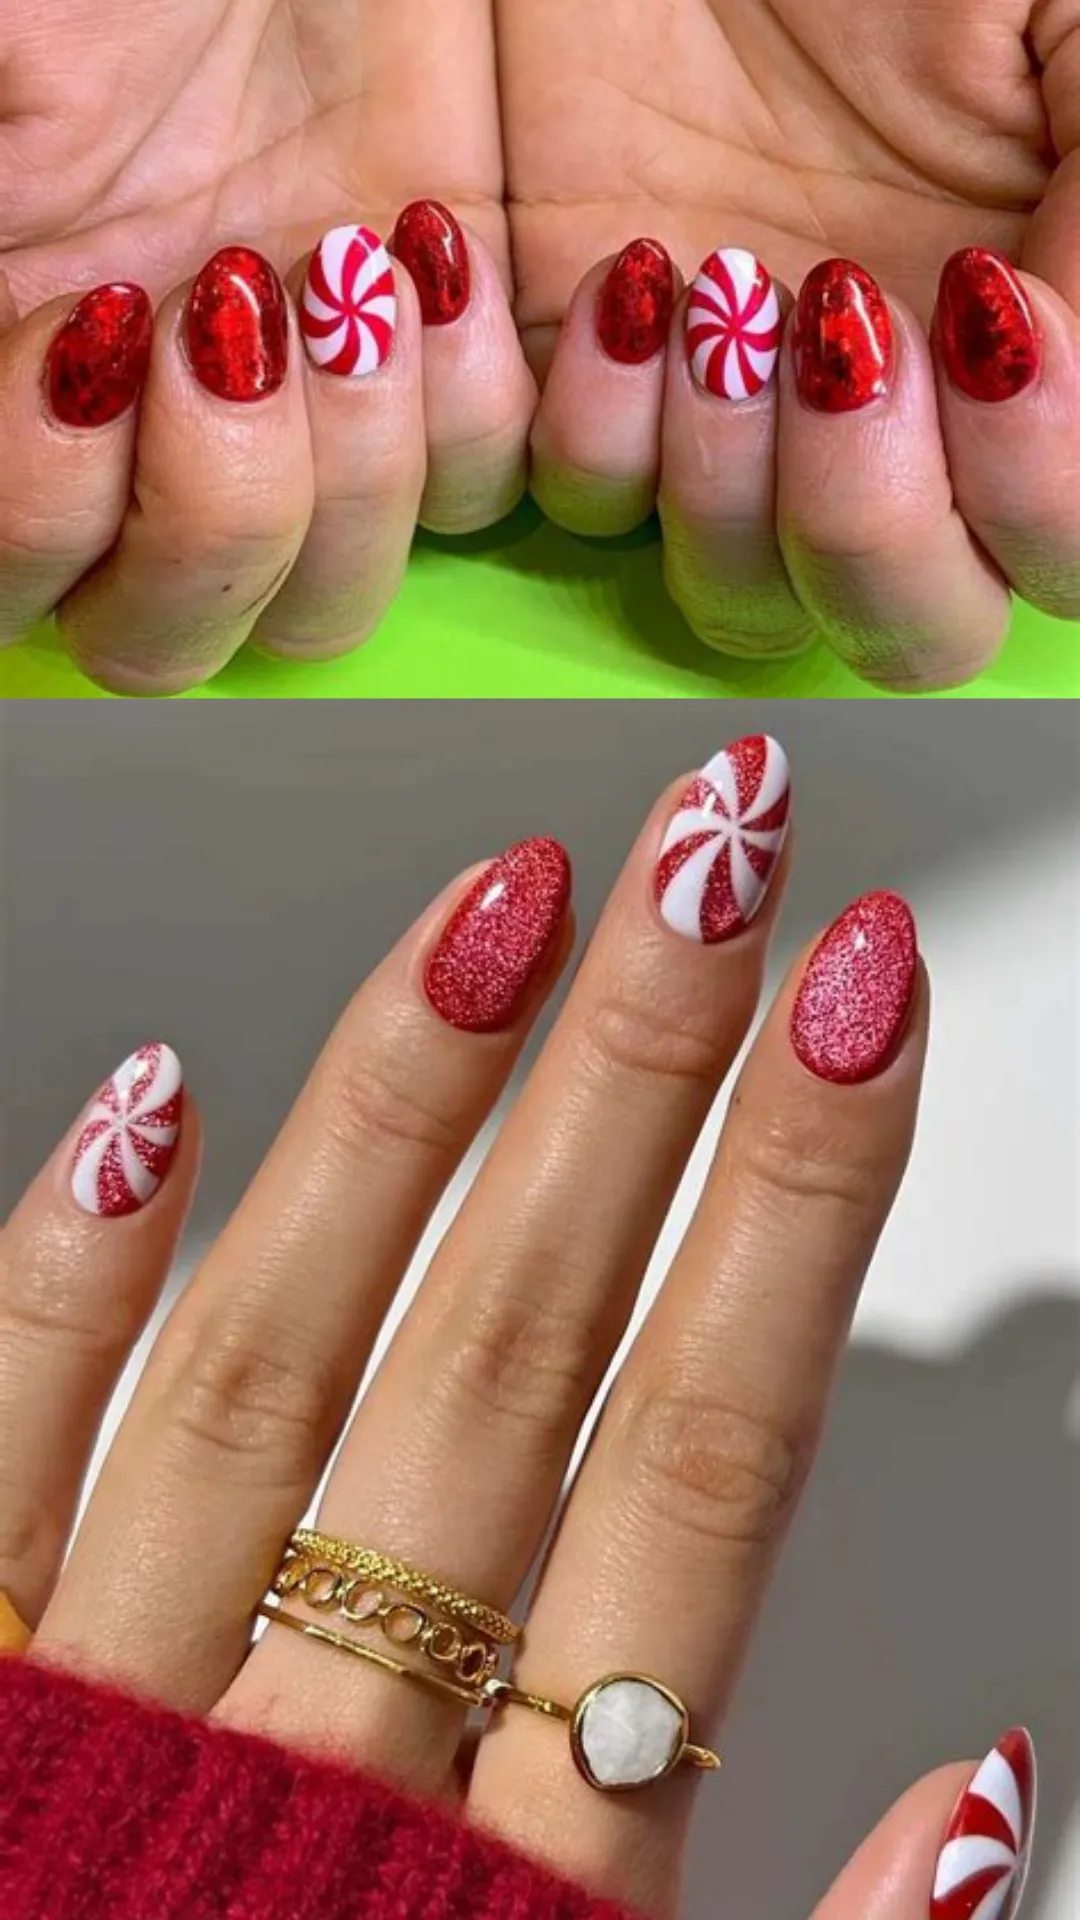
Pro tip: Do just one peppermint swirl accent nail per hand and keep the rest a solid festive red. It’s chic and balanced.
Design 4: Candy Cane French Tips
French tips get a festive upgrade with candy cane stripes! This design is particularly flattering on short nails because the diagonal lines create an illusion of length.
Start with a nude or sheer pink base. Then, paint a thin white tip across each nail. Using a fine detail brush, carefully paint two or three thin diagonal red lines across the white tip to mimic a candy cane. The key is to use a light touch and keep the lines delicate.
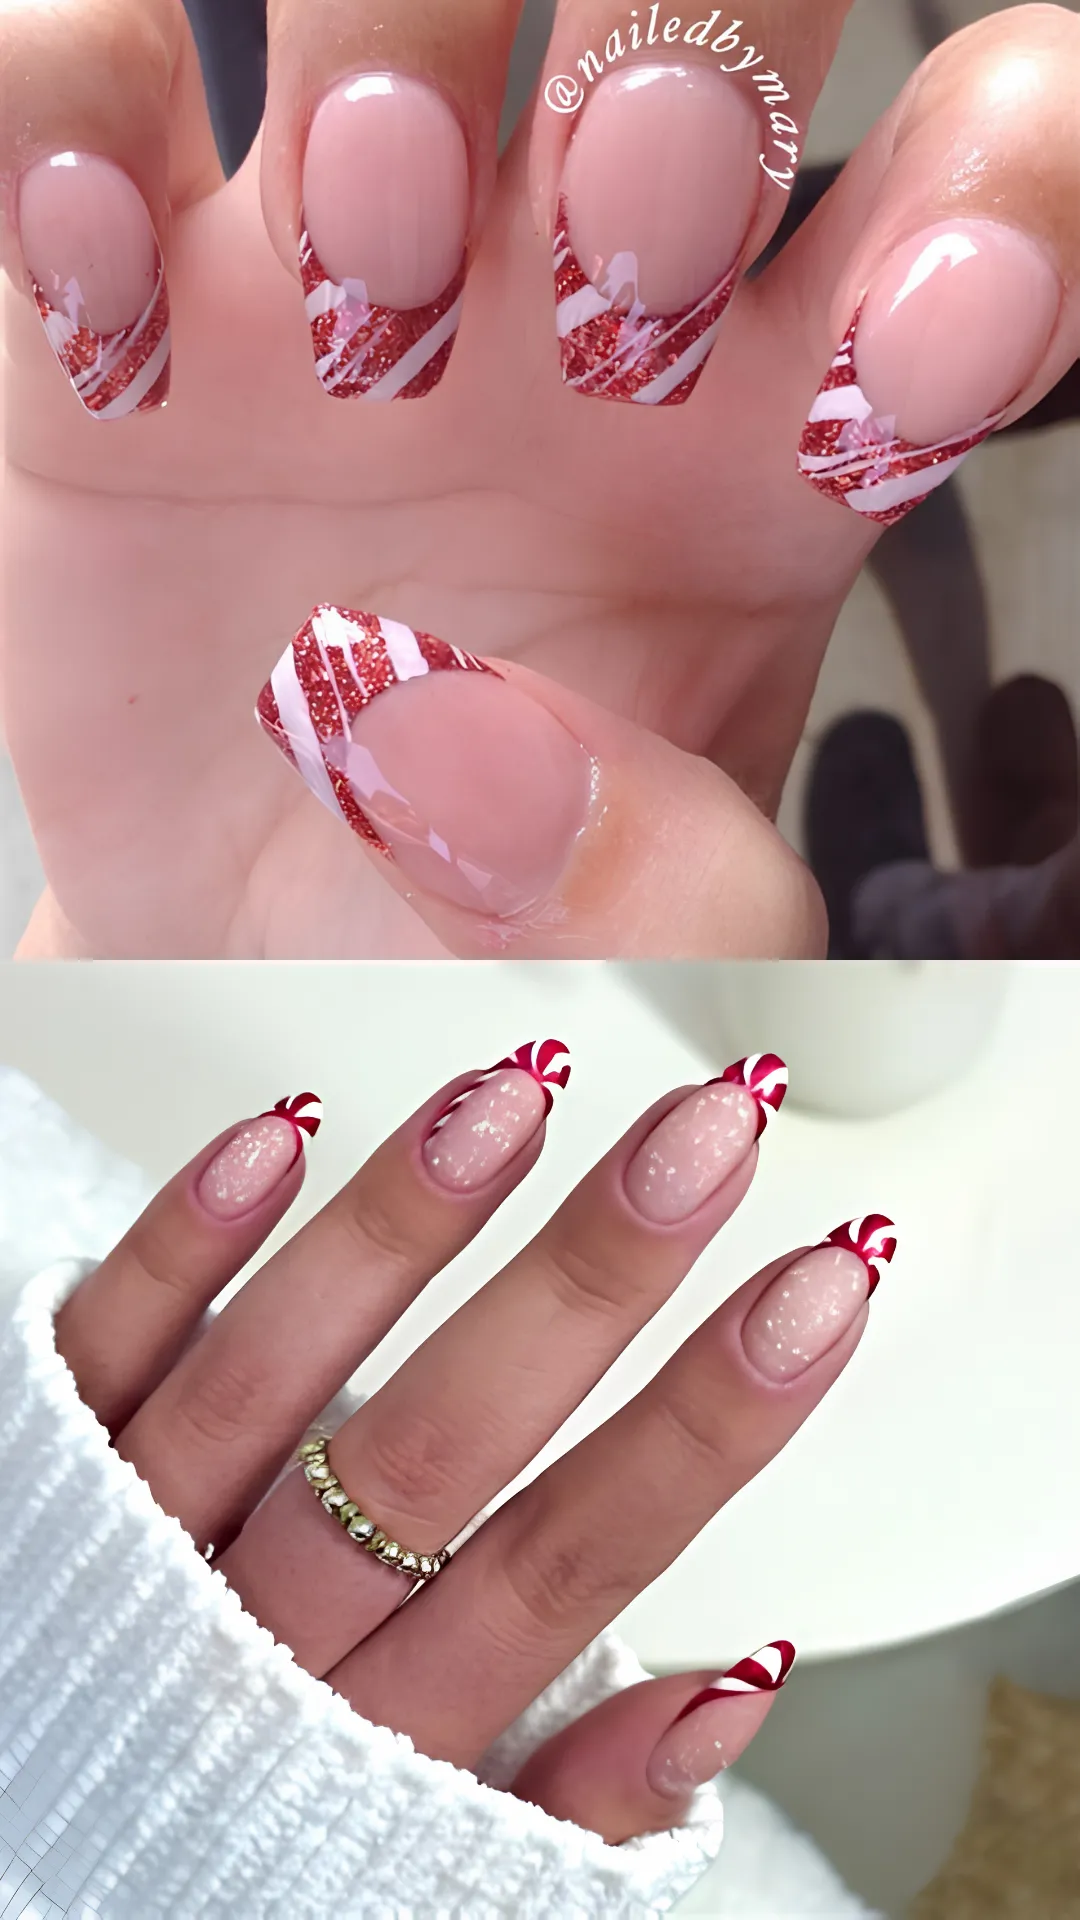
Pro tip: If freehand lines feel intimidating, use striping tape as a guide. Remove the tape while the polish is still slightly wet for crisp edges.
Design 5: Minimalist Glitter Stripe
Sometimes, less is more. A single vertical glitter stripe down the center of each nail elongates the shape and looks incredibly elegant on short nails.
Paint your nails with your favorite nude or soft pink shade. Once dry, use a thin brush or striping tape to create a single gold or silver glitter stripe from the cuticle to the tip. Seal with a glossy top coat.
This design is: Quick, easy, and absolutely stunning. It’s perfect for when you want something festive but understated.
Design 6: Christmas Tree Accent Nail
Tiny Christmas trees are adorable on short nails. They’re playful without being overwhelming.
Paint all your nails a solid color like red, green, or nude. On your accent nail, use a thin brush and green polish to paint a small triangle shape – wider at the base and narrowing to a point at the top. Add tiny dots of red, gold, or silver for ornaments and a small gold star on top.
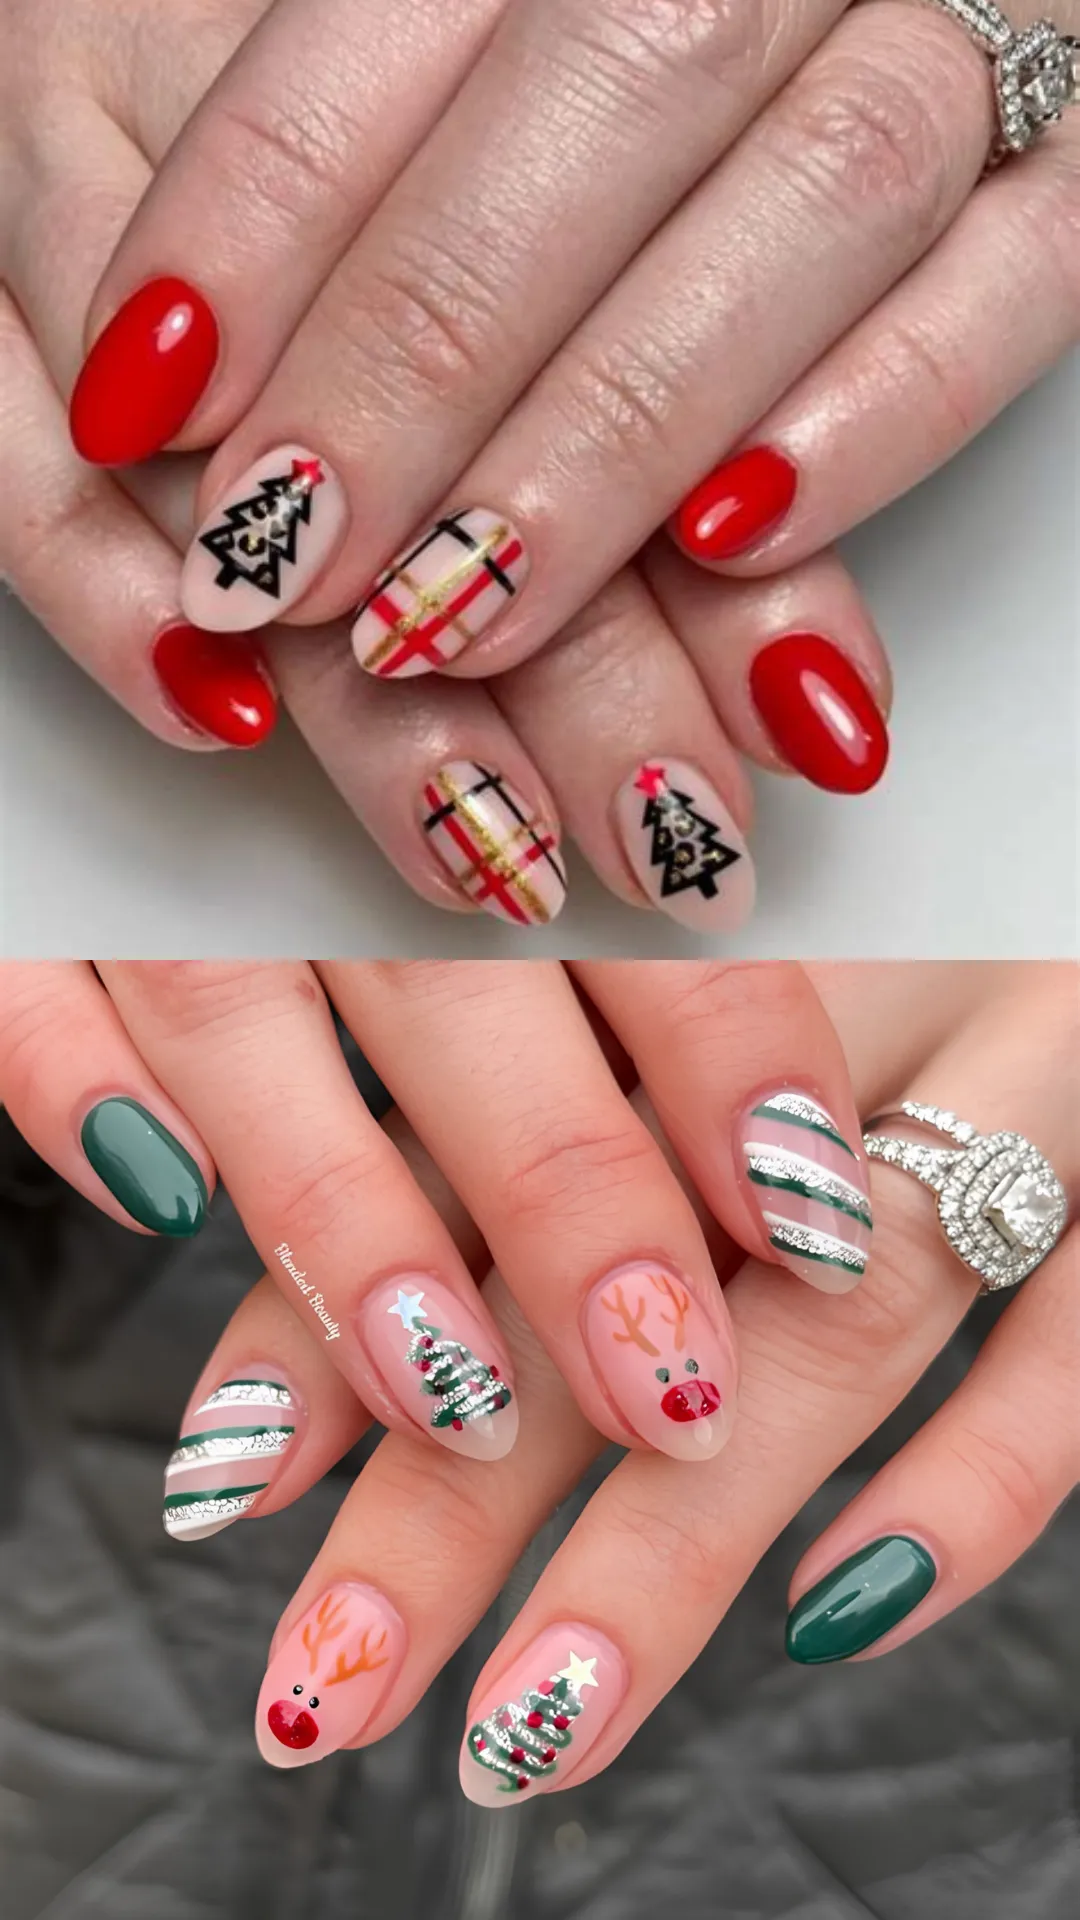
Try this: Paint a simple green triangle without any ornaments for a minimalist, modern take on the Christmas tree.
Design 7: Gold Foil Accents
Gold foil or gold flakes instantly elevate any manicure. They add a touch of luxury that’s perfect for holiday parties.
Paint your nails with a deep burgundy, forest green, or classic red. Once dry, use a pair of tweezers to place small pieces of gold foil or gold flakes onto your accent nail. Press them down gently and seal with a thick layer of top coat.
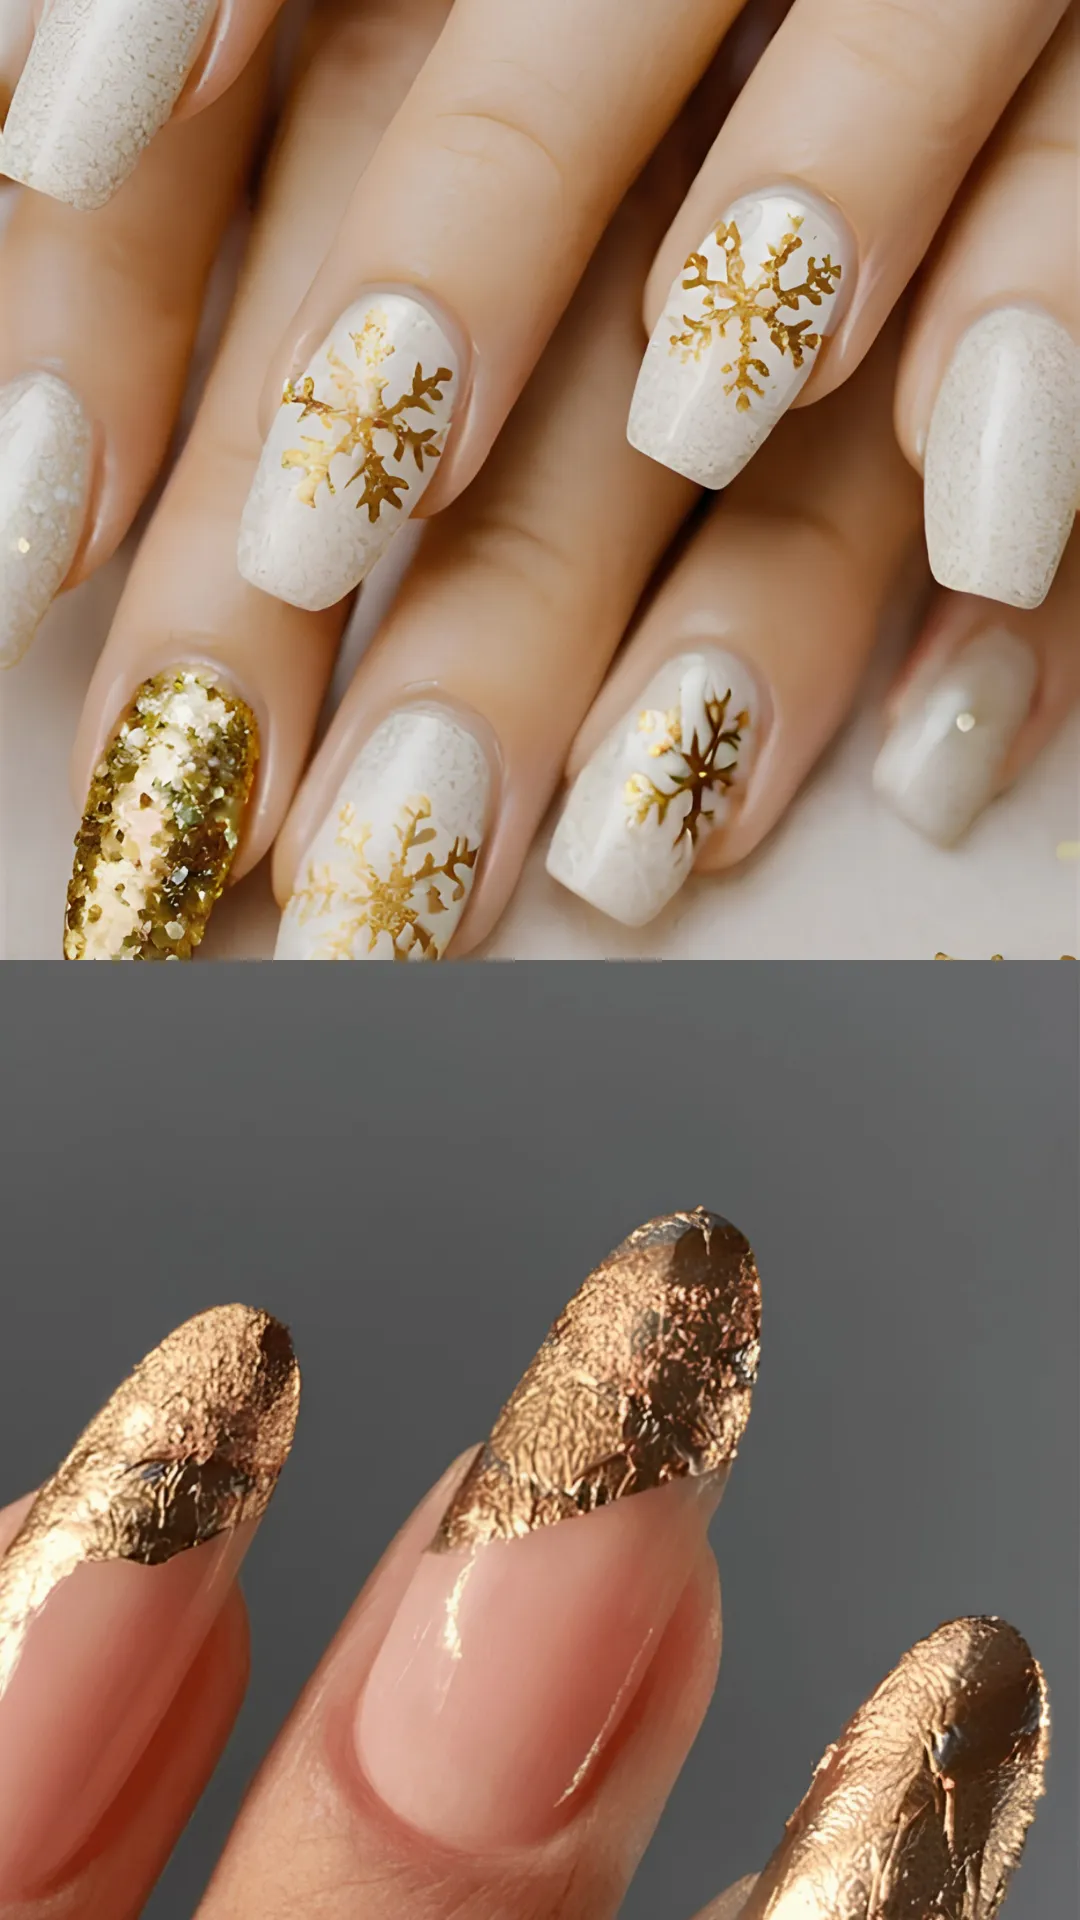
Remember: A little goes a long way. Scatter the foil sparingly for a luxe, sophisticated finish.
Design 8: Velvet or Cat-Eye Finish
Velvet and cat-eye finishes are huge trends for 2025. They give a plush, fabric-like effect that feels incredibly festive.
Apply a magnetic gel polish in a deep shade like wine, cherry, or chocolate. Hold a magnet over the polish while it’s still wet to create that signature cat-eye effect. The light-catching shimmer is absolutely mesmerizing.
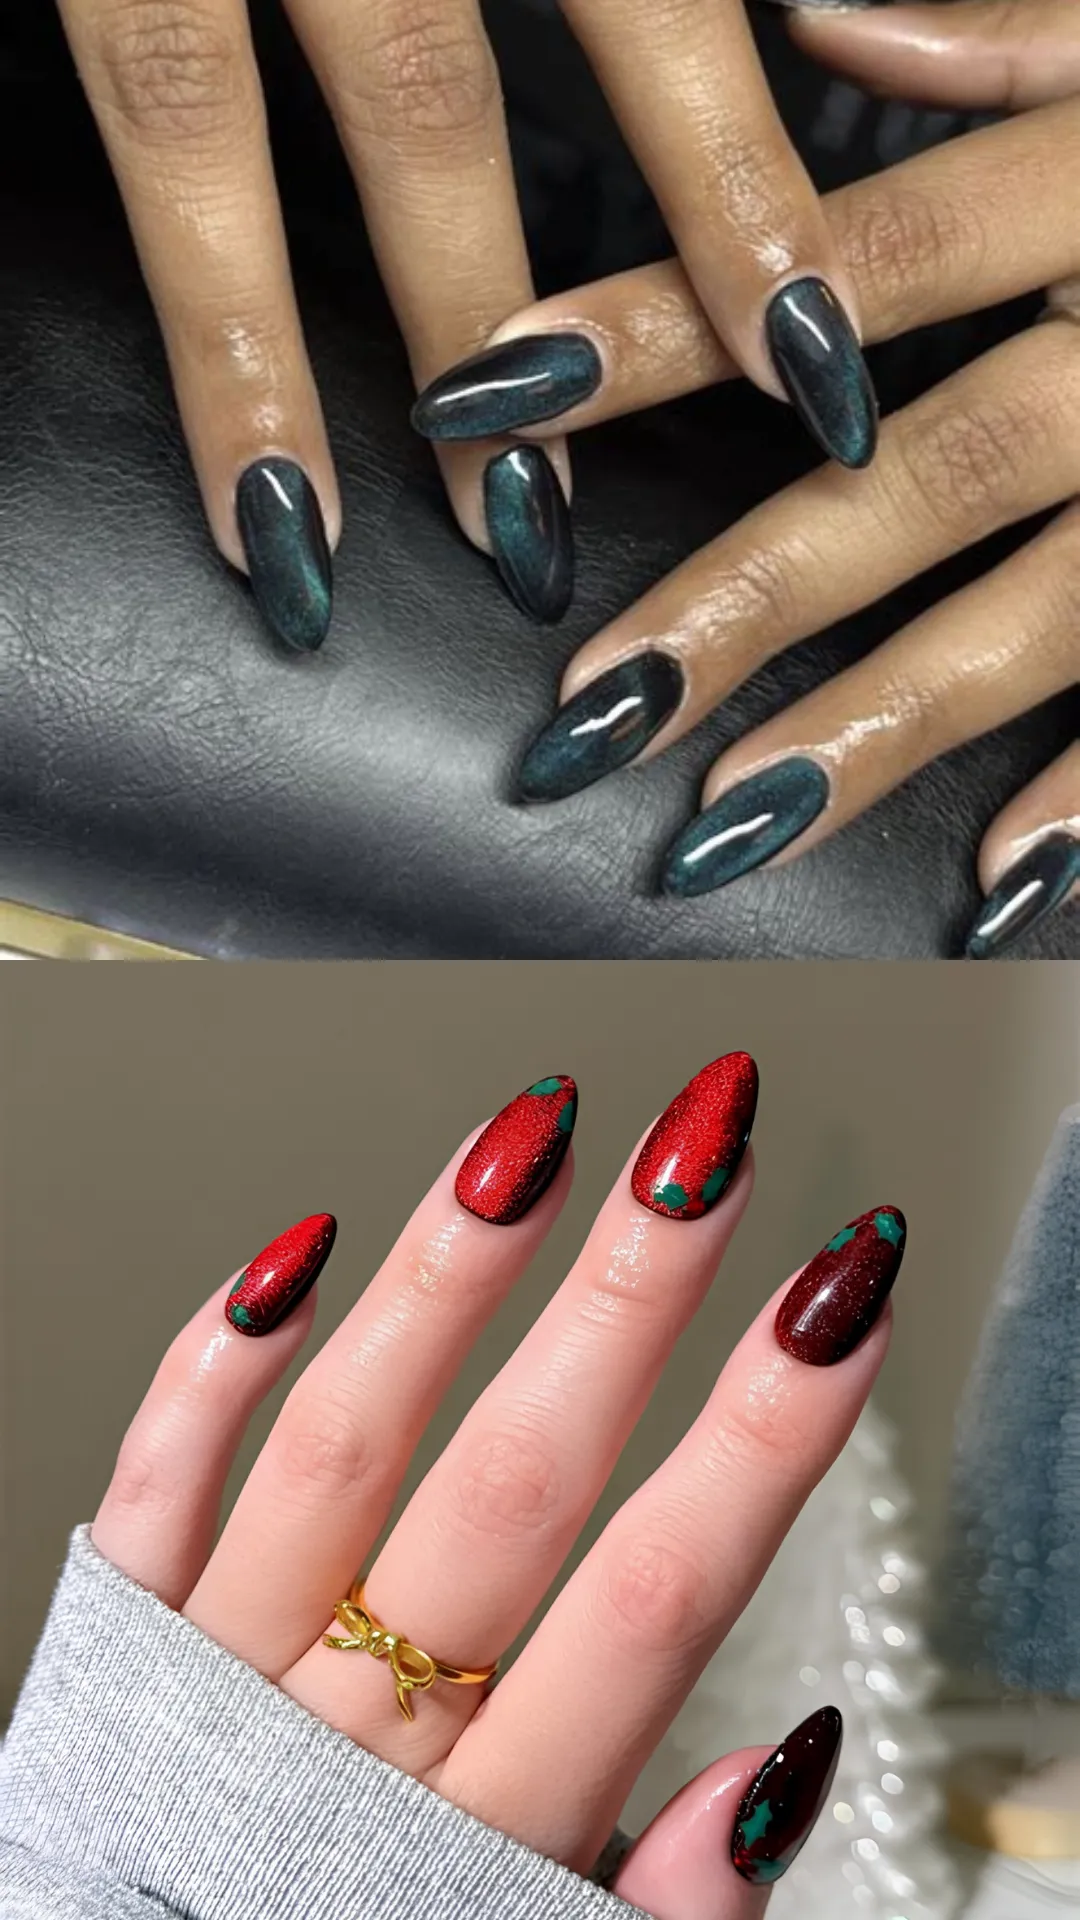
This design is: Ideal for short nails because the effect is so striking that you don’t need any additional art.
Design 9: Santa Hat Nails
Add a little fun to your short nails with Santa hat designs! This playful design is sure to get you into the Christmas spirit.
Paint your nails with classic red polish. Using white polish, paint a fluffy white brim along the tip of your nail and a small white pom-pom at the top. That’s it! You’ve got an adorable Santa hat.
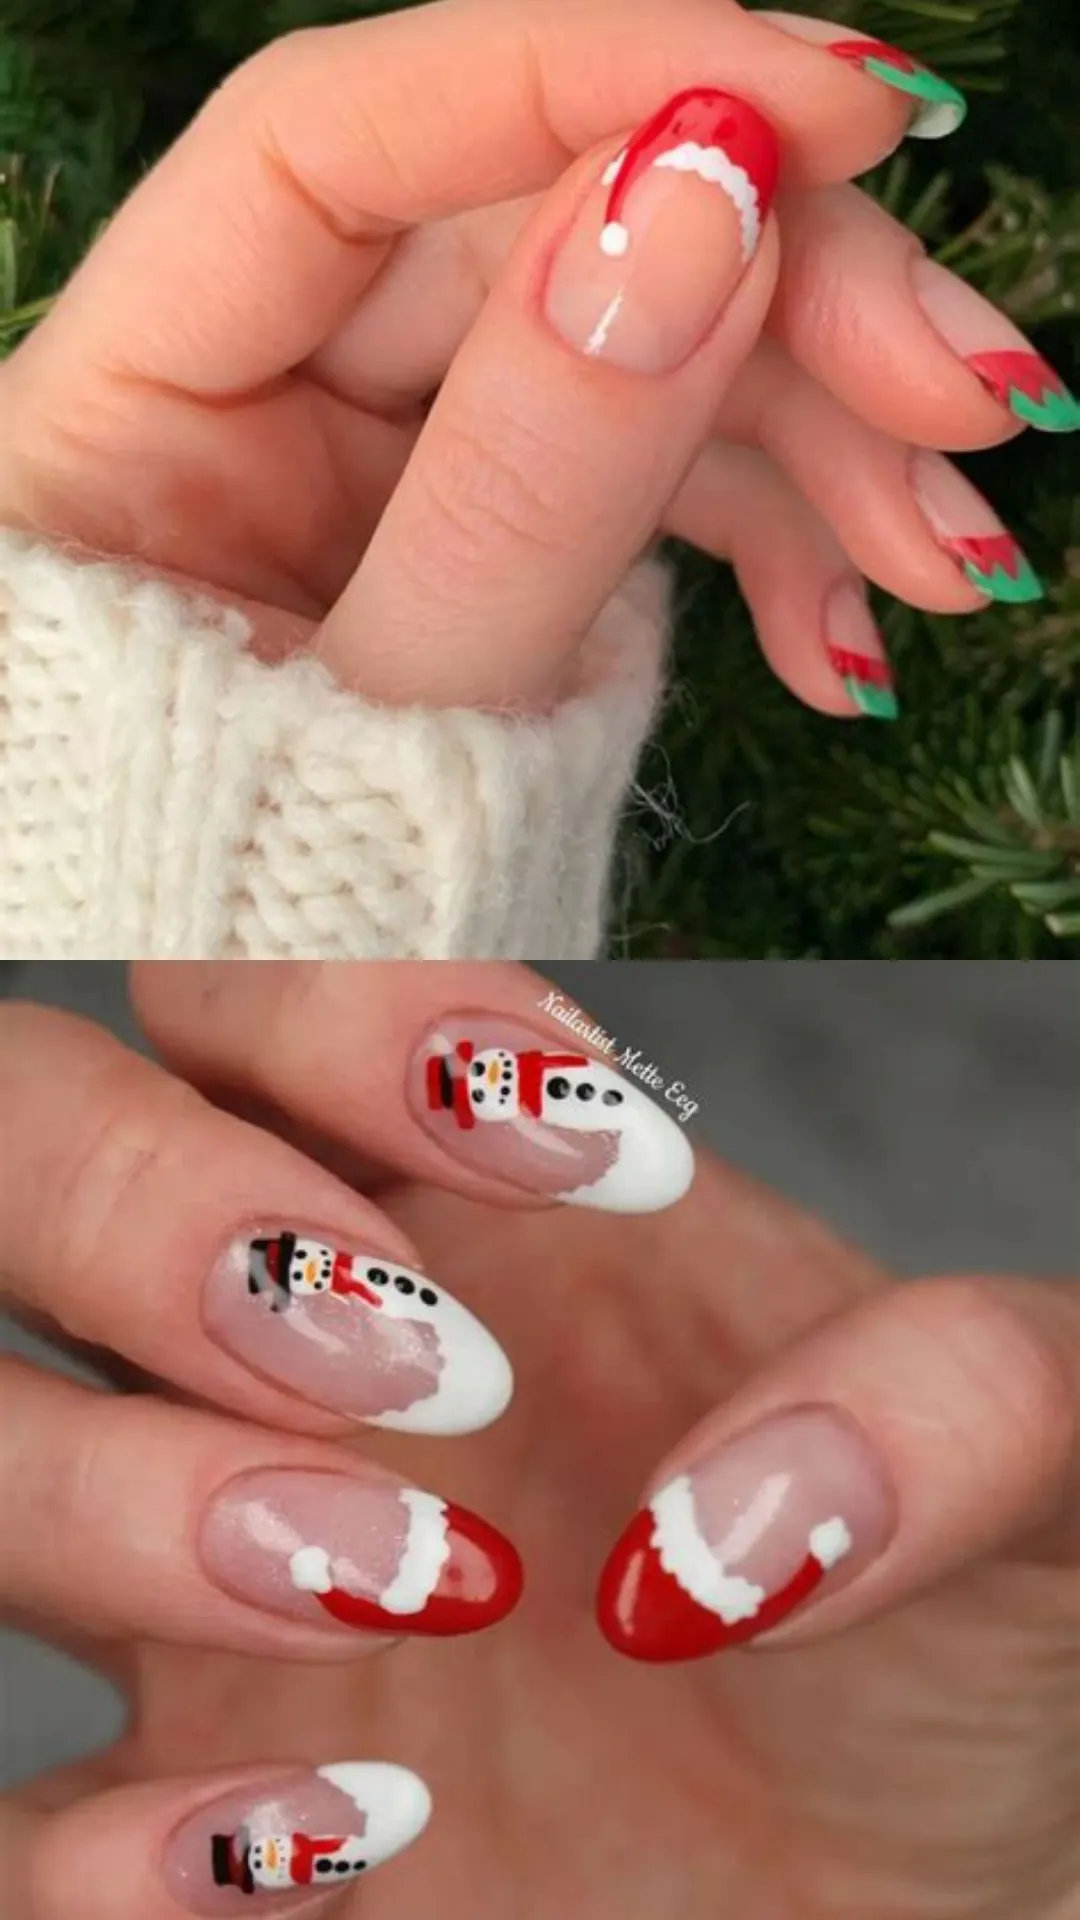
Pro tip: Use a dotting tool for the pom-pom. It’s much easier than trying to paint a perfect circle with a brush.
Design 10: Plaid Patterns
Plaid is incredibly chic and festive. It’s perfect for that cozy sweater-weather vibe.
Paint your nails a solid base color like deep burgundy or nude. On your accent nail, use a thin brush to paint vertical and horizontal lines in contrasting colors like white, red, and gold. The key is to keep the lines thin and the design simple.
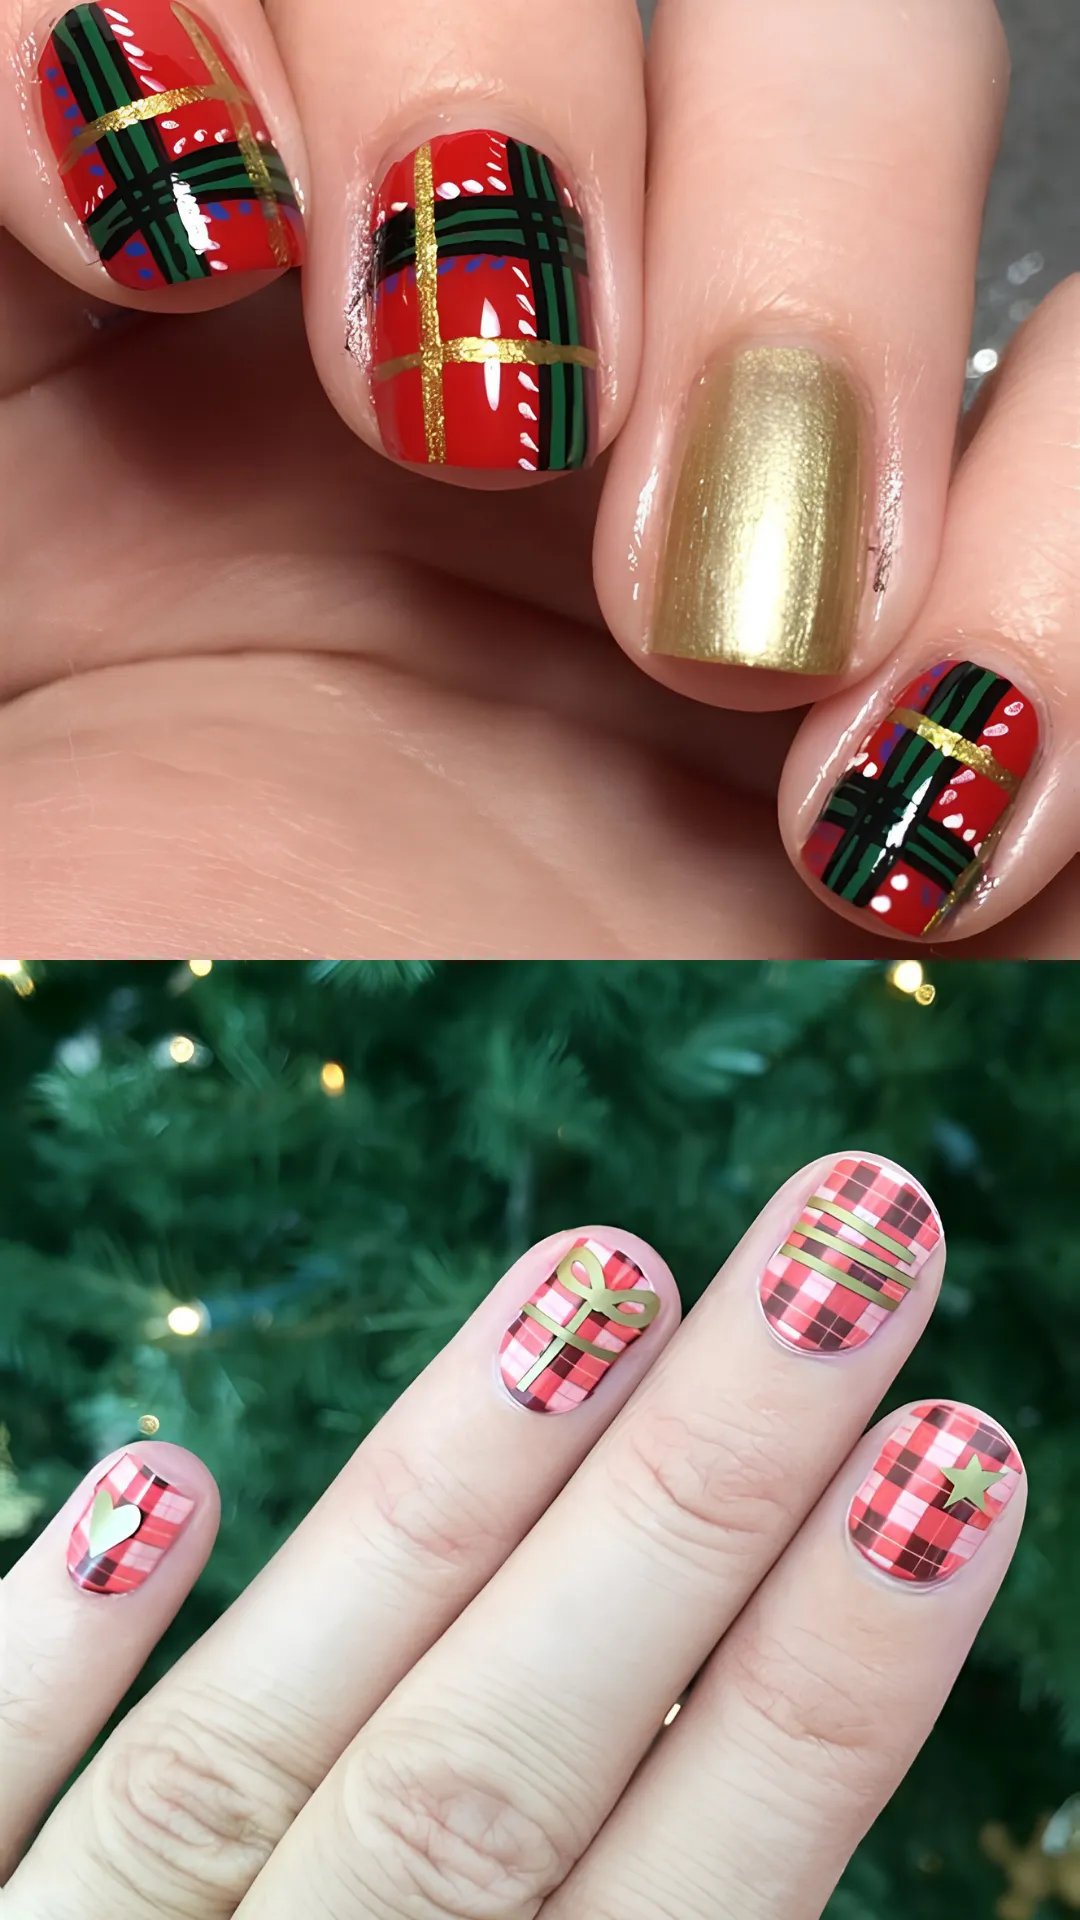
Try this: Do plaid on just one accent nail and keep the rest a solid color. It’s elegant and not too busy.
Design 11: Festive Bows
Bow nail art is incredibly chic and perfect for neutral lovers. It’s feminine, festive, and surprisingly easy.
Paint your nails with a pale nude or soft pink base. Use a thin brush or a bow sticker to create a small red bow on your ring finger. Seal with a generous layer of top coat to keep the bow secure.
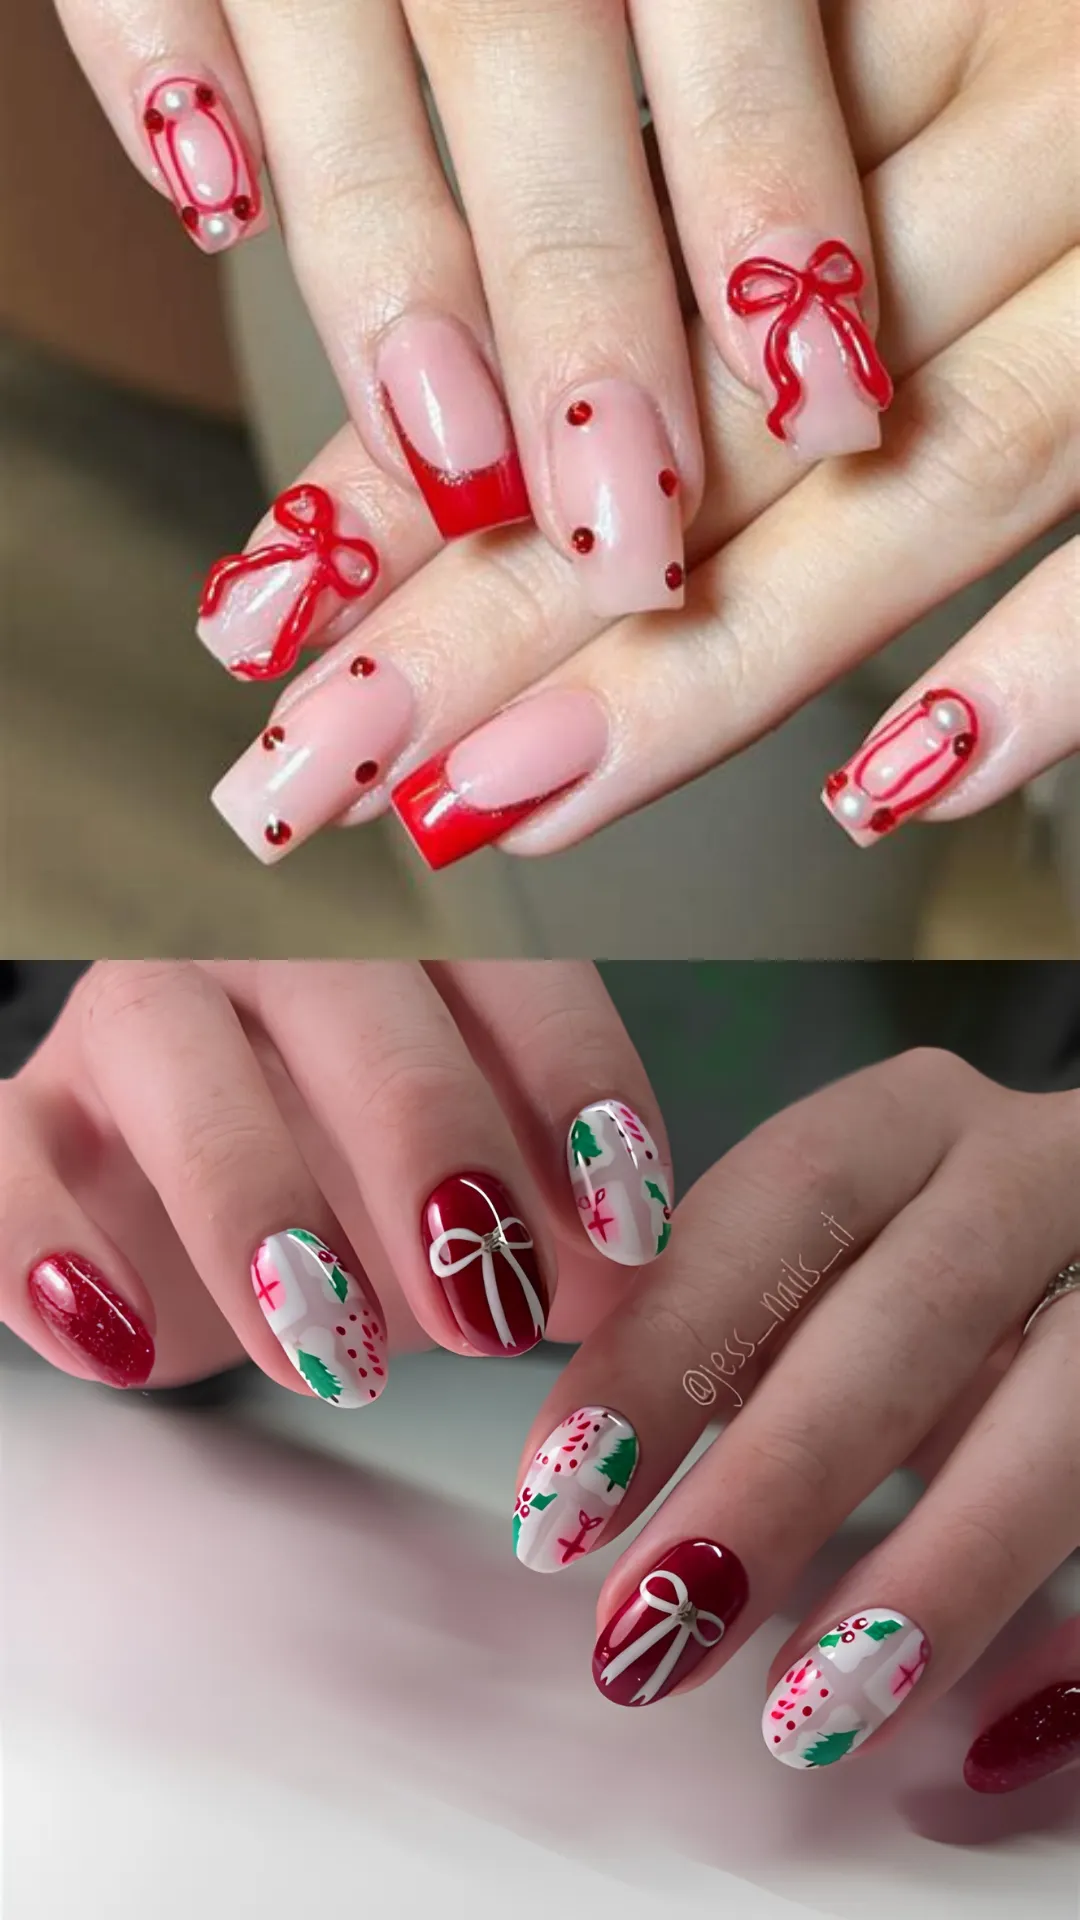
Pro tip: If you’re using stickers, apply two thin coats of top coat over them to prevent them from catching on things.
Design 12: Glitter Gradient (Ombre)
Glitter gradients are a super chic, subtle way to try the glitter trend. They look fantastic on shorter nail shapes.
Apply a solid base color like red, nude, or green. Using a makeup sponge, dab fine glitter polish onto the tips of your nails, fading it out as you move toward the cuticle. The result is a beautiful ombre effect that sparkles like freshly fallen snow.
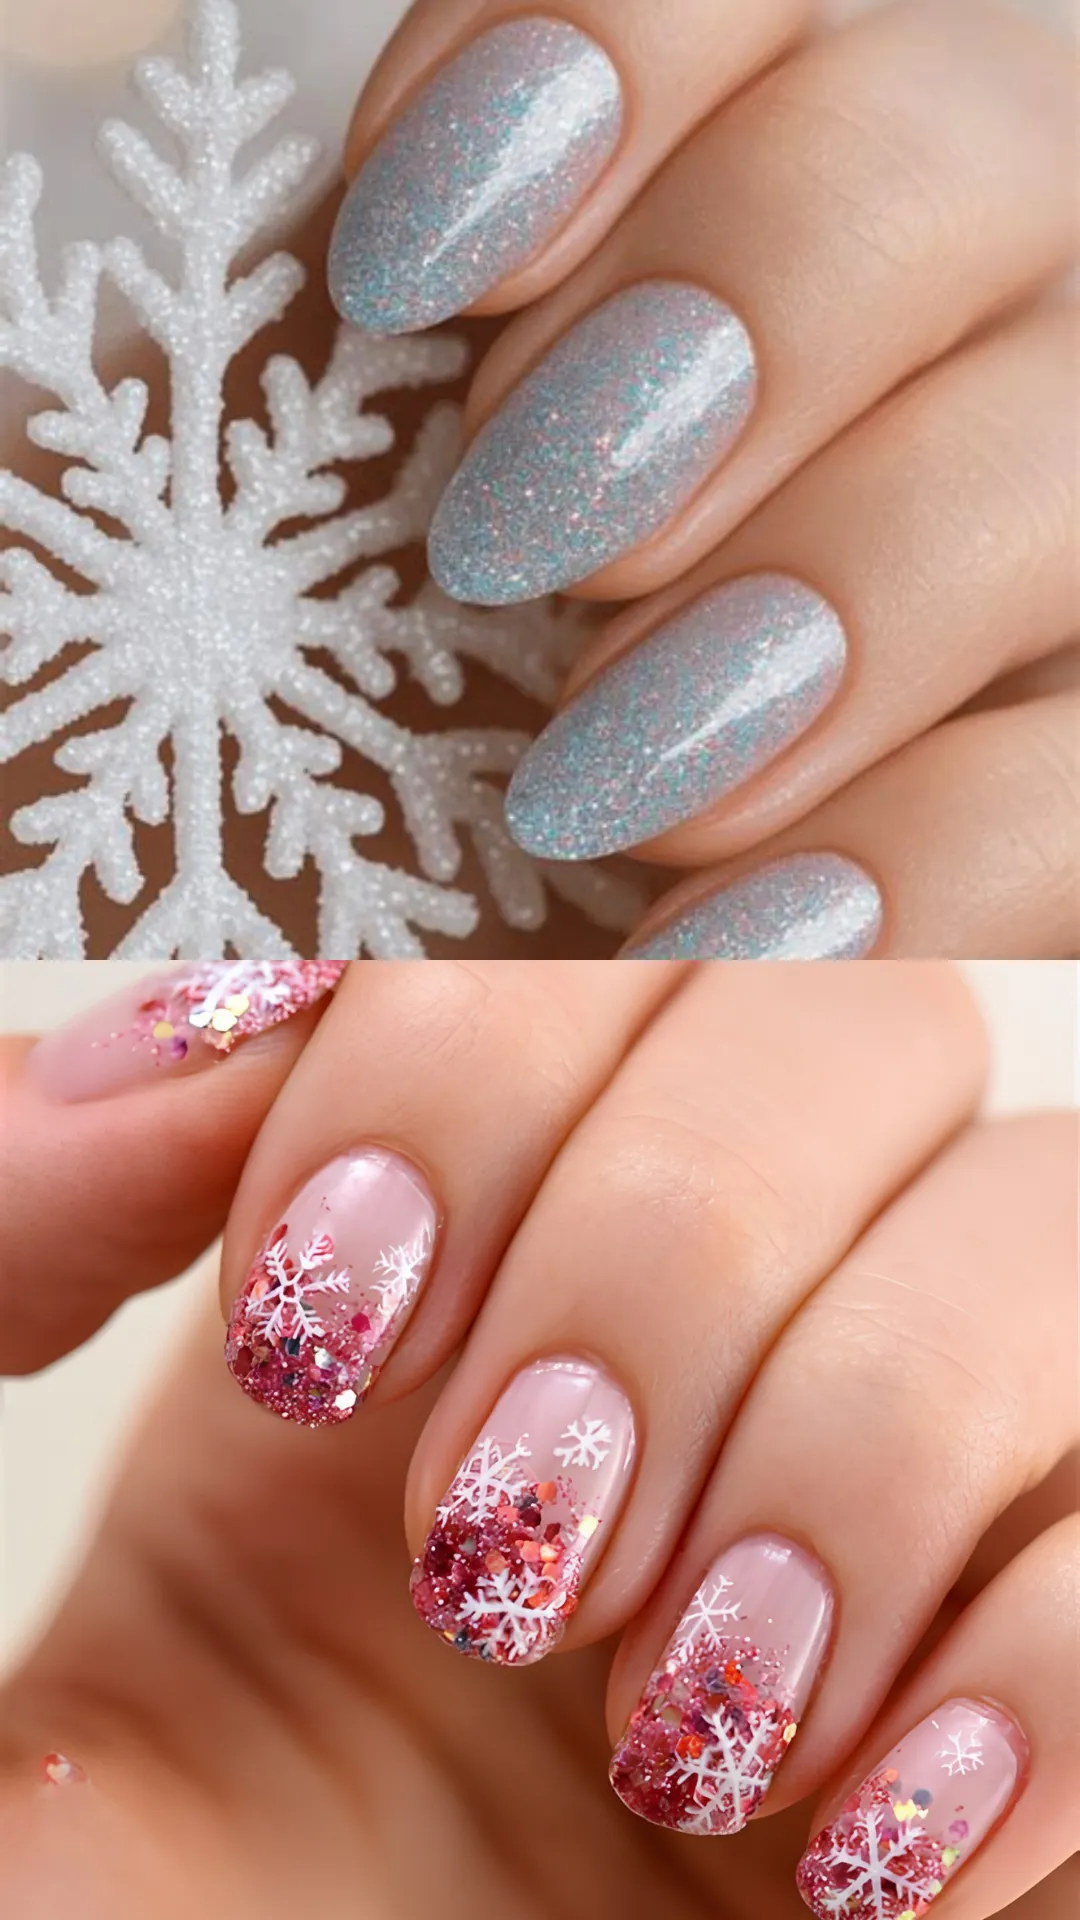
This design is: Perfect for beginners because it’s incredibly forgiving. Even if your application isn’t perfect, the gradient effect hides any mistakes beautifully.
My Top Tips for Long-Lasting Christmas Nails
Before we wrap up, here are my best tips for making your Christmas nail art last through all the holiday festivities:
- Prep is everything. Start with clean, dry nails. Gently push back your cuticles and wipe each nail with rubbing alcohol to remove any oils. This prep work is non-negotiable for a long-lasting manicure.
- Use thin layers. Apply your polish in thin layers rather than trying to get full coverage in one coat. Thin layers dry faster, are less likely to smudge, and last much longer.
- Seal the edges. When applying your base coat, color, and top coat, make sure to swipe the brush along the free edge of your nail. This seals the polish and prevents chipping.
- Don’t skip the top coat. A good quality top coat is essential. It protects your design, adds shine, and extends the life of your manicure.
- Be patient. Let each layer dry completely before applying the next. Rushing is the number one cause of smudged nail art.
Embrace Your Short Nails This Christmas
Who says short nails can’t rock amazing art? Absolutely no one! As you can see, there are countless ways to create Christmas Nail Art for Short Nails That Still Steal the Show. From elegant snowflakes to playful candy canes, your short nails can be just as festive as the rest of your holiday look.
The key is to embrace the canvas you have. Don’t try to cram too much onto a small space. Instead, focus on one or two accent nails and let the rest of your manicure breathe. Simple, intentional designs often look more sophisticated and elegant.
So go ahead. Pick a design from this list, gather your supplies, and have some fun! Creating your own Christmas nail art is a relaxing and rewarding activity. It’s a fantastic way to express your holiday spirit without much fuss.
Call to Action: I’d absolutely love to see your creations! Which design are you going to try first? Drop a comment below and let me know. And if you’re looking for even more nail inspiration, be sure to browse my other nail art tutorials ; your next favourite design might be just a click away!
Christmas Nail Art for Short Nails That Still Steal the Show! ❄️ 12 stunning designs from candy canes to elegant snowflakes. Perfect for busy girls who want gorgeous nails without the fuss! Save this for your next manicure night! 🎄💅 #ChristmasNailArt #ShortNails #HolidayNails
Table of Contents
You might also Like: 5 Must-Know Floral Nail Art Techniques That Work for Any Season!

