
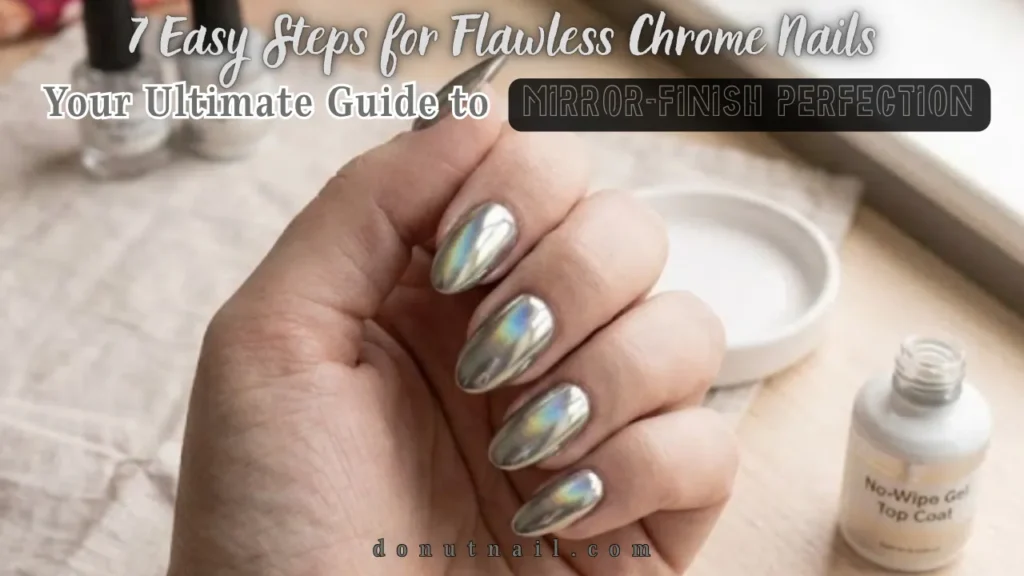
Master the mirror trend with 7 Easy Steps for Flawless Chrome Nails! Learn how to get that stunning high-shine finish at home. Click for the ultimate guide!
Have you ever scrolled through Instagram and stopped dead in your tracks at those stunning, mirror-like chrome nails? You know the ones. They catch the light perfectly, look impossibly sleek, and seem like they could only be created by a professional nail artist.
But here is the truth: those gorgeous chrome nails are absolutely achievable at home. You do not need a salon appointment or years of experience. All you need are the right tools, a little patience, and a step-by-step guide that breaks everything down.
That is exactly what you will find here. This is your complete roadmap to mastering 7 Easy Steps for Flawless Chrome Nails. From gathering your supplies to applying that final glossy top coat, we will walk through every single stage of the process.
By the end of this guide, you will be confidently creating mirror-finish nails that will have everyone asking, “Where did you get those done?” The best part? You get to say, “I did them myself.”
Step 1: Gather Your Chrome Nail Supplies
Before you start anything, you need to make sure you have all the right tools and products. Chrome nails require specific supplies that you might not have in your regular nail kit. But do not worry. Most of these items are affordable and easy to find online or at beauty supply stores.
Here is what you will need for Flawless Chrome Nails:
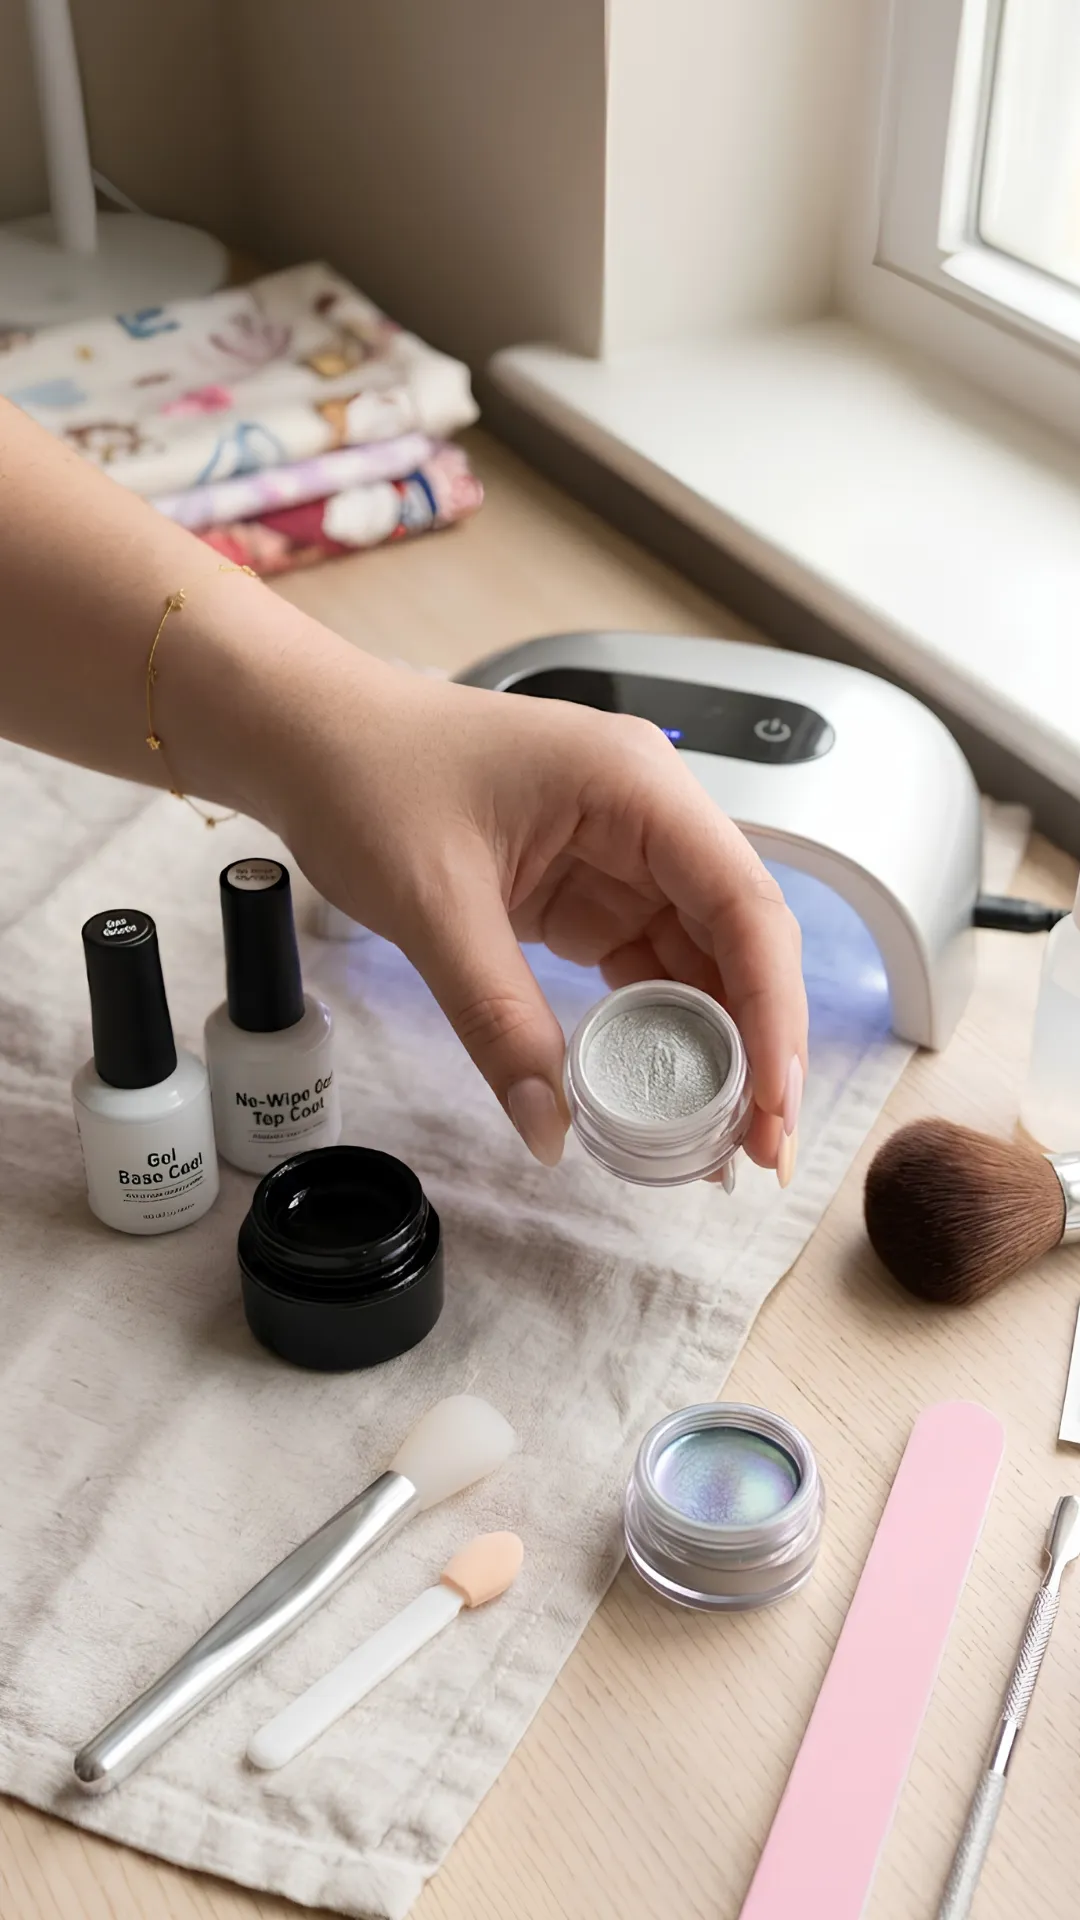
- Chrome nail powder in your desired shade (silver, gold, rose gold, or any color you love)
- Gel base coat
- Gel polish in black or your chosen base color (black gives the most dramatic mirror effect)
- No-wipe gel top coat (essential for chrome application)
- UV or LED nail lamp for curing
- A soft sponge applicator or silicone tool for rubbing in the powder
- A fluffy brush for dusting off excess powder
- Nail file and buffer
- Cuticle pusher
- Rubbing alcohol or nail cleanser
- Lint-free wipes
Pro tip: Invest in a high-quality chrome powder. Cheaper powders can look dull or flaky. Born Pretty and Modelones are reliable, beginner-friendly brands that give excellent results.
Step 2: Prep Your Nails Like a Pro
The secret to any great manicure is preparation. Your chrome finish will only look as good as the canvas beneath it. This step is absolutely crucial for achieving that mirror-like shine.
Start by removing any old nail polish with an acetone-free remover. Then, file your nails into your desired shape. Almond, square, and coffin shapes all look stunning with chrome finishes.
Gently push back your cuticles using a cuticle pusher. This creates a clean, professional look and helps your polish adhere better. Buff the surface of your nails lightly to remove any shine and create a slightly rough texture for the base coat to grip.
Wipe your nails with rubbing alcohol or a nail cleanser to remove any dust, oil, or residue. This step is non-negotiable. Any oil left on your nails can cause your polish to lift or peel.
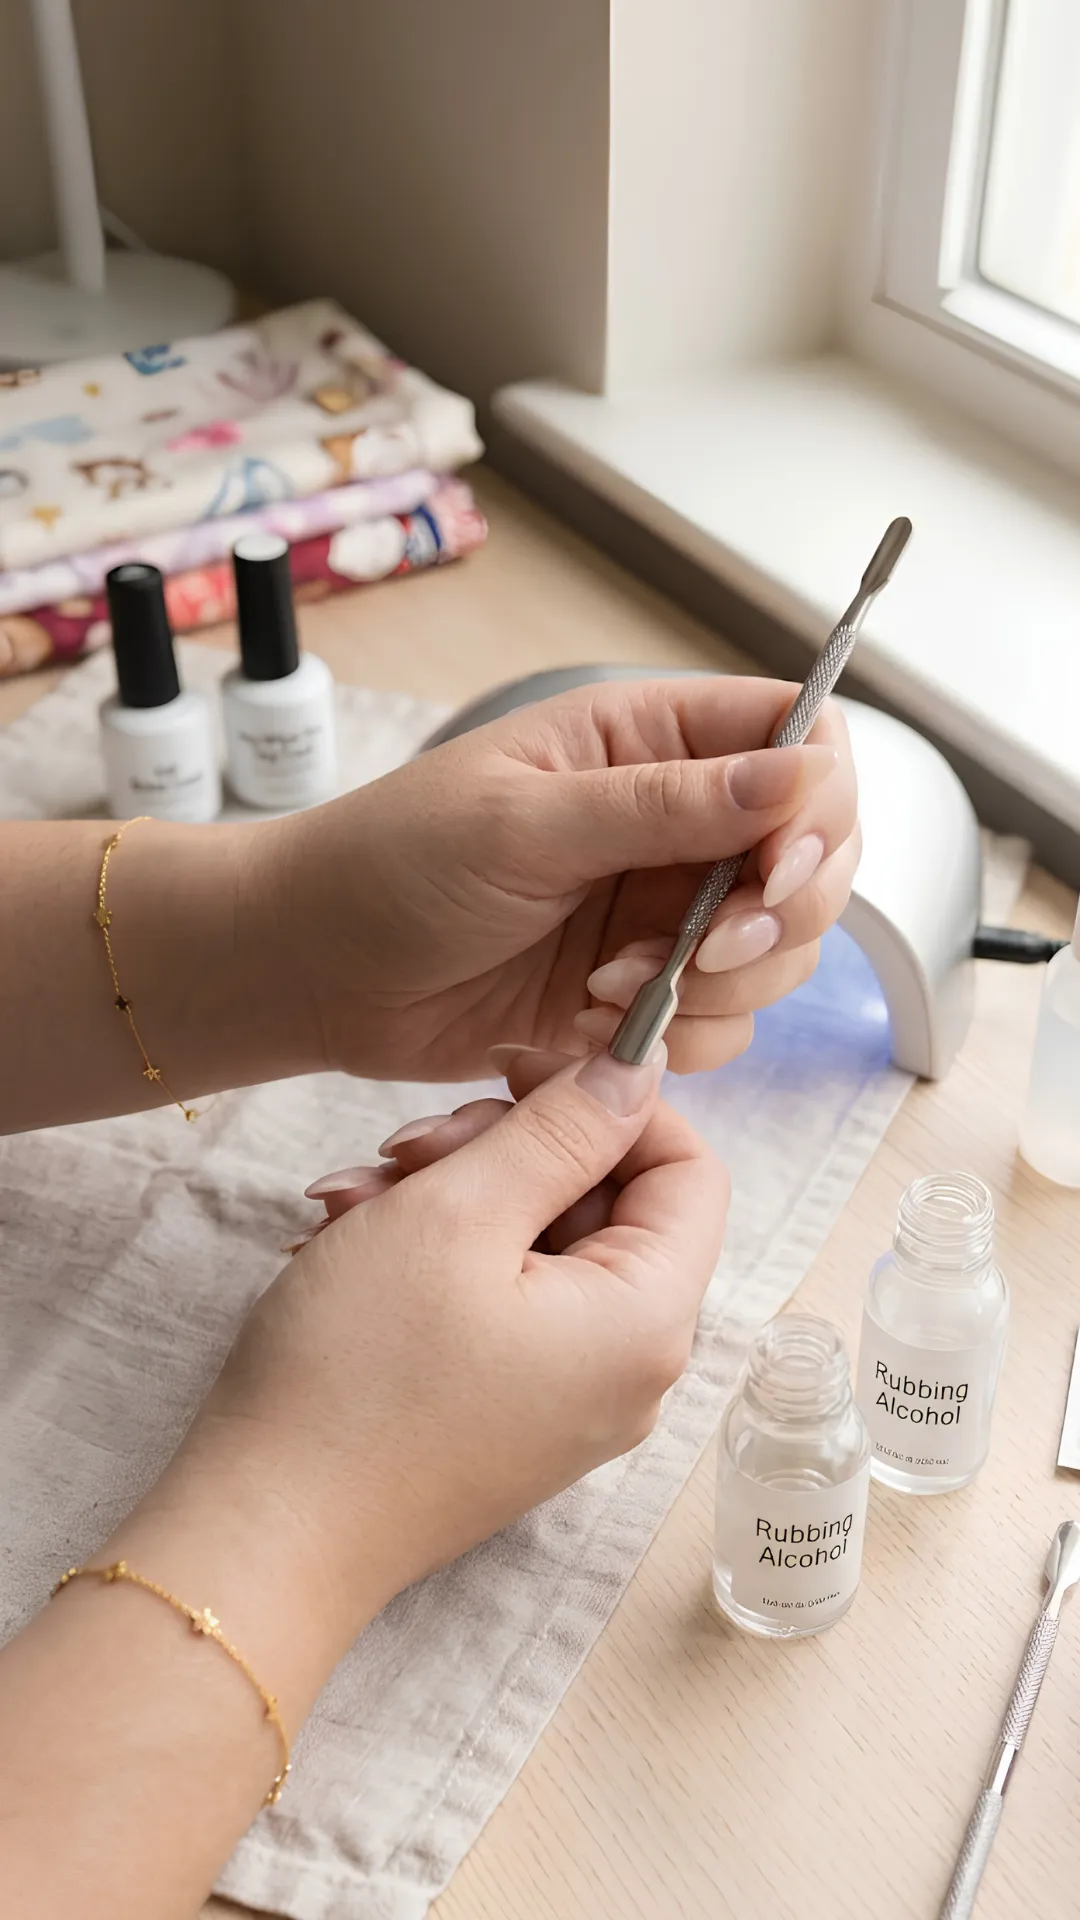
The Golden Rule: Never skip nail prep. A flawless chrome finish starts with a flawless base. Take your time with this step, and your results will be dramatically better.
Step 3: Apply Your Base and Gel Polish
Now it is time to build the foundation for your chrome masterpiece. Start by applying a thin, even layer of gel base coat to each nail. Be careful not to flood your cuticles or get polish on your skin.
Cure your base coat under your UV or LED lamp according to the manufacturer’s instructions. Usually, this takes about 30 to 60 seconds.
Next, apply your gel polish color. While chrome can be applied over any color, black gel polish gives the most dramatic, high-shine mirror effect. The contrast between the dark base and the reflective powder creates that stunning metallic look.
Apply 2 to 3 thin coats of your chosen gel color, curing each layer in between. Thin coats are essential for a smooth, even finish. Thick coats can create bumps and unevenness that will show through your chrome.
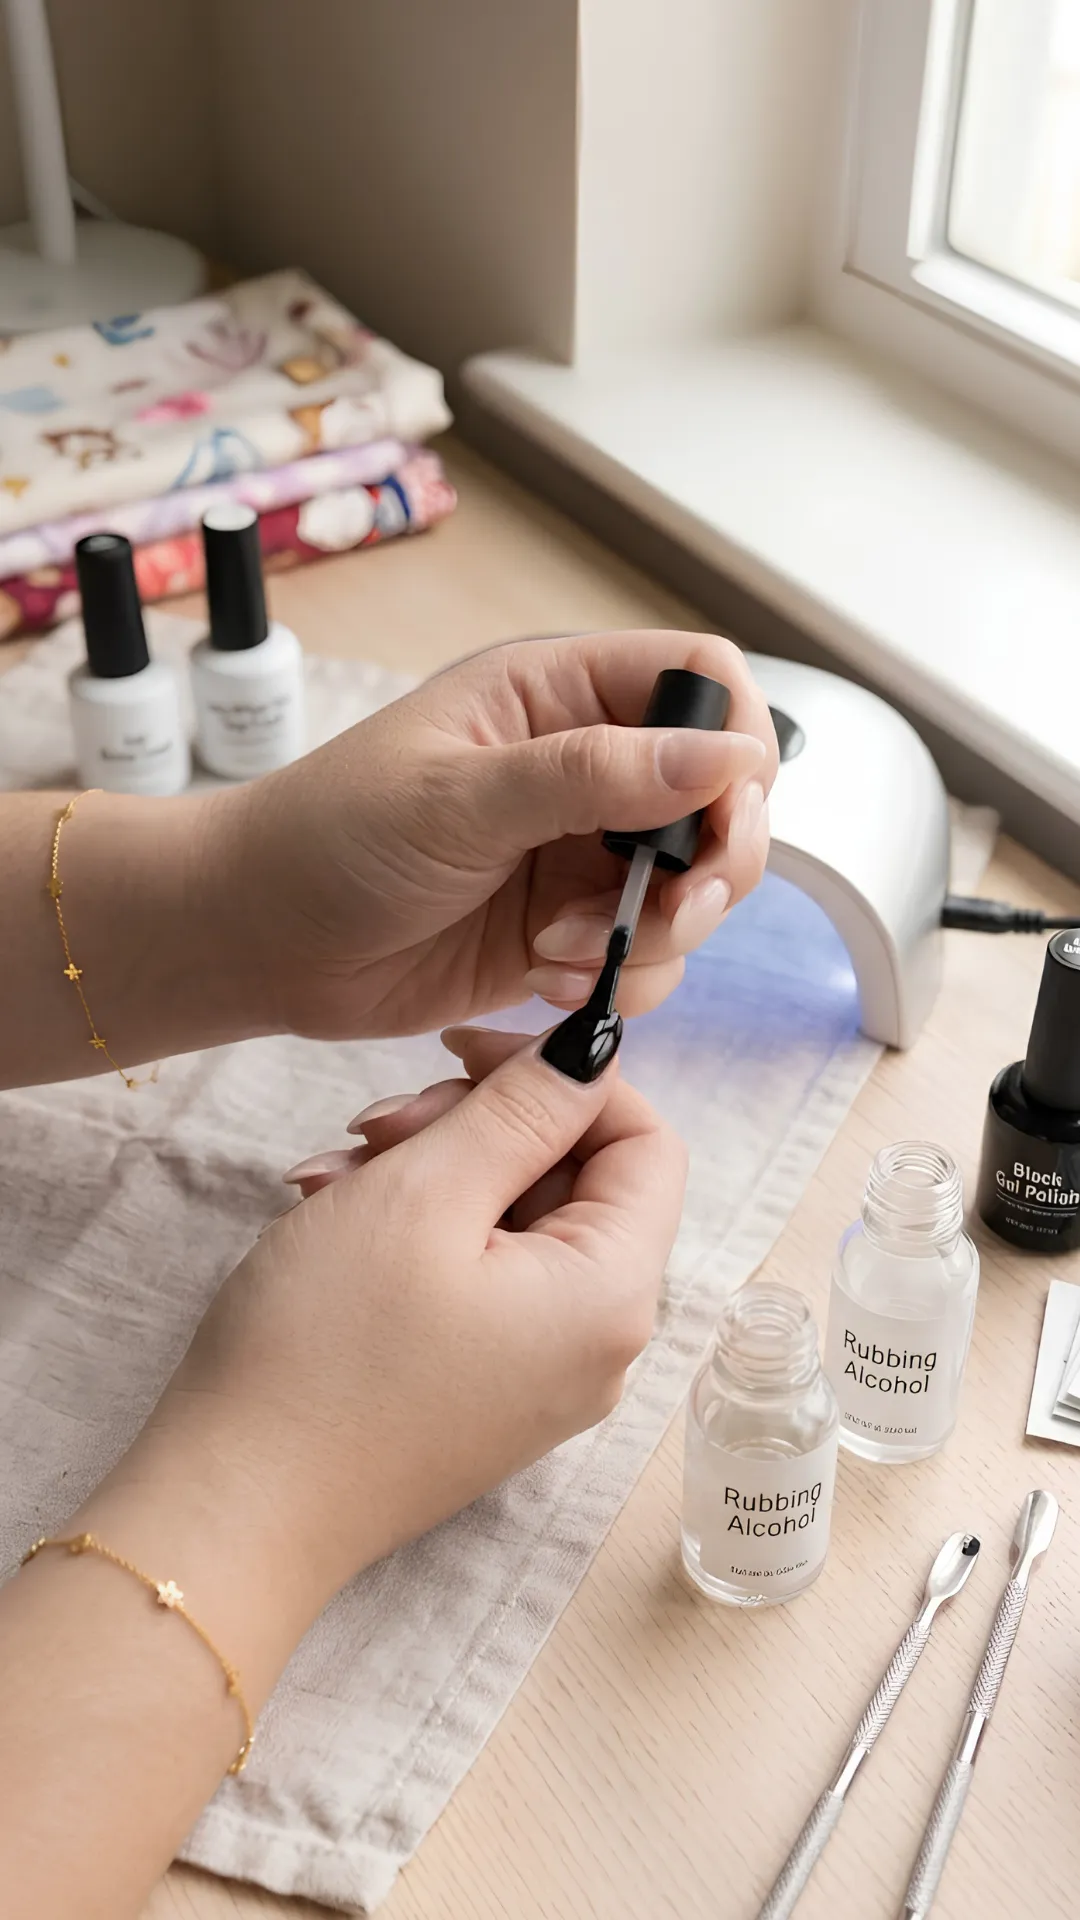
Make it Shine Tip: For a unique twist, try chrome over navy blue, deep burgundy, or emerald green. These colors create gorgeous, unexpected mirror effects that stand out from the crowd.
Step 4: Apply No-Wipe Top Coat
This is where the magic starts to happen. The no-wipe top coat is essential because it creates a sticky, tacky-free surface that allows the chrome powder to adhere properly.
Apply a generous but even layer of no-wipe top coat over your cured gel polish. Make sure to cap the free edge of your nails to seal everything in.
Cure your top coat under the lamp for the recommended time. Usually, this is 30 to 60 seconds depending on your lamp and product.
Here is the critical part: after curing, your nail surface should be completely dry to the touch. If you see any tacky or sticky residue, your top coat is not a “no-wipe” formula. You must use a no-wipe top coat for chrome application.
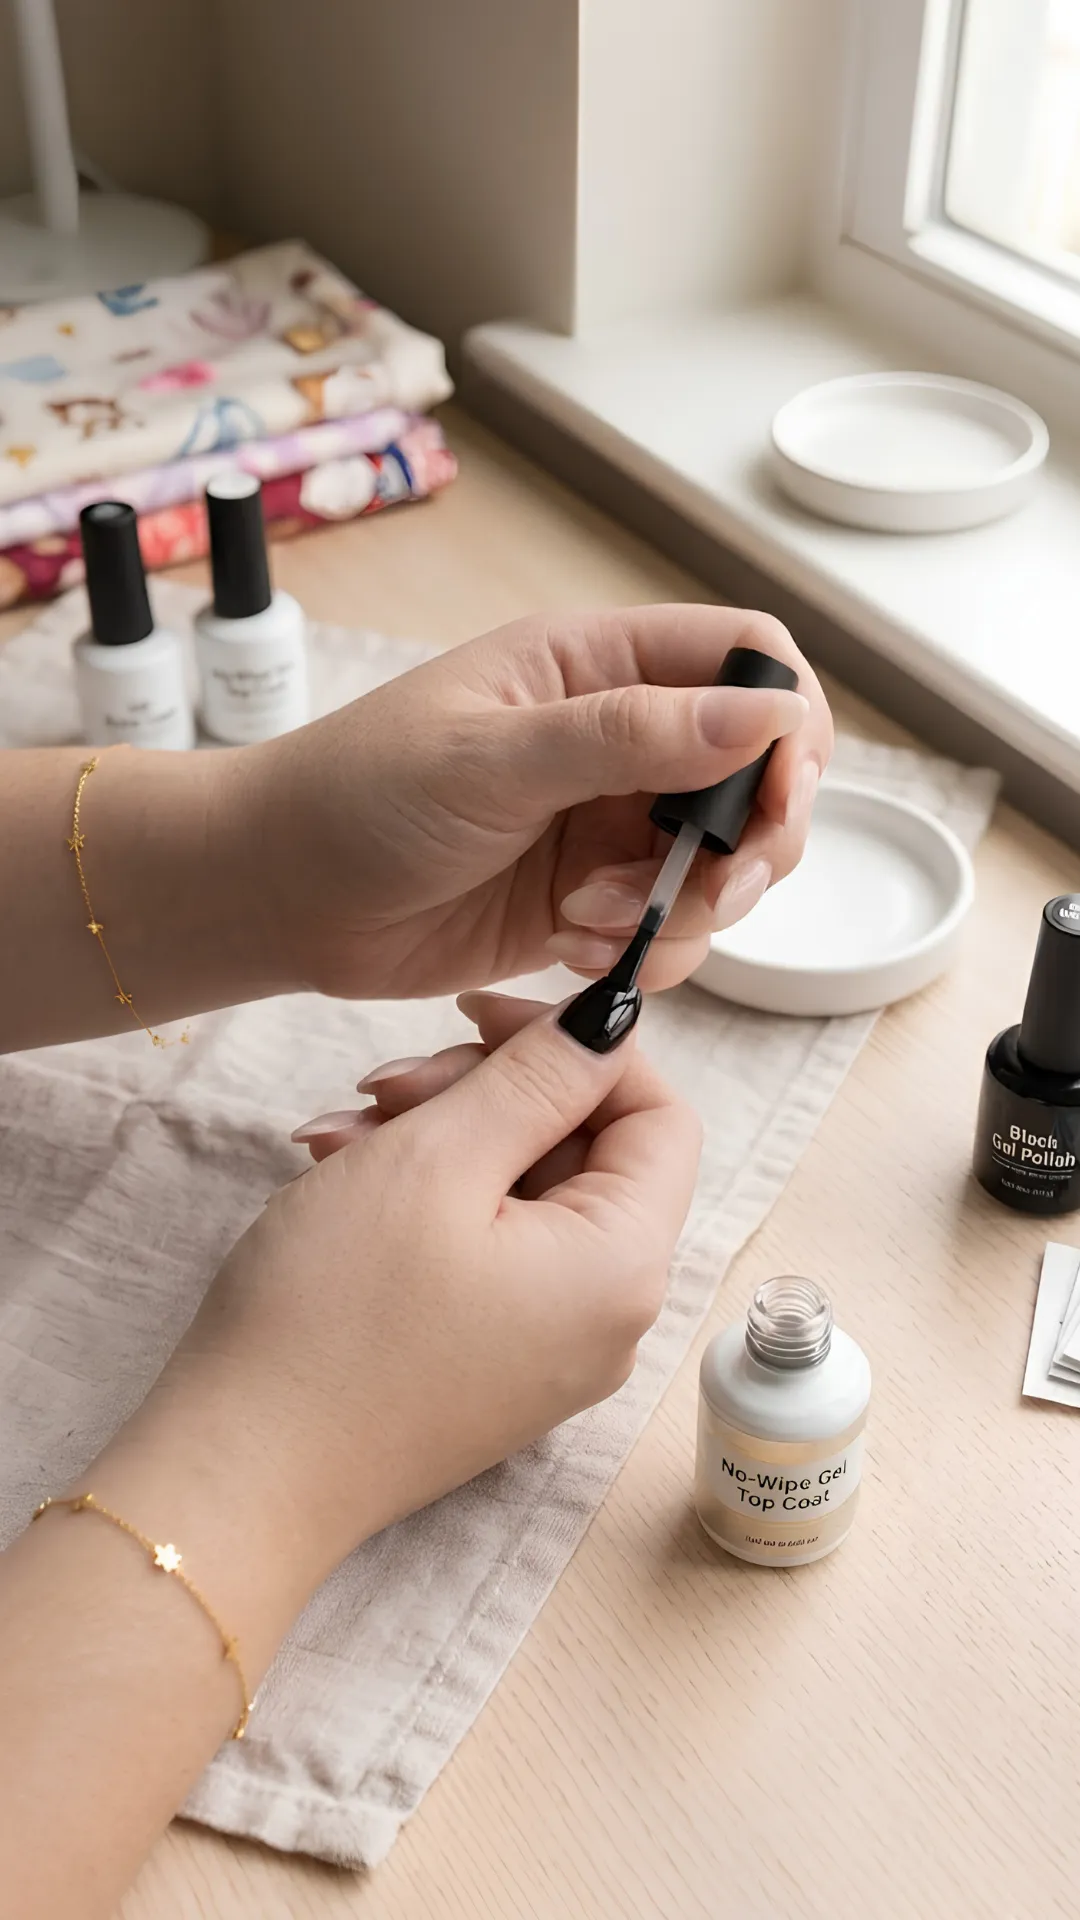
Reminder: Ordinary top coats will not work for chrome nails. They leave a tacky layer that can cause the powder to look muddy and uneven. Always check that your top coat specifically says “no-wipe” on the bottle.
Step 5: Apply Your Chrome Powder
This is the most exciting part. It is time to bring that mirror finish to life. Take your applicator or silicone tool and dip a small amount of chrome powder onto it.
Using a gentle, circular motion, start rubbing the powder onto your cured top coat. You will see the mirror effect begin to appear almost immediately. Continue buffing the powder in until you achieve full, even coverage.
Work on one nail at a time. If the powder goes on too thick, it will leave sparkly particles instead of a smooth mirror finish. Use light pressure and small circular movements for the cleanest result.
If you are not getting the shine you want, try applying more powder and buffing for a longer time. Sometimes it takes a little extra rubbing to reach maximum reflectivity.
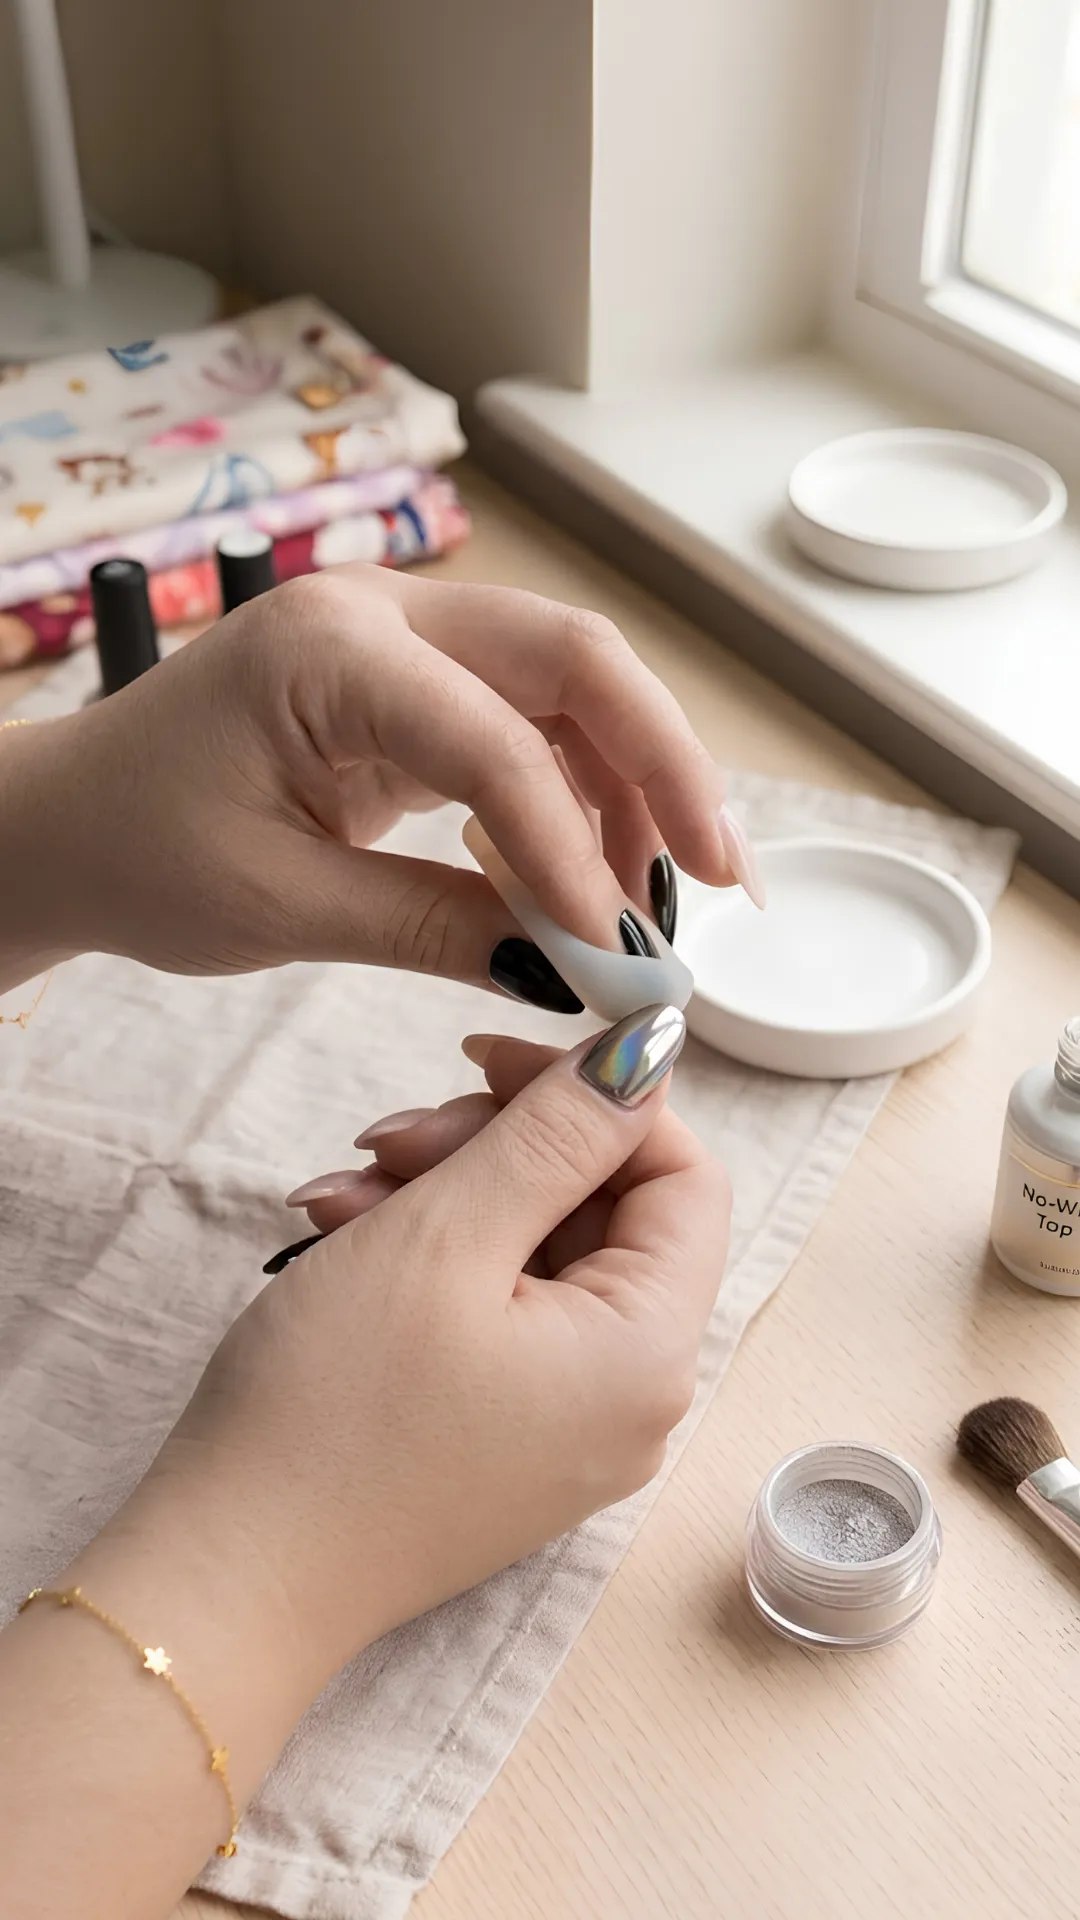
Nail It Tip: For multi-chrome or iridescent powders, use a patting motion instead of rubbing. This helps maintain the color-shifting effect without disturbing the pigment distribution.
Step 6: Seal Your Chrome Finish
You have achieved that gorgeous mirror finish. Now you need to protect it. Chrome powder is delicate and can be easily smudged or scratched if not sealed properly.
Using your fluffy brush, gently dust off any excess powder from your nails. Be thorough but gentle to avoid disturbing the chrome layer.
Now apply a second layer of no-wipe top coat over your chrome nails. This seals in the powder and gives your nails a glossy, protective shield. Apply it carefully in smooth, even strokes to avoid dragging the powder underneath.
Cure your top coat under the lamp for the recommended time. Once cured, your nails should look impossibly shiny and reflective.
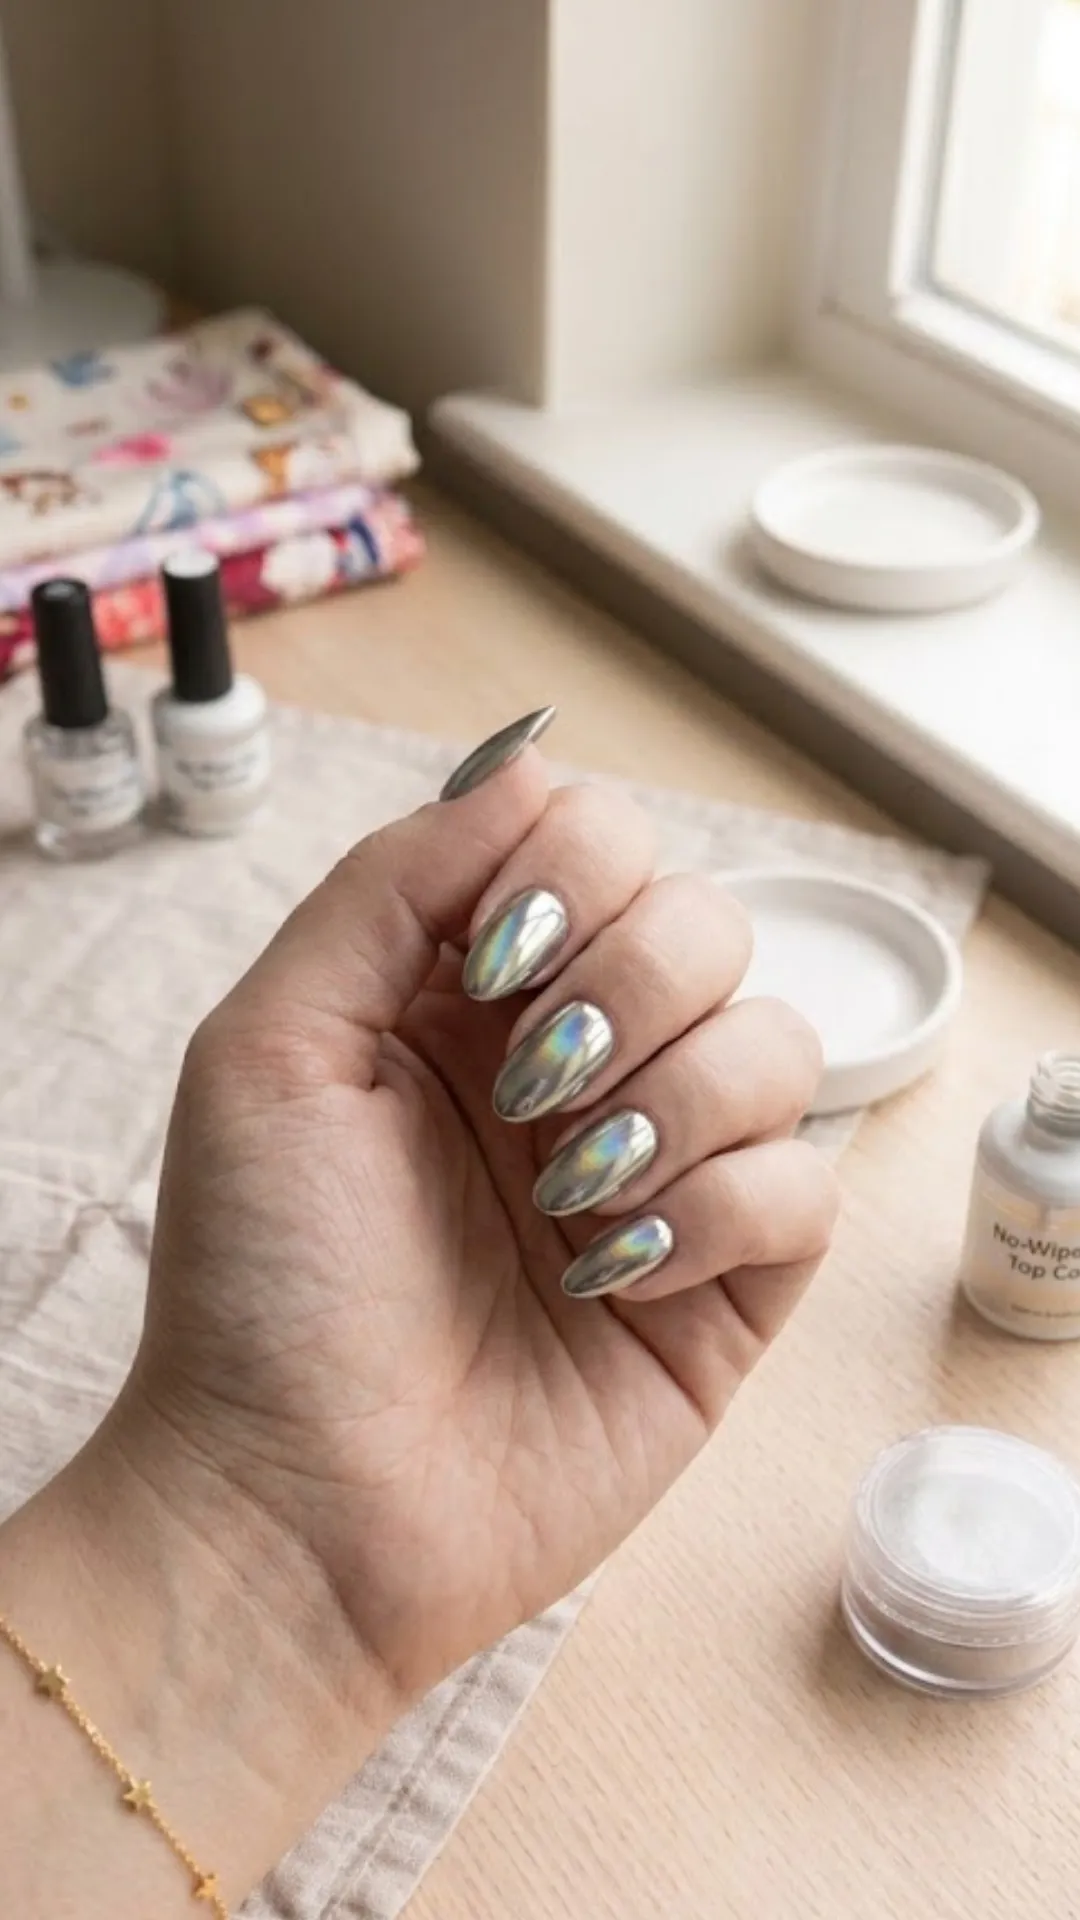
Your Secret Weapon: For maximum shine and durability, apply two thin layers of top coat instead of one thick layer. This creates a stronger, longer-lasting finish that resists chipping and scratching.
Step 7: Clean Up and Final Touches
You are almost done. Now it is time for those finishing touches that take your chrome nails from good to absolutely stunning.
Use a small brush dipped in rubbing alcohol to clean up any polish or powder that may have gotten on your cuticles or skin. This creates a clean, professional appearance.
If you want an extra glossy finish, you can apply a thin layer of nail oil or cuticle oil to your cuticles. This nourishes your skin and makes your manicure look even more polished.
Take a moment to admire your work. Those are your hands. You created that stunning mirror finish all by yourself.
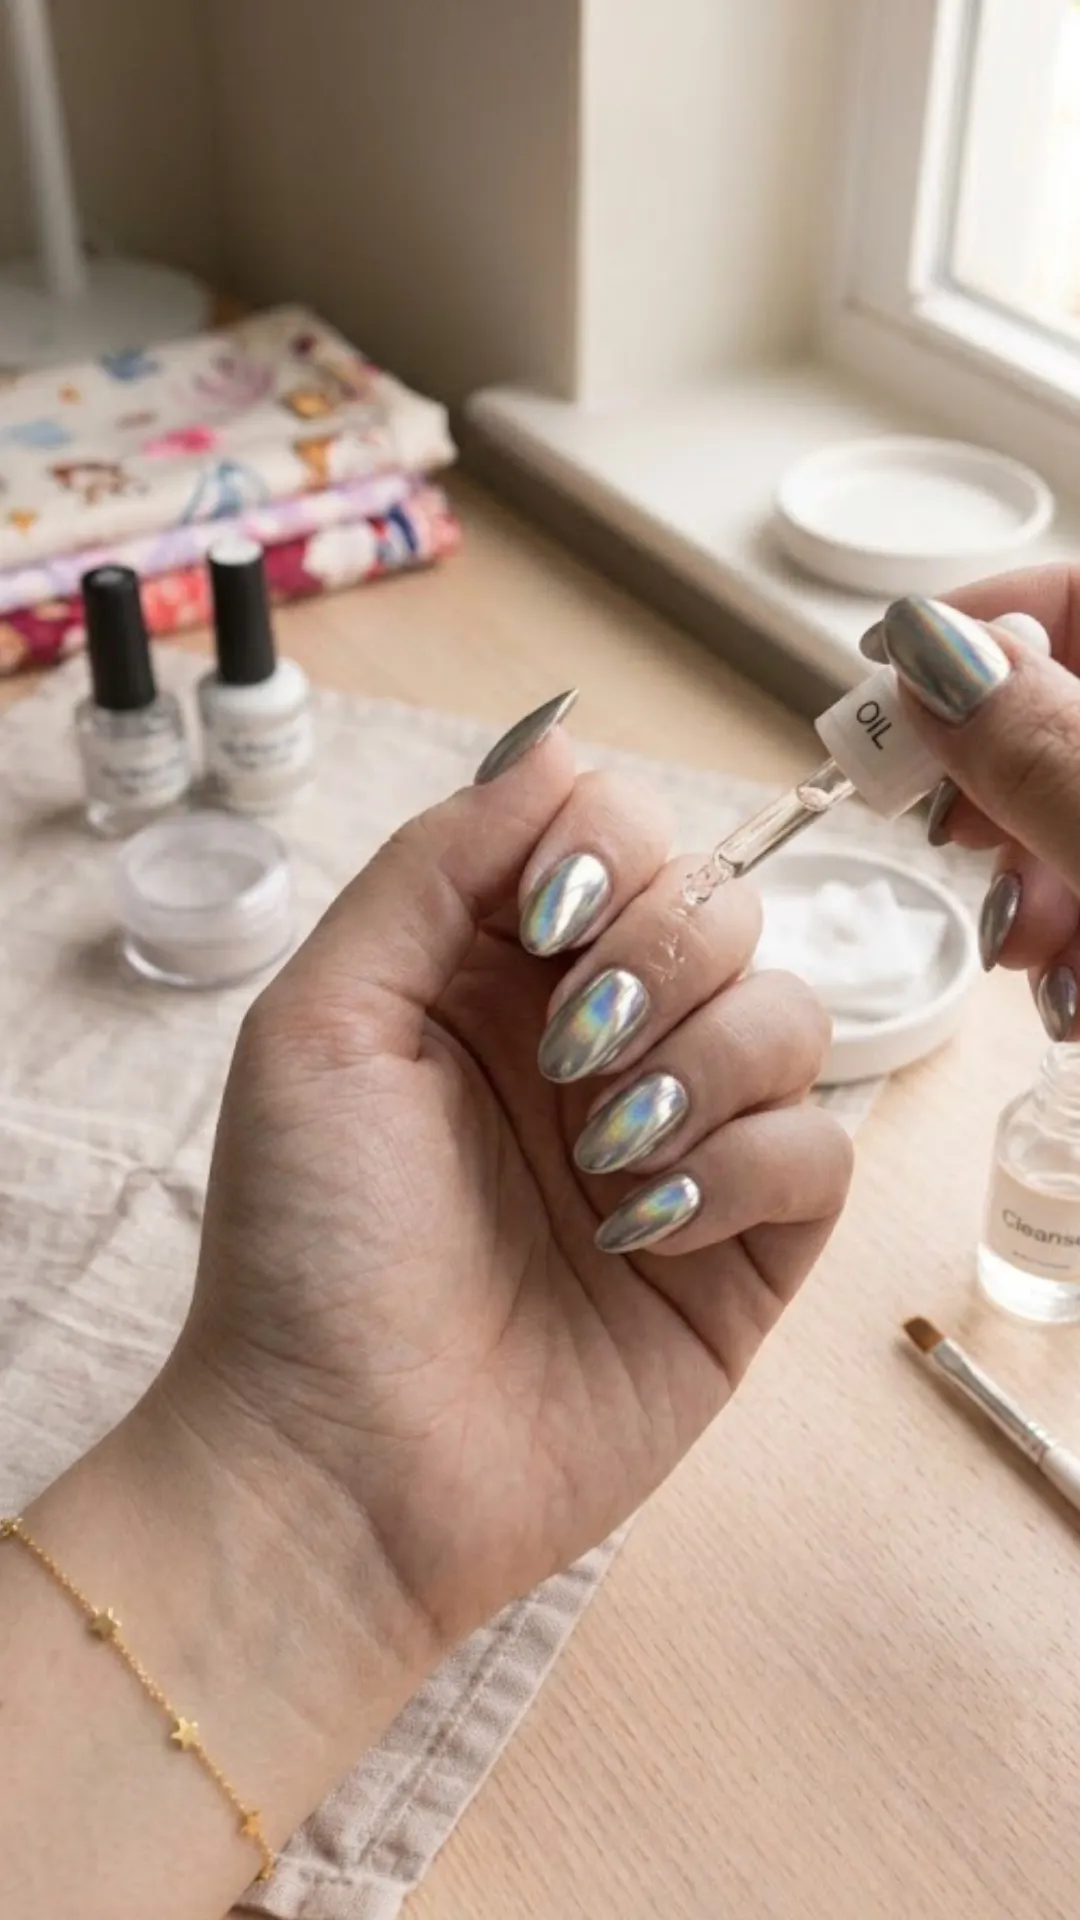
Troubleshooting Tip: If you notice small bald spots or uneven areas after sealing, you can go back and repeat steps 4 through 6 on those specific nails. Sometimes the chrome may need a second application for full coverage.
Common Chrome Nail Mistakes to Avoid
- Even with the perfect steps, things can go wrong. Here are the most common chrome nail mistakes and how to fix them.
- Using a tacky top coat is the number one mistake. Always use no-wipe top coat. If you use a regular top coat with a tacky layer, the chrome powder will look muddy, sparkly, and uneven.
- Not curing your top coat long enough is another frequent issue. Make sure you cure your top coat for the full recommended time. Under-curing leads to cloudy, dull chrome.
- Applying powder too thickly creates a flaky, uneven appearance. Use small amounts of powder and build up gradually. You can always add more, but it is harder to remove excess.
- Skipping the final top coat means your chrome will smudge and scratch easily. Always seal your chrome with an additional layer of no-wipe top coat.
- Using the wrong applicator can also cause problems. Soft sponge applicators or silicone tools work best for chrome application. Avoid using your fingers or rough materials that can scratch the finish.
Golden Rule: Practice makes perfect. Your first attempt might not be flawless, but each time you try, you will get better. Keep experimenting and learning what works best for you.
Chrome Color Options and Variations
While classic silver chrome is stunning, there are so many variations to explore. Expand your creativity with these exciting chrome options.
- Rose gold chrome is romantic and feminine. It has a warm, pinkish glow that looks beautiful on all skin tones.
- Holographic chrome shifts colors in the light. It creates a magical, unicorn-like effect that changes from pink to blue to gold as you move your hands.
- Multi-chrome powders offer stunning color transitions. These powders shift through multiple colors like a rainbow in the light.
- Colored chrome powders let you create custom looks. Try chrome over pastel pink for a soft, dreamy effect, or over navy blue for a dramatic, jewel-toned finish.
- Ombre chrome creates a stunning gradient effect. Apply chrome heavily at the tips and fade it toward the cuticles for a modern, sophisticated look.
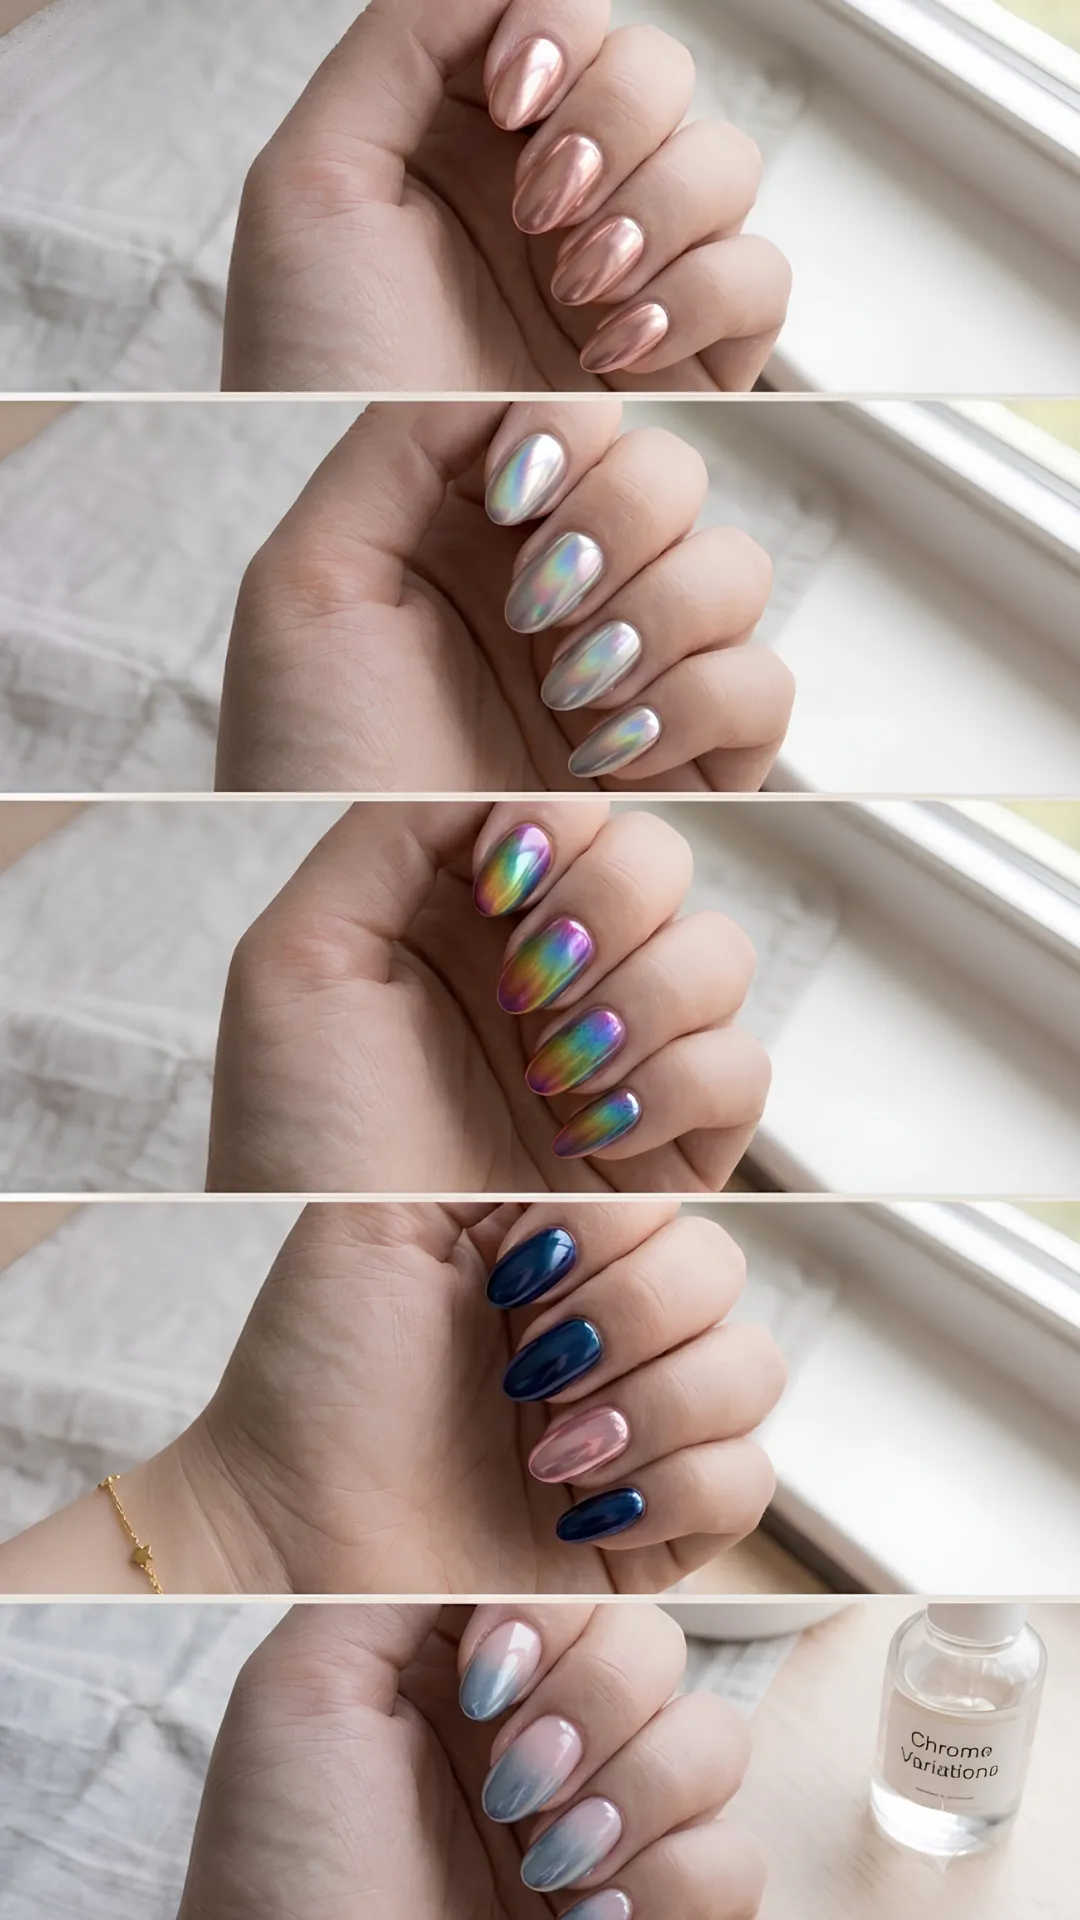
Pro Tip: For the most dramatic mirror effect, always use a dark base color. Black, navy, deep burgundy, and forest green all create stunning, high-contrast chrome finishes.
How to Make Your Chrome Nails Last
- You have put in the work to create gorgeous chrome nails. Now you want them to last. With proper care, your chrome manicure can stay beautiful for up to two weeks.
- Always wear gloves when doing household chores or using harsh chemicals. Dish soap, cleaning products, and even some skincare can damage your chrome finish.
- Apply cuticle oil daily to keep your nails and cuticles nourished. This also helps prevent your polish from lifting at the edges.
- Avoid using your nails as tools. Opening cans, scratching off labels, and picking at things can cause chipping and damage.
- When removing your chrome nails, use the soak-off method. Wrap cotton pads soaked in acetone around your nails with foil and wait 10 to 15 minutes. Never peel or scrape your chrome off, as this can damage your natural nails.
Remember This: Gentle care equals lasting wear. Treat your chrome nails with care, and they will stay stunning for as long as you want them.
Your Chrome Nail Journey Starts Now
Chrome nails are more than just a trend. They are a statement. They are bold, beautiful, and eye-catching. And now, you know exactly how to create them yourself.
From gathering your supplies to sealing your finish, you have all the knowledge you need. The rest is just practice. Each time you try, you will get more comfortable and confident.
So go ahead. Give it a try. Experiment with different colors and techniques. Create looks that reflect your personal style. Most importantly, have fun with it.
Your mirror-finish nails are waiting to be created. You have got this.
Ready to Create Your Flawless Chrome Nails?
Now that you have this complete guide, it is time to put your knowledge into action. Gather your supplies, set up your workspace, and start creating those stunning mirror-finish nails you have always admired.
Head over to donutnail.com for more nail art tutorials, product recommendations, and inspiration for your next manicure. We have everything you need to become your own nail artist.
Your dream chrome nails are just a few steps away. Go ahead and treat yourself to a manicure that will turn heads and make you feel absolutely fabulous.
Master 7 Easy Steps for Flawless Chrome Nails and get that stunning mirror-finish at home! ✨ From prep to powder application, this guide covers everything you need. Save this pin for your next DIY manicure! 💅🪞 #ChromeNails #MirrorNails #NailArtTutorial
Table of Contents
You might also Like: 5 Must-Know Floral Nail Art Techniques That Work for Any Season!

