
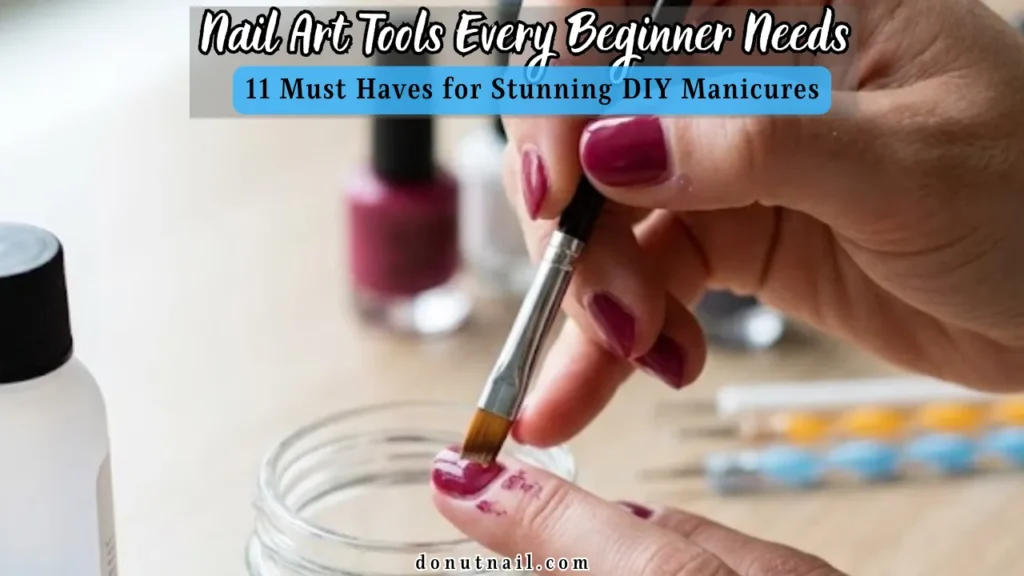
Discover the Nail Art Tools Every Beginner Needs to Get Started from dotting tools to detail brushes. Build your perfect starter kit and create stunning DIY manicures today!
Have you ever found yourself staring at gorgeous nail art on Pinterest or Instagram, thinking, “I wish I could do that, but I have no idea where to even start”? I completely understand that feeling. The world of nail art can seem so overwhelming with all those fancy tools and techniques, and it’s easy to assume you need a whole professional salon setup just to create something beautiful.
Here’s the truth: you don’t need a massive collection of expensive equipment or a $500 starter kit to begin your nail art journey. In fact, some of the most stunning designs can be created with just a handful of essential tools; many of which you probably already have in your home! Today, I’m sharing the ultimate guide to the Nail Art Tools Every Beginner Needs to Get Started; Must Haves for Stunning DIY Manicures. From absolute must haves to clever household hacks, this guide will have you creating gorgeous, salon worthy designs in no time. Ready to build your dream nail art station? Let’s dive in!
1. Base Coat and Top Coat – The Foundation of Every Great Manicure
Before you even think about creating beautiful designs, you need the unsung heroes of any manicure; a good base coat and top coat. These two products are the absolute foundation of the Nail Art Tools Every Beginner Needs to Get Started.
Your base coat does double duty. It protects your natural nails from staining, especially when using highly pigmented polishes. It also creates a smooth, slightly tacky surface that helps your polish adhere better and last longer. Without a base coat, your beautiful nail art won’t stand a chance against chipping and peeling.
Your top coat is equally important. It seals your design with a glossy, protective layer that prevents chips, smudges, and fading. A good top coat extends the life of your manicure and gives it that professional, salon finish shine.
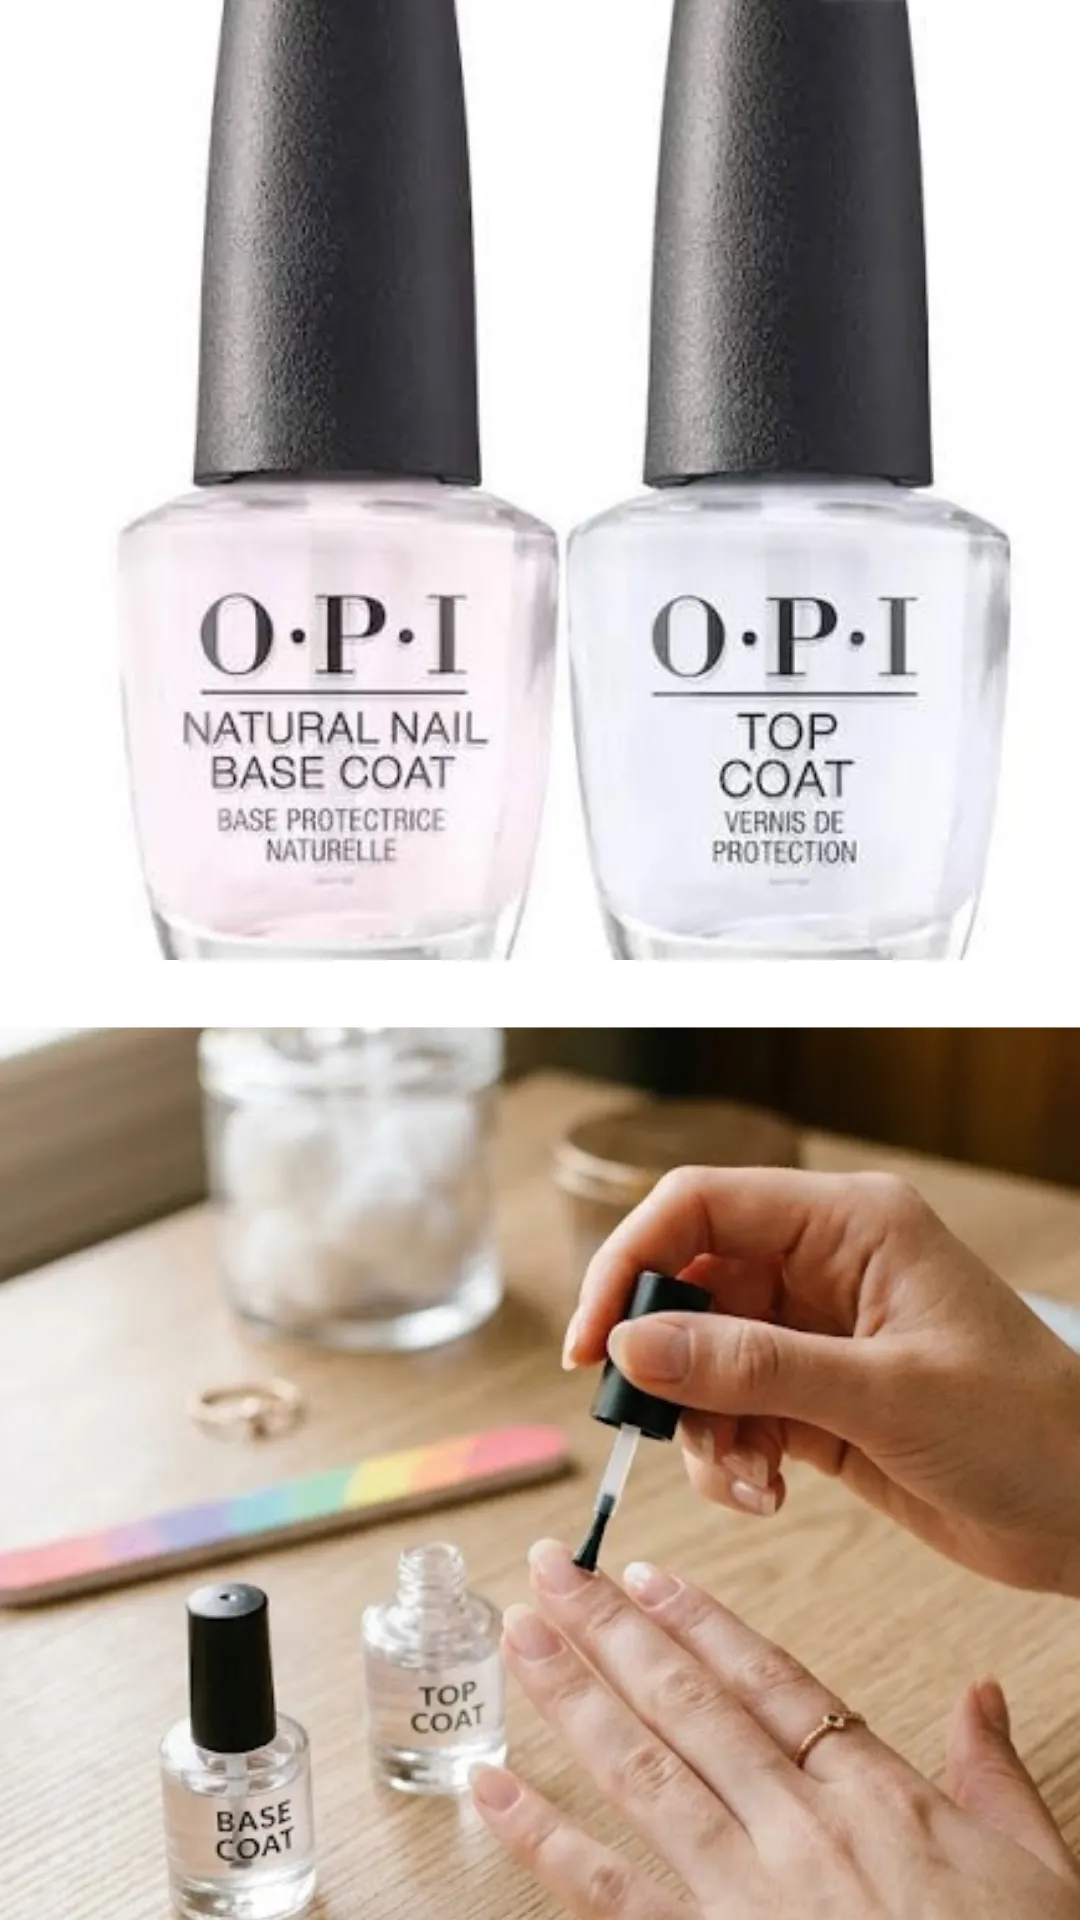
Here’s a little secret: for the longest lasting results, always apply both a base coat and a top coat. And remember to cap the free edge of your nail with both products; this seals the tip and prevents chipping from the front!
2. Essential Nail Polishes – Building Your Color Collection
You can’t create nail art without polish! While you don’t need every color under the sun, having a small, versatile collection is one of the Nail Art Tools Every Beginner Needs to Get Started.
Start with a few basic shades that you love, maybe a classic red, a soft pink, a chic nude, and a deep burgundy. But here’s the secret: always have white and black polishes in your collection. These two colors are absolute game changers for nail art. White serves as the perfect base for vibrant designs, creates crisp polka dots, and helps pastel colors pop. Black creates bold contrast, sharp lines, and edgy designs that look incredibly modern.
As you grow more confident, you can expand your collection with metallics, pastels, neons, and glitters. But starting with these essential colors gives you endless creative possibilities without breaking the bank.
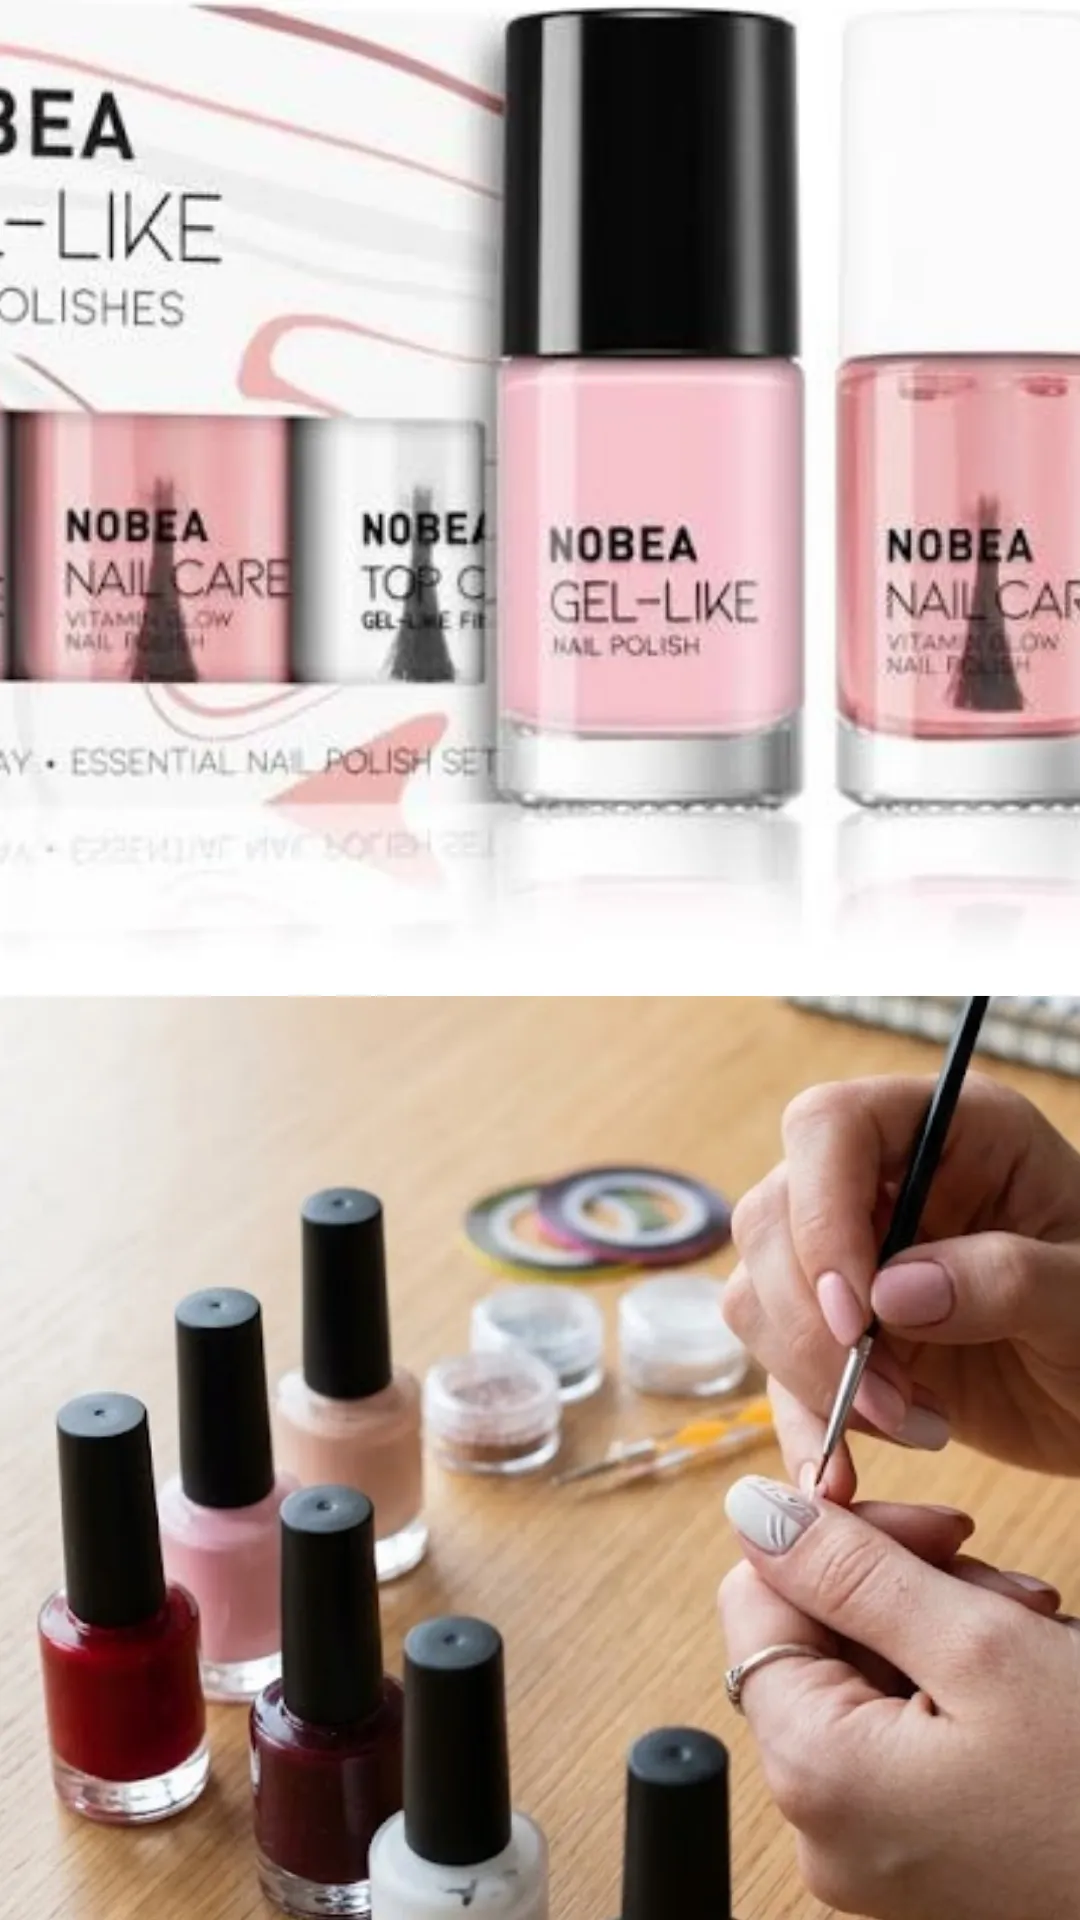
Pro tip: choose polishes with a thin, smooth consistency. Thick polishes can be harder to work with for detailed designs and can create globs rather than crisp lines.
3. Dotting Tools – Your Best Friends for Perfect Dots and Flowers
Dotting tools are absolute magic. These simple tools, which look like thin metal sticks with small balls on the ends in different sizes, are among the most versatile Nail Art Tools Every Beginner Needs to Get Started.
With dotting tools, you can create perfect polka dots in seconds. You can create delicate flowers by grouping dots together. You can create patterns, swirls, and even tiny animal prints. The different sizes allow you to create everything from tiny detailed dots to larger, more prominent circles.
Using dotting tools is incredibly easy. Simply dip the ball end into your polish, making sure you don’t overload it, and gently press onto your nail. The result is a perfectly round dot every time. Clean the tool with polish remover between colors to avoid muddying your designs.
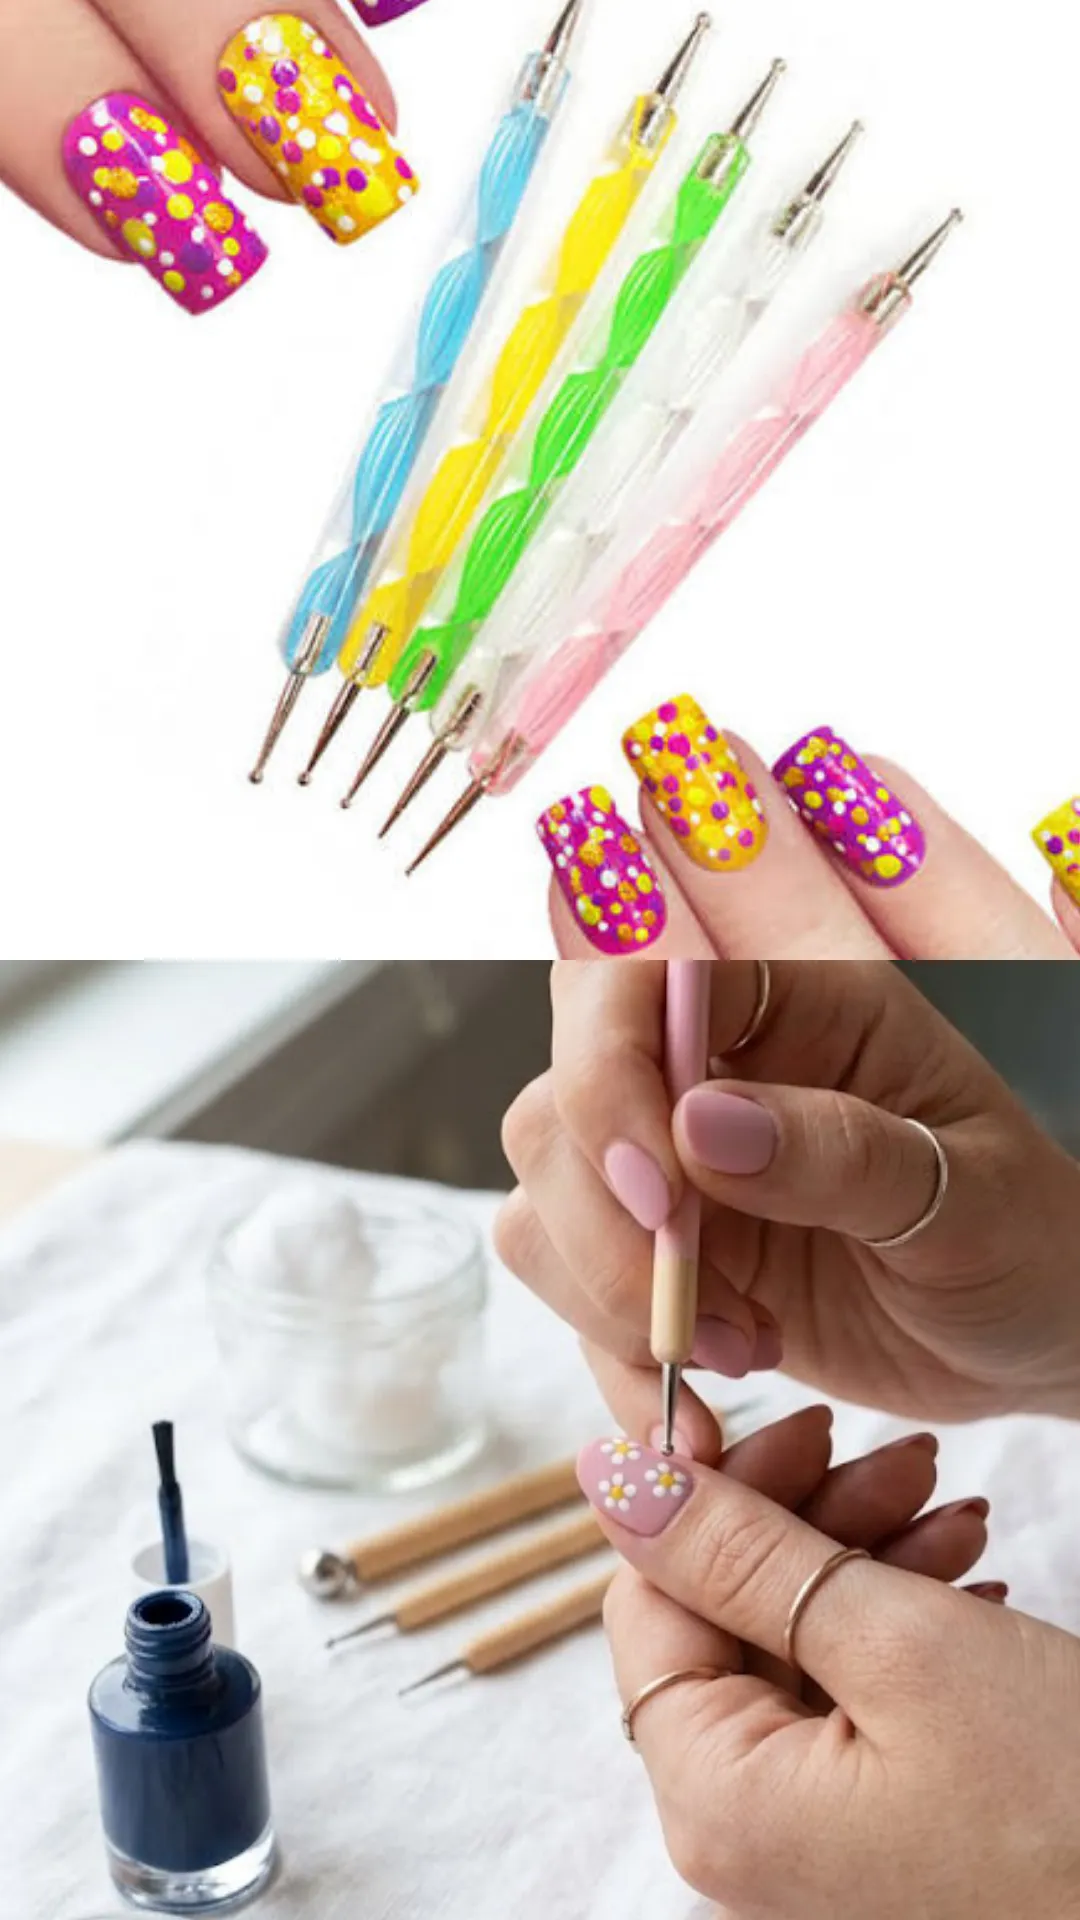
The best part? Dotting tools are incredibly affordable; you can find a set of four or five different sizes for under $10 online or at your local beauty supply store!
4. Fine Detail Brushes – For Crisp Lines and Intricate Details
If you want to create intricate designs, fine detail brushes are absolutely essential. These thin, precise brushes are among the most important Nail Art Tools Every Beginner Needs to Get Started.
Detail brushes allow you to paint delicate patterns, crisp lines, tiny flowers, lettering, and so much more. The fine tip gives you complete control over your design, making it possible to create details that would be impossible with regular polish brushes.
When choosing a detail brush, look for one with thin, synthetic bristles that hold their shape well. A brush with a slightly curved tip can be particularly helpful for creating smooth, flowing lines. You can find these brushes individually or as part of a nail art brush set that includes multiple sizes.
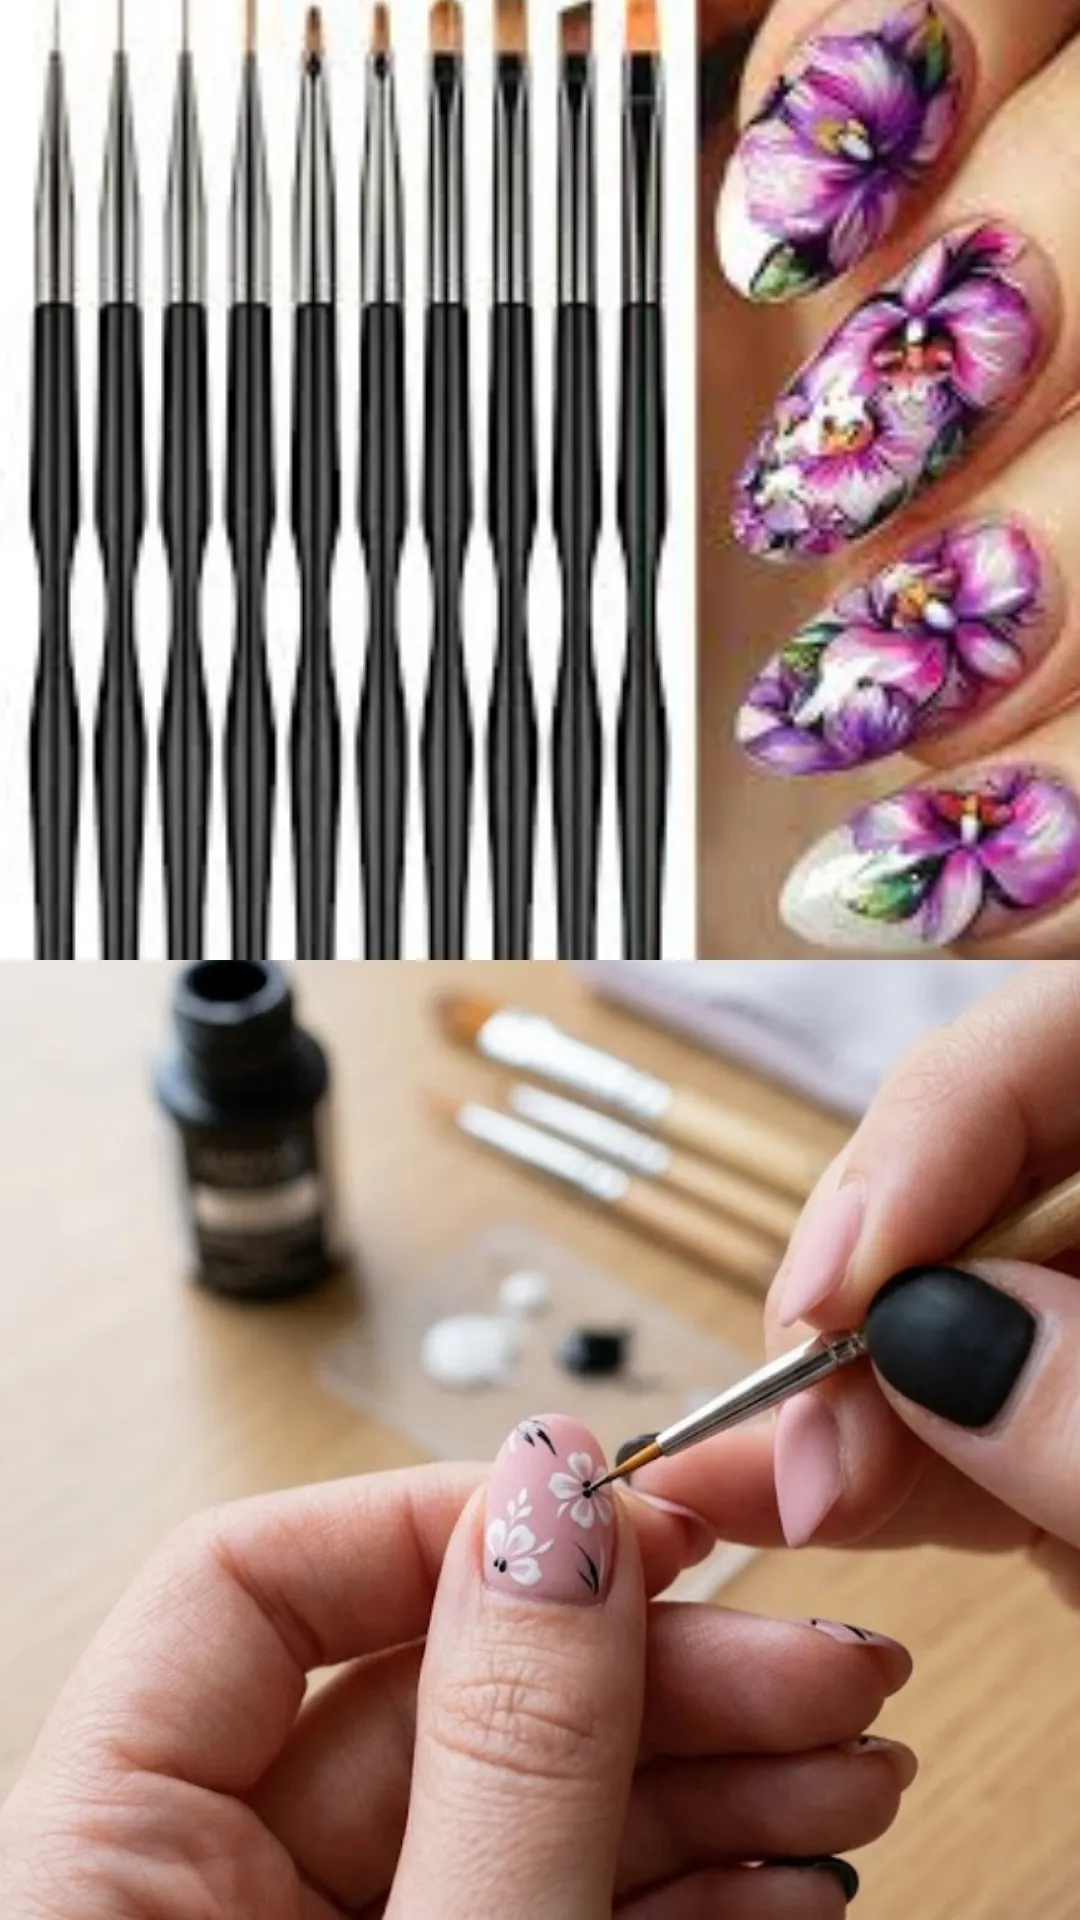
Cleaning your detail brushes properly is crucial. Always wipe off excess polish on a paper towel and then clean the brush with polish remover. Shape the bristles back into a point and store them carefully to maintain their precision.
5. Striping Tape – Clean, Geometric Lines Made Easy
Striping tape is another one of those genius Nail Art Tools Every Beginner Needs to Get Started. This ultra thin adhesive tape comes in various widths and colors and is your secret weapon for creating crisp, professional looking geometric designs.
To use striping tape, simply apply your base color and let it dry completely. Then cut a piece of tape to the desired length and carefully press it onto your nail in your desired pattern horizontal, vertical, diagonal, or even chevron. Apply your second color over the whole nail and let it dry slightly. Then carefully peel off the tape to reveal a perfectly clean, sharp line underneath.
Striping tape is perfect for creating French tips, color blocking, geometric patterns, and so much more. It’s incredibly easy to use and gives you results that look like they were done by a professional.
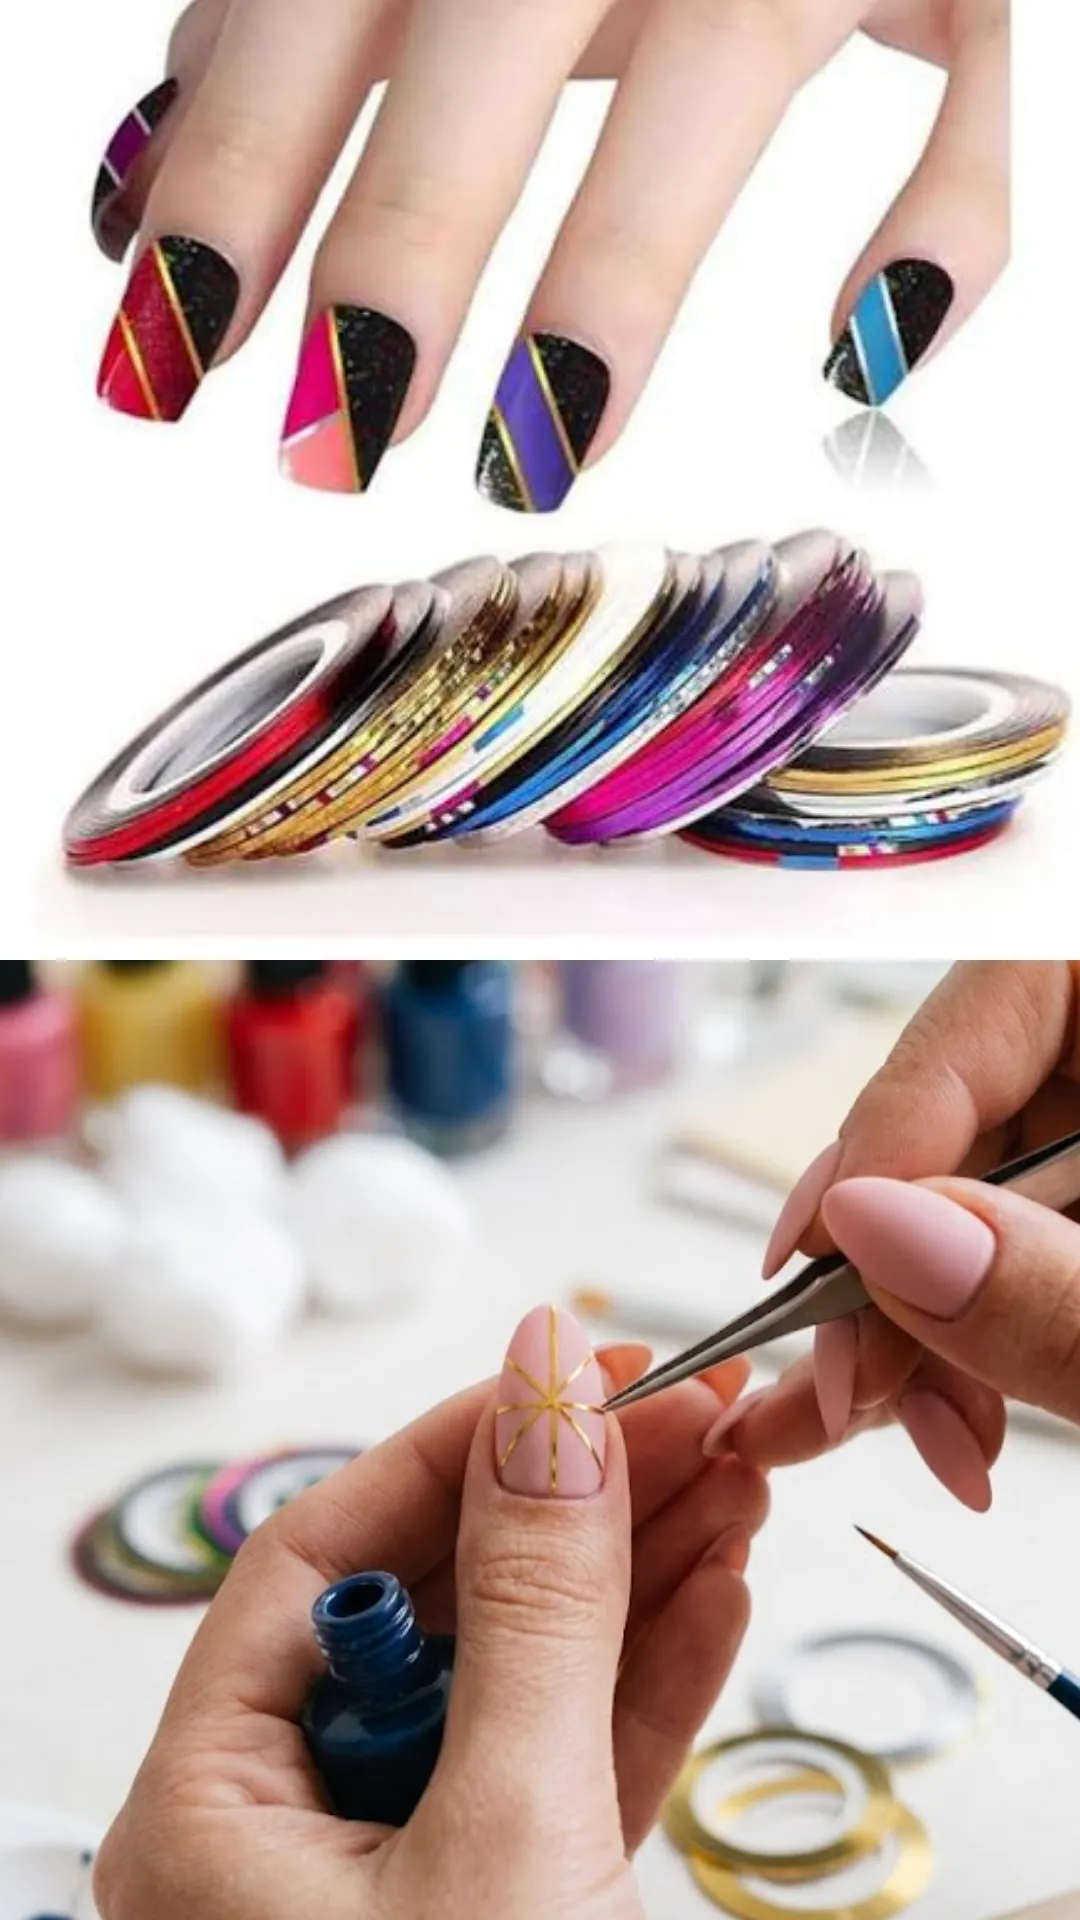
Pro tip: wait for your base color to dry completely before applying the tape, and remove the tape while your top color is still slightly wet for the cleanest lines.
6. Cleanup Brush and Polish Remover – Mistakes Happen to Everyone
Let’s be honest, mistakes happen especially when you’re just starting out. A cleanup brush and some polish remover are absolutely essential Nail Art Tools Every Beginner Needs to Get Started.
A small, angled brush dipped in polish remover is perfect for cleaning up any polish that gets on your skin or cuticles. Instead of starting over entirely, you can simply brush away the mistake and have a perfectly clean, professional looking manicure.
I recommend having a small glass or ceramic dish of polish remover next to you while you work. Dip your cleanup brush in the remover, blot off the excess on a paper towel, and carefully clean up any edges. The angled tip makes it easy to get right up next to your cuticles without disturbing your design.
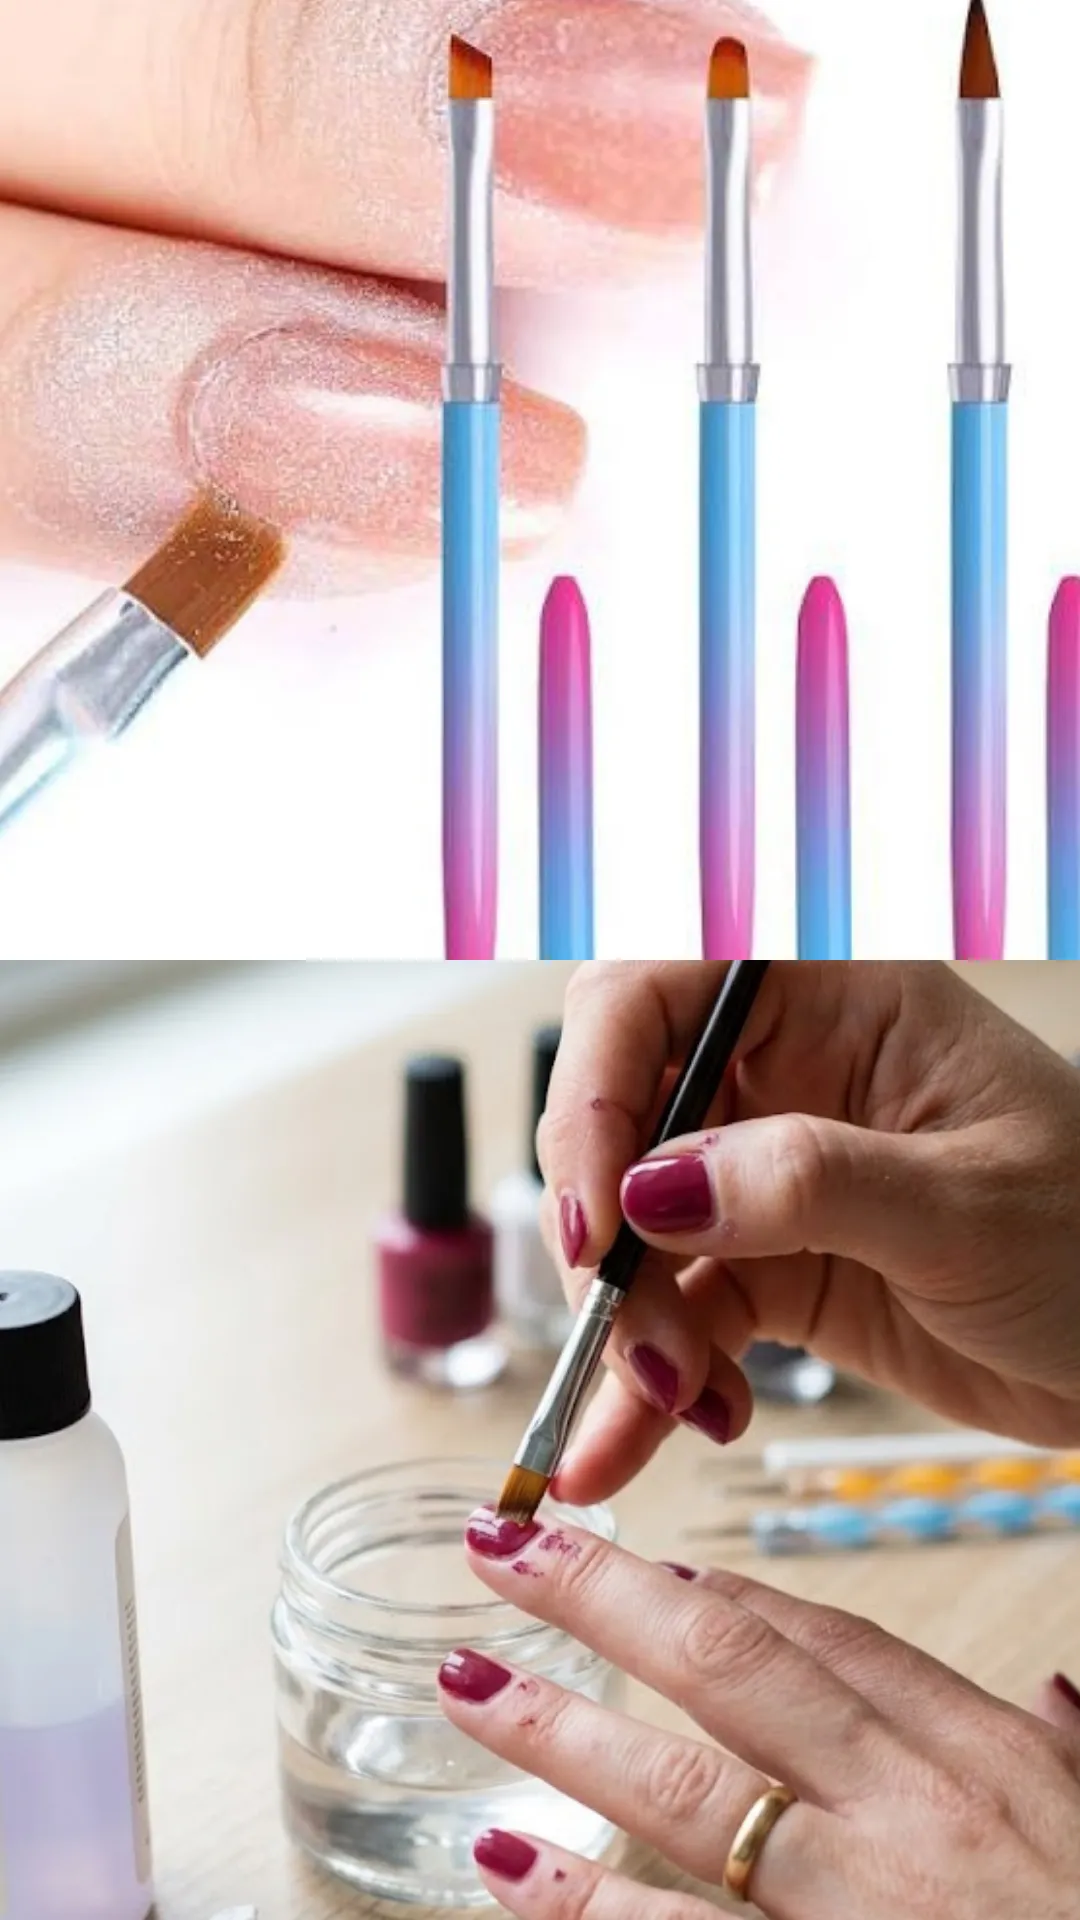
Acetone based removers work faster than non acetone ones, but they can be drying to your skin and nails. Use them sparingly and always moisturize after your manicure is complete.
7. Nail File and Buffer – Shape and Smooth Like a Pro
Before you even think about applying polish, you need properly shaped and smoothed nails. A good nail file and buffer are essential Nail Art Tools Every Beginner Needs to Get Started.
A nail file shapes your nails to your desired length and shape. For beginners, I recommend starting with a medium grit file that’s gentle on your nails. File in one direction only, sawing back and forth can weaken your nails and cause peeling.
A buffer block smooths the surface of your nails, removing ridges and creating a perfectly even canvas for your polish. Buffing also stimulates circulation to your nail beds, promoting healthier nail growth. Just don’t over buff; too much can thin your nails.
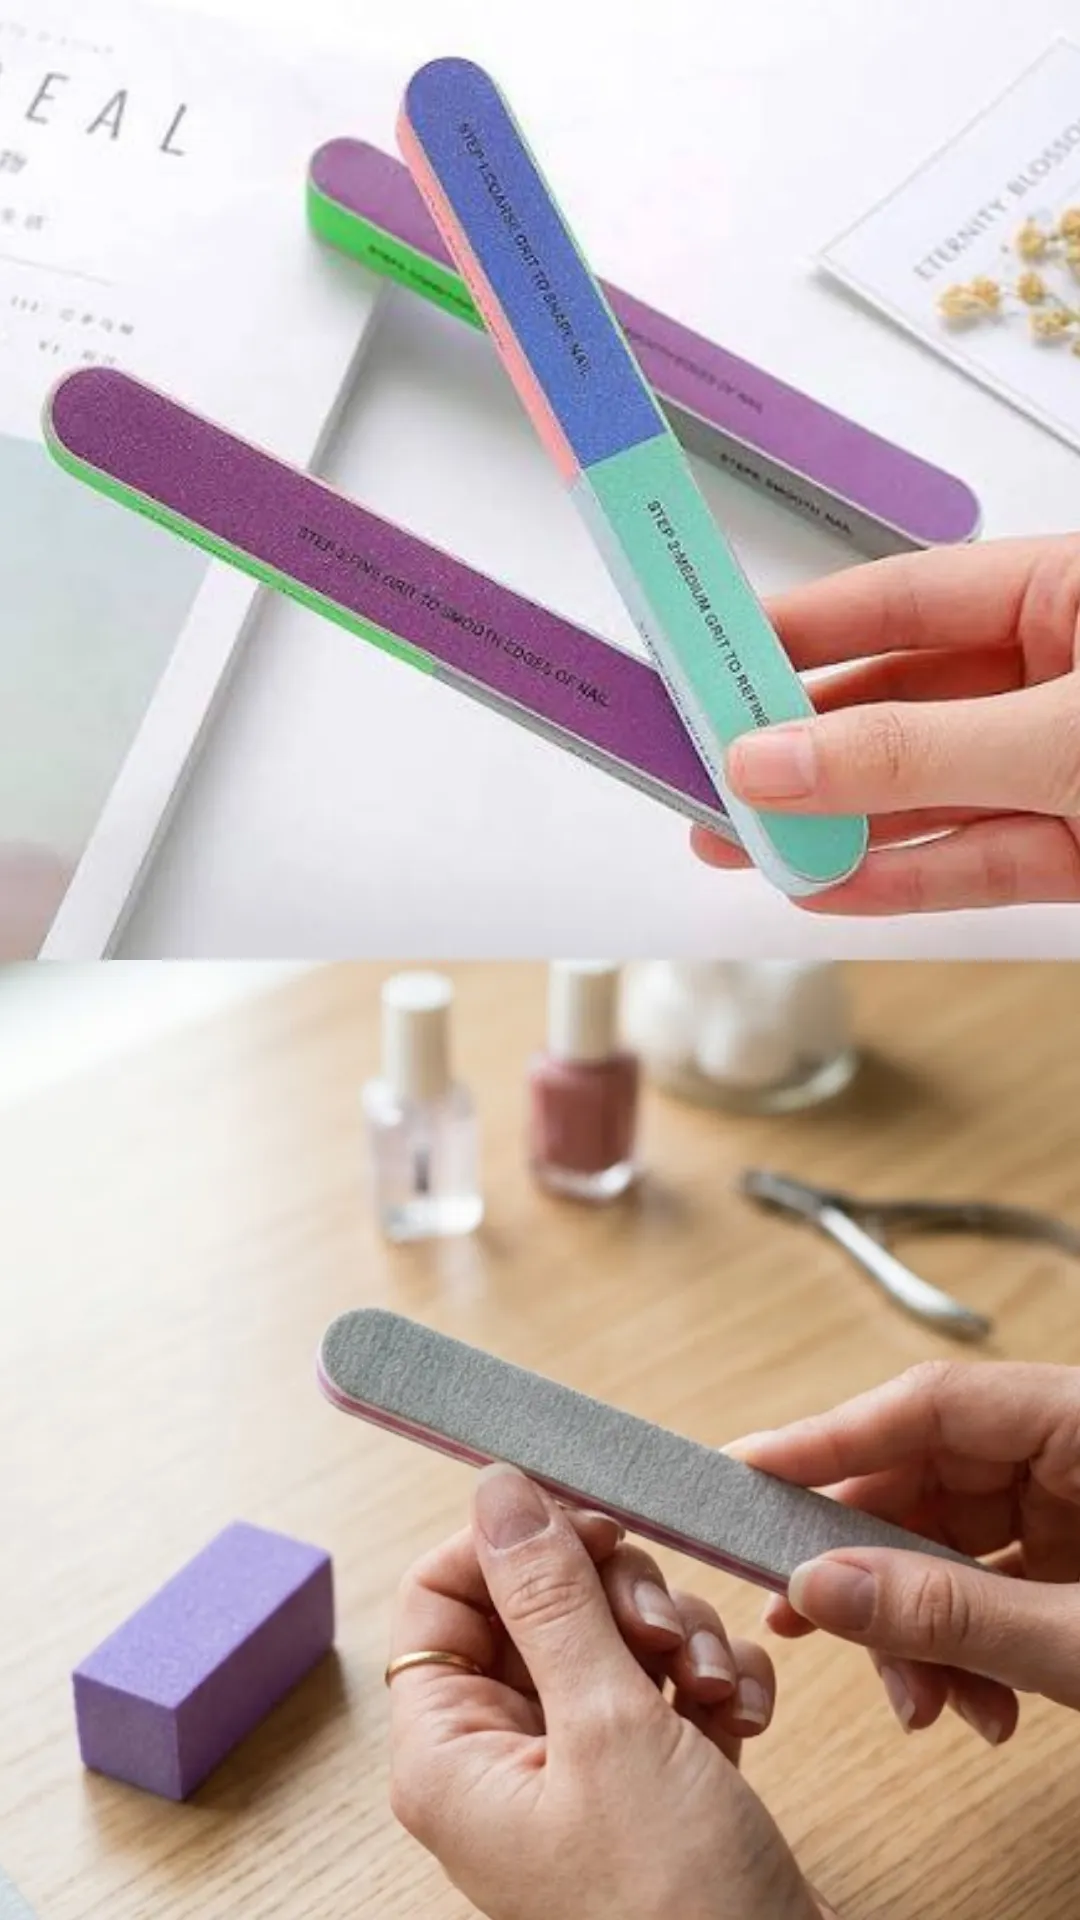
Start with the coarse side of the buffer to smooth ridges, then move to the finer sides for a beautiful natural shine before you apply your base coat.
8. Cuticle Pusher and Nippers – For a Clean Canvas
Your cuticles play a huge role in how professional your manicure looks. A cuticle pusher and nippers are among the most important Nail Art Tools Every Beginner Needs to Get Started for creating a clean, polished canvas.
A cuticle pusher gently pushes back your cuticles, exposing more of your nail surface for your design. This gives you a larger canvas to work with and creates a cleaner, more professional finish. Some pushers are metal, while others are wooden or rubber; choose whichever feels most comfortable to you.
Cuticle nippers trim any hangnails or excess cuticle skin that could interfere with your design. Be careful not to over trim, though cuticles protect your nails from infection, and cutting them too short can be painful.
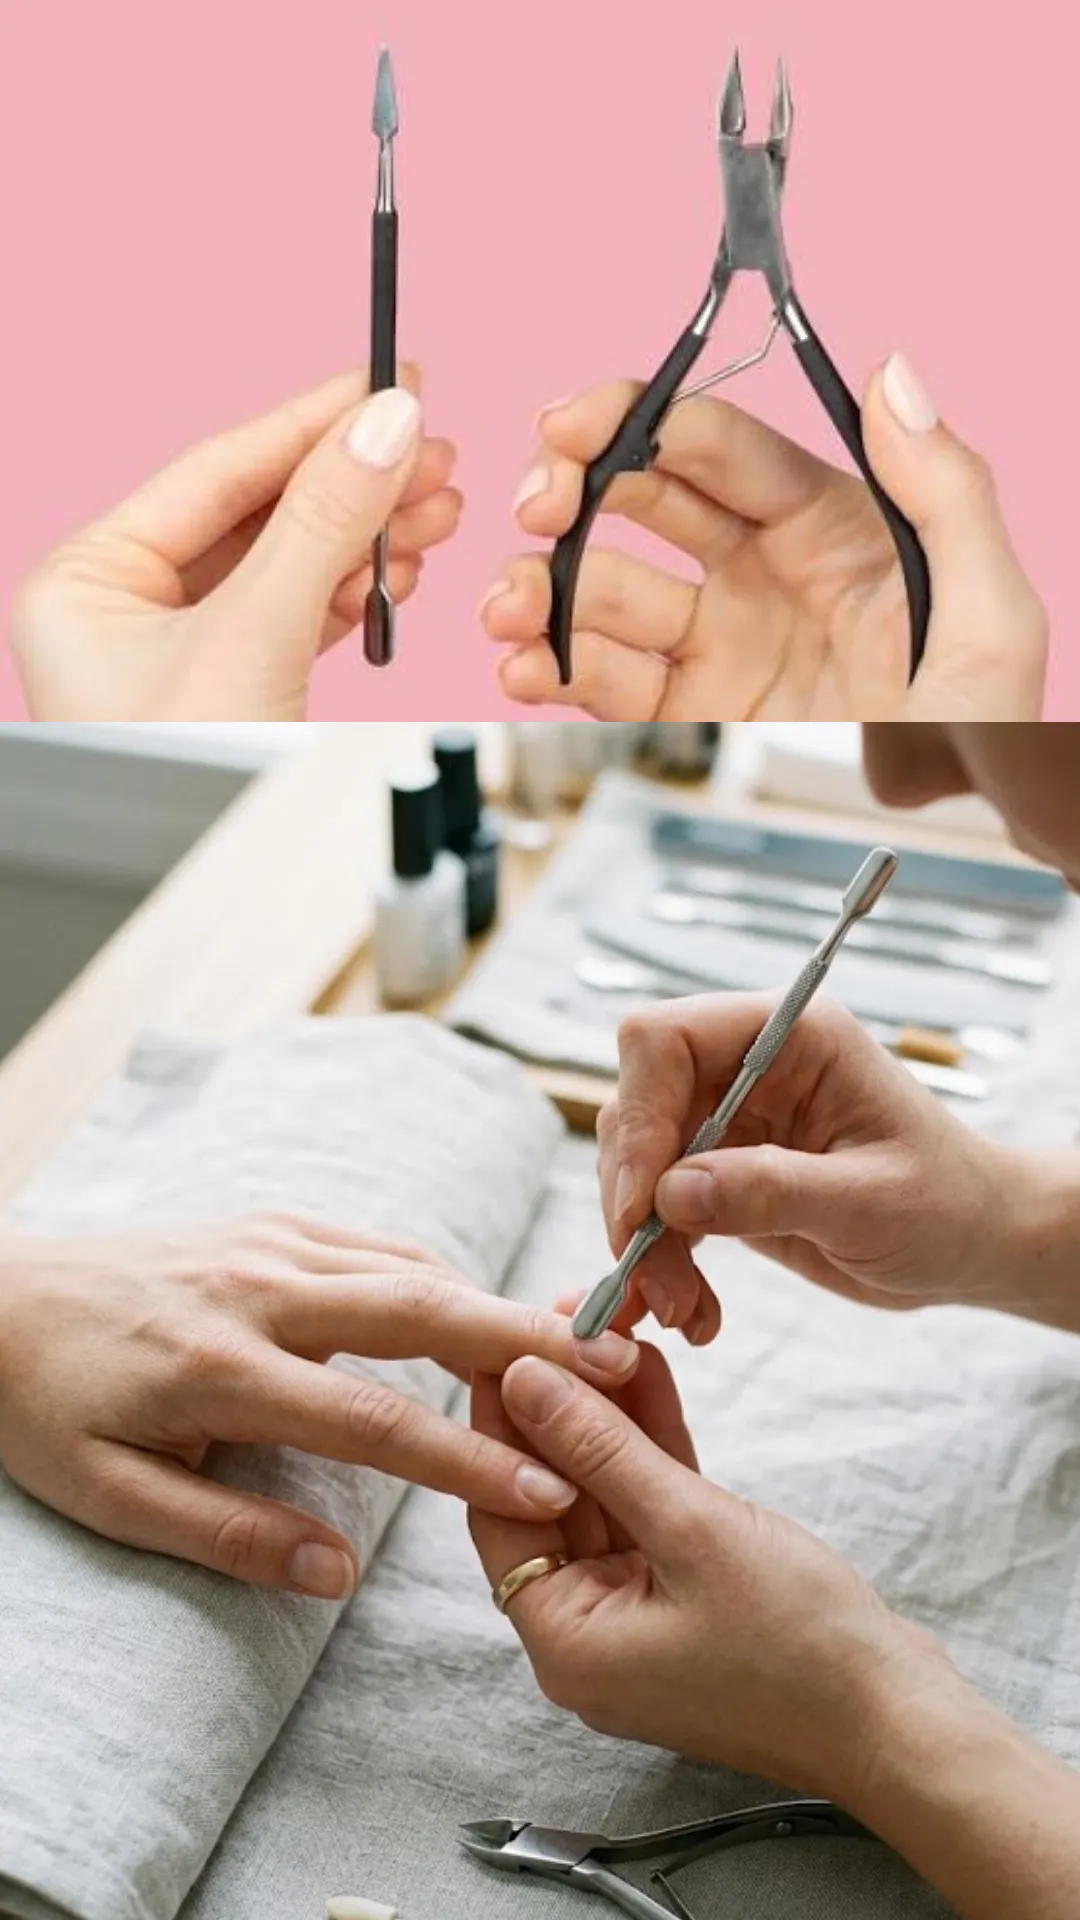
Pro tip: always push back your cuticles after a warm shower or soak, when they’re soft and pliable. And never skip the cuticle oil afterward!
9. Household Hacks – Clever Alternatives You Already Have
Here’s a fun secret: some of the best Nail Art Tools Every Beginner Needs to Get Started are things you probably already have in your kitchen or bathroom drawer!
Toothpicks are surprisingly versatile. They’re perfect for creating fine lines, drawing small details, and even creating tiny dots. Their pointed tip gives you precision similar to a detail brush.
Bobby pins work wonderfully as dotting tools. The small round end creates perfect dots in a medium size, and the larger rounded end can create larger dots or even swirls. Just dip the end in polish and press onto your nail.
Scotch tape or painter’s tape is your friend for creating crisp lines and geometric patterns. Apply it to your nail, paint over it, and peel it off for perfectly clean edges. Just make sure your base color is completely dry first!
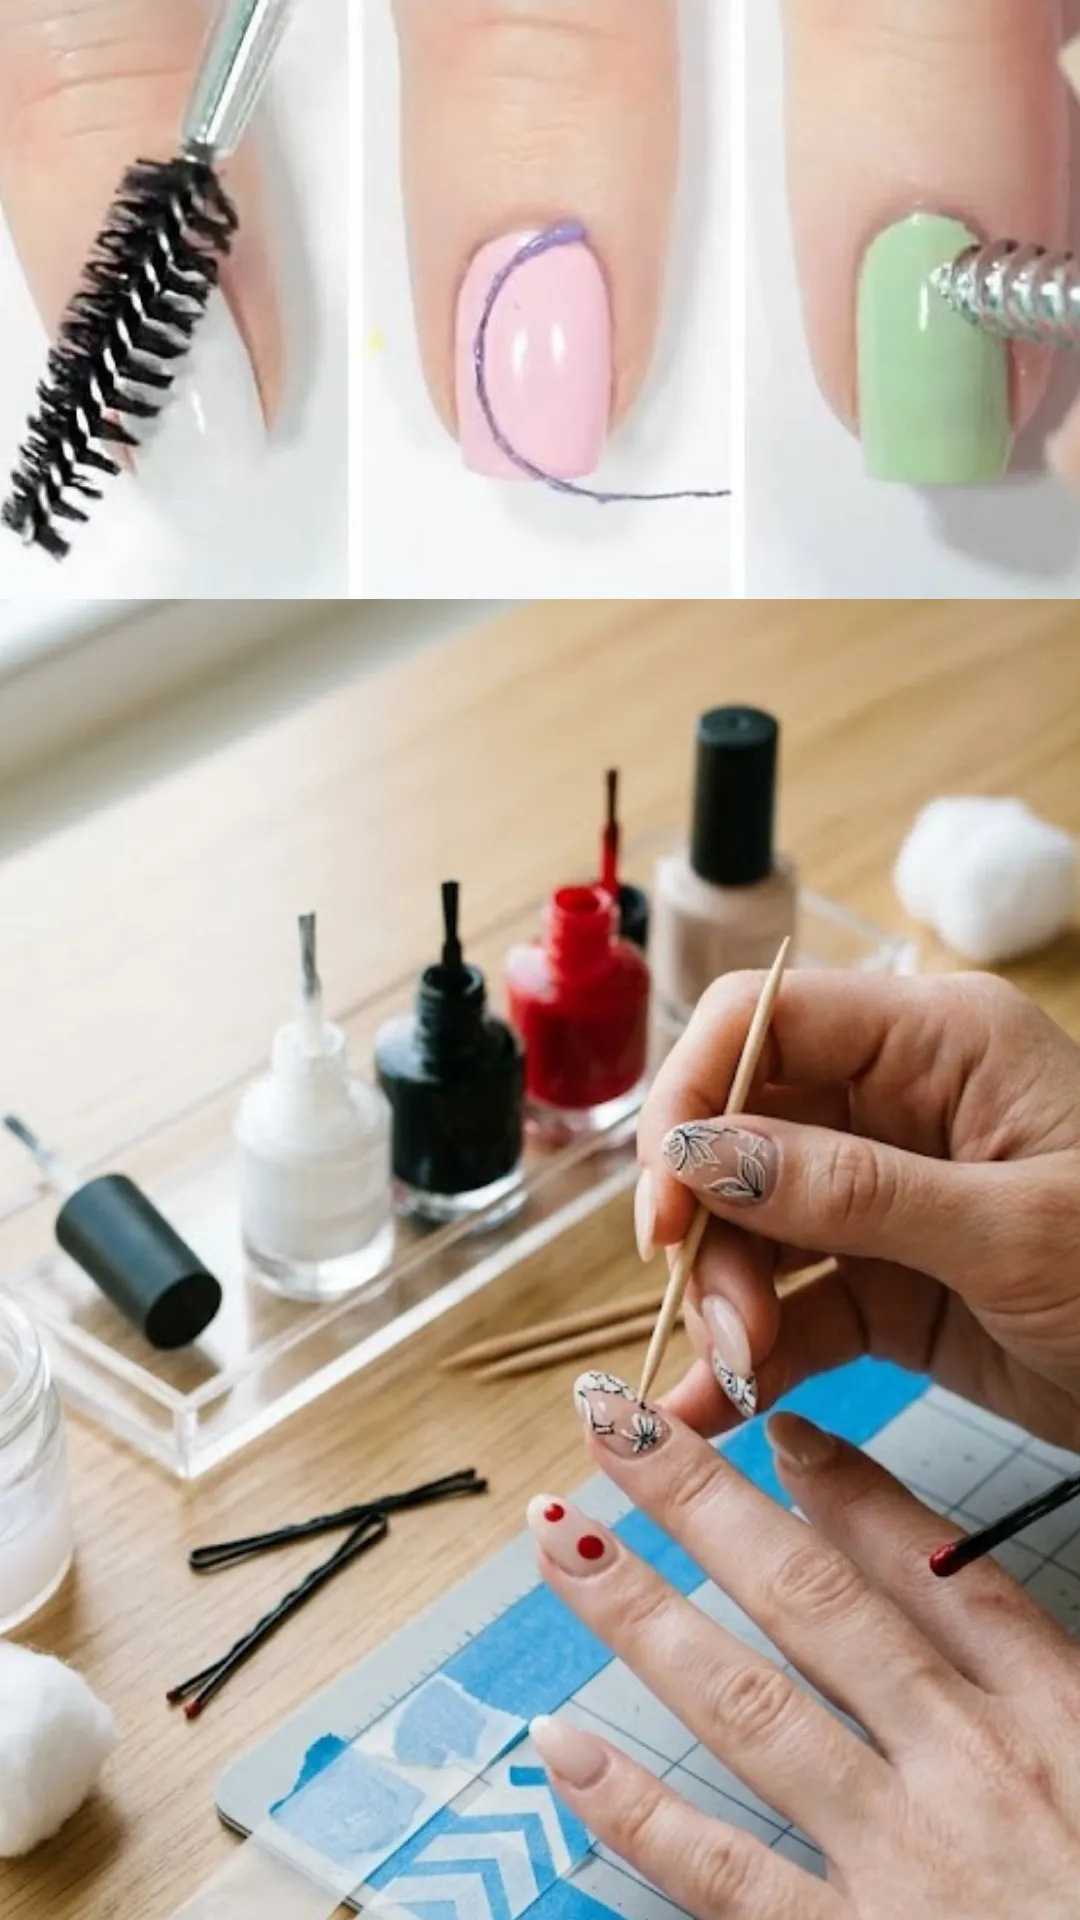
These clever hacks make nail art accessible to everyone, regardless of budget. You can start creating beautiful designs with what you already have at home!
10. Nail Art Pens – Precision Made Easy
If you’re intimidated by using brushes, nail art pens are a fantastic alternative. These pens, which work like markers for your nails, are among the most user friendly Nail Art Tools Every Beginner Needs to Get Started.
Nail art pens come in various tip sizes and colors. The fine tips make it easy to create detailed designs, write words, or draw intricate patterns with complete control. They’re especially great for beginners because they feel more natural and familiar than brushes.
The ink in nail art pens is formulated to work with nail polish, so it applies smoothly and stays put. Just make sure to let your base color dry completely before using the pen, and always seal your design with a top coat to prevent smudging.
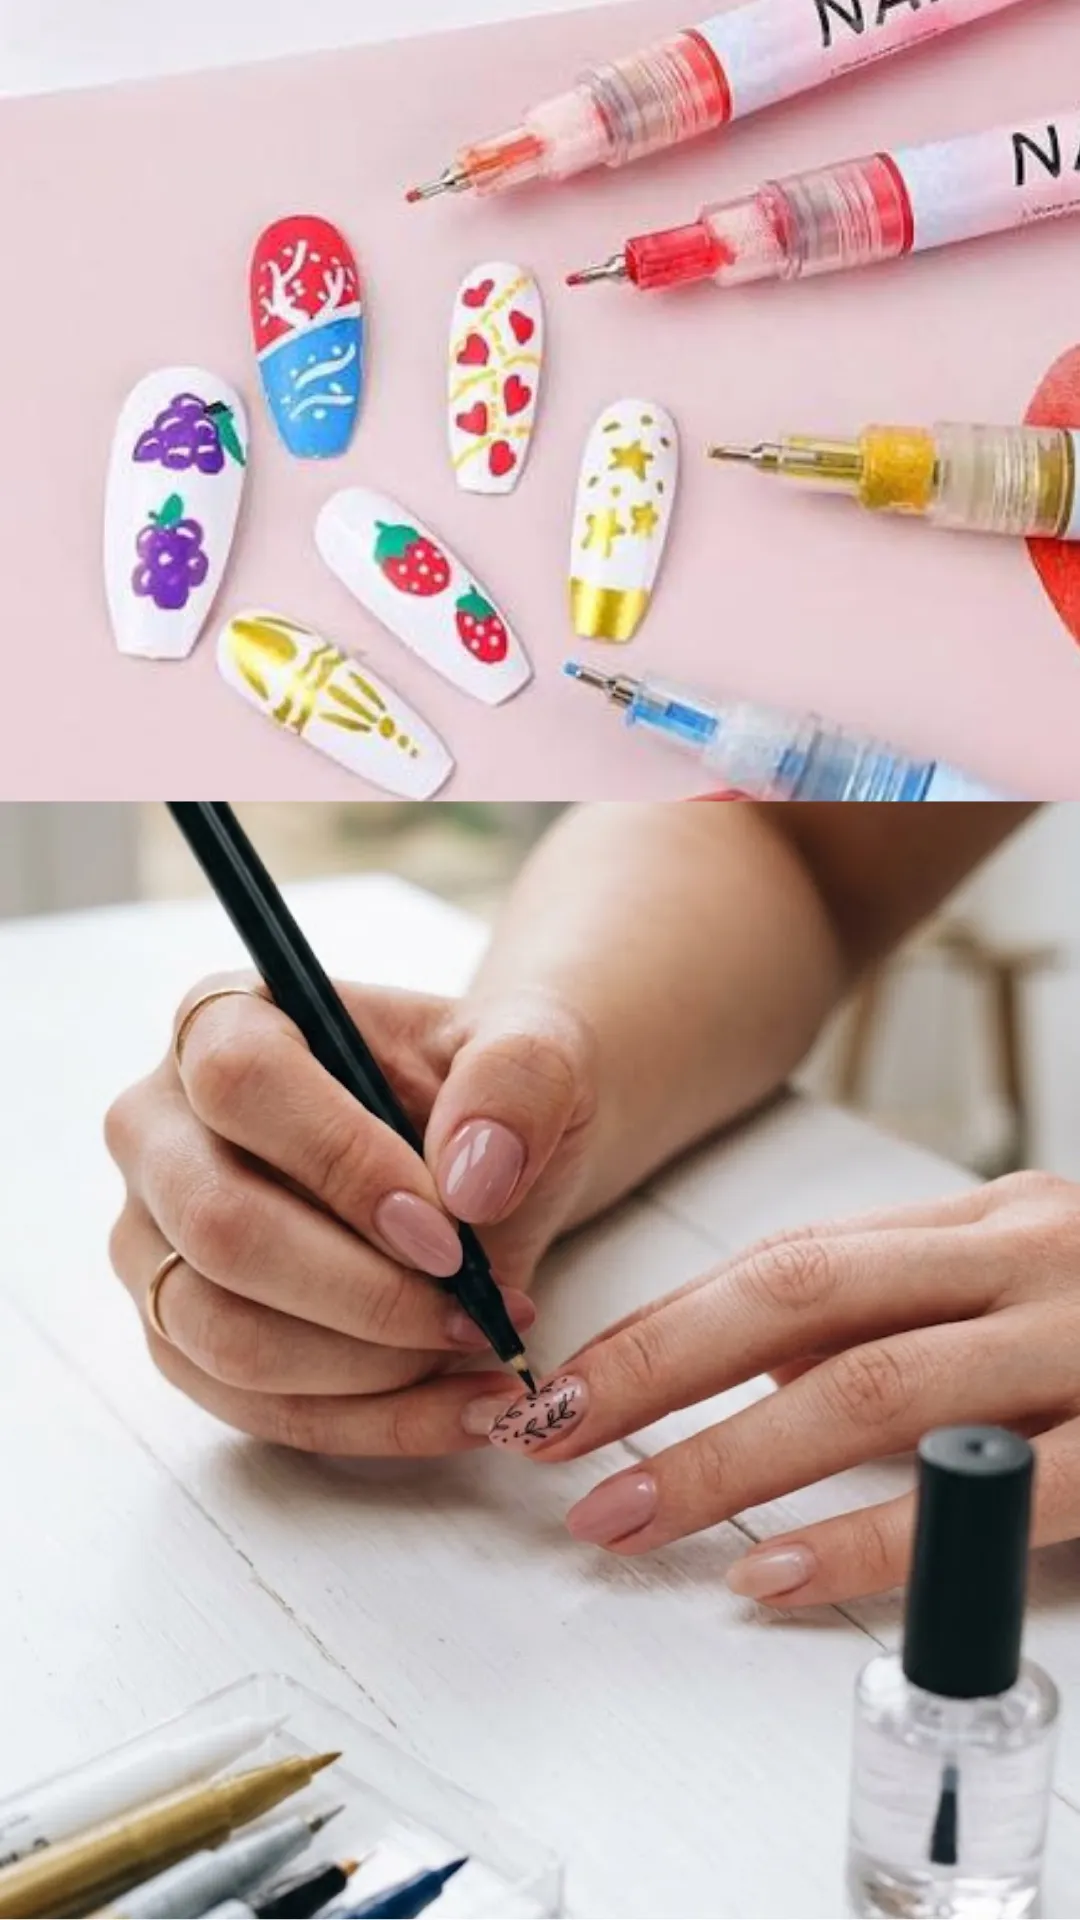
These pens are perfect for creating dot patterns, stripes, flowers, and even tiny lettering. They’re a wonderful confidence booster for beginners!
11. Nail Stencils and Stickers – Instant Professional Designs
Sometimes you want beautiful results without spending hours on intricate details. That’s where nail stencils and stickers come in; they’re brilliant Nail Art Tools Every Beginner Needs to Get Started.
Nail stencils are thin adhesive guides that you place over your nail before painting. They allow you to create perfect designs like chevrons, stripes, stars, and geometric patterns without any freehand work. Simply apply the stencil, paint over it, let it dry slightly, and peel it off for a perfect design every time.
Nail stickers are even easier, just peel and apply! They come in endless designs, from delicate florals to fun characters to elegant geometric shapes. They’re perfect for adding a finishing touch to your manicure without any artistic skill required.
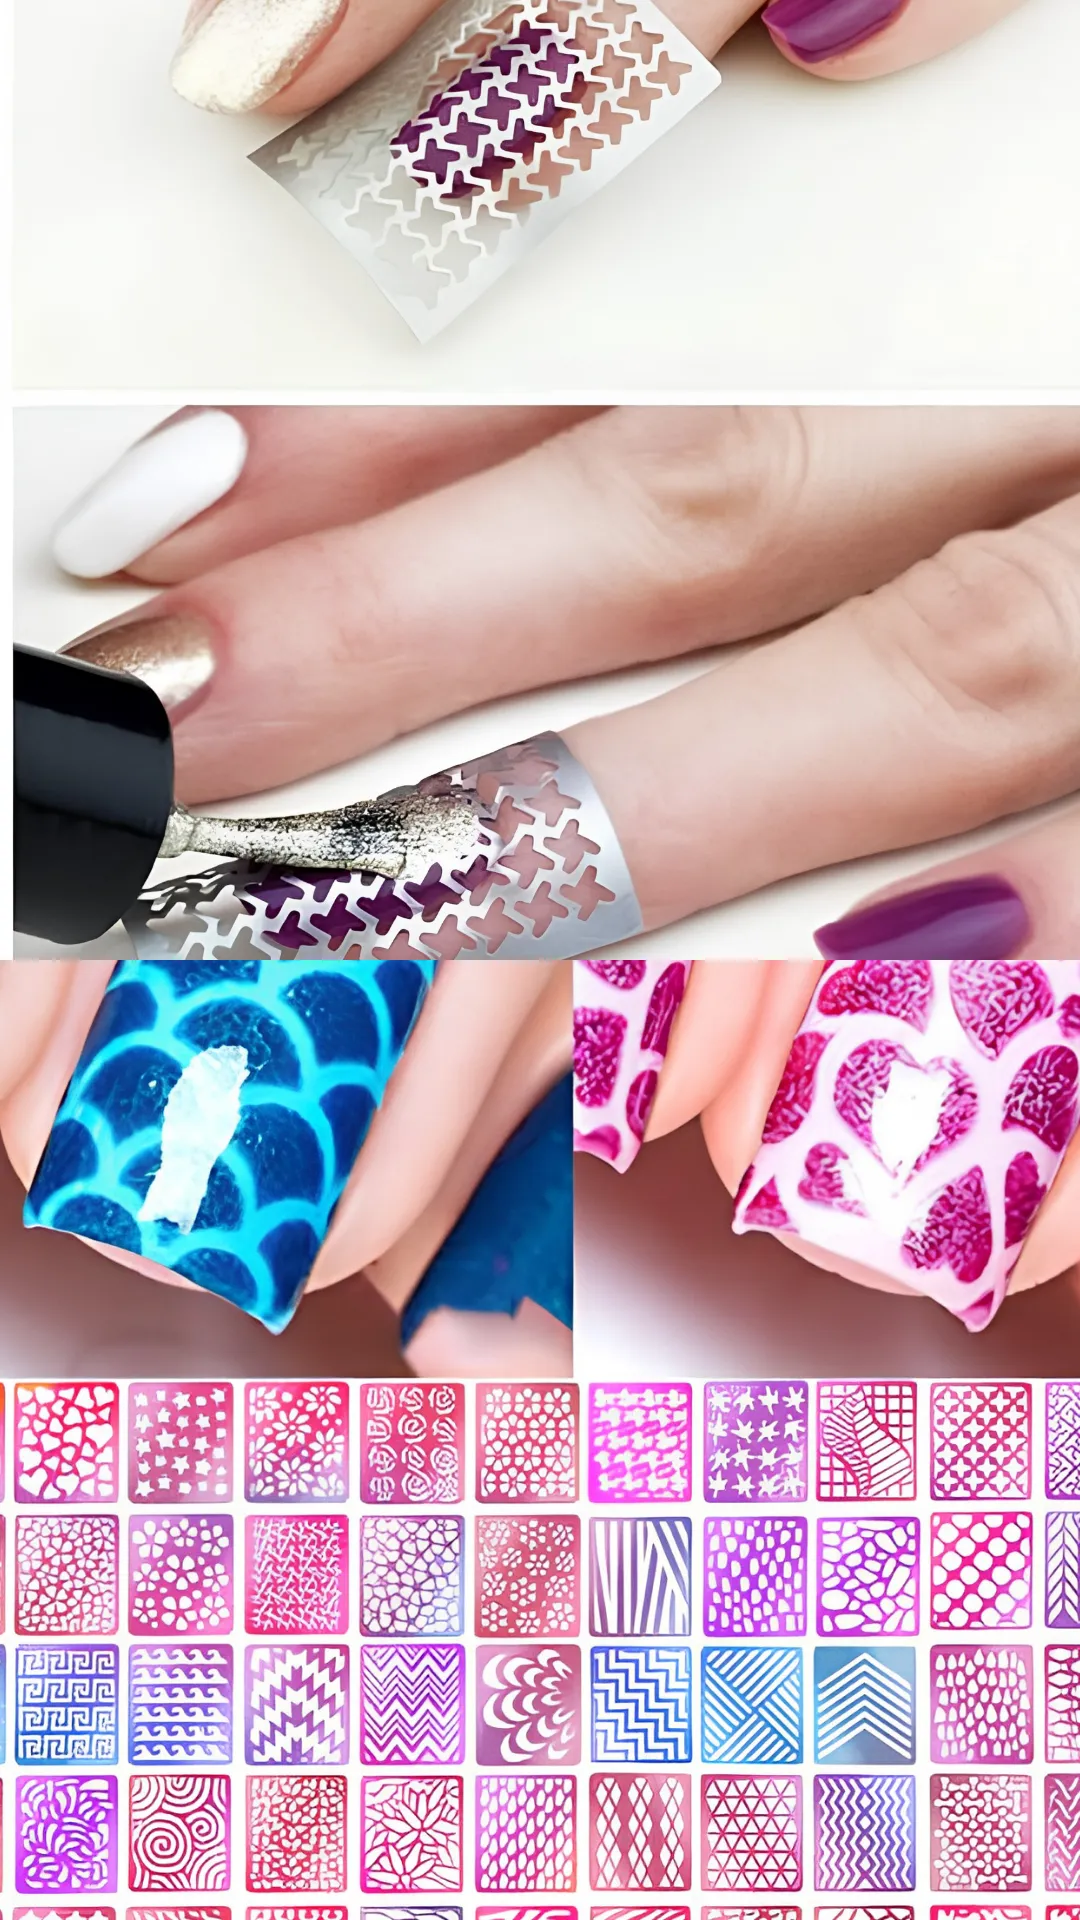
These tools are wonderful for beginners because they guarantee professional looking results while you’re still building your confidence and skills.
Your Nail Art Journey Starts Here
And there you have it,the complete guide to the Nail Art Tools Every Beginner Needs to Get Started; Must Haves for Stunning DIY Manicures. From absolute essentials like base coat and top coat to clever household hacks that save you money, this list covers everything you need to begin your creative nail art journey.
The best part about starting your nail art collection is that you don’t need to buy everything at once. Begin with the essentials; base coat, top coat, a few polishes, and some dotting tools. As you grow more confident and creative, you can add more tools to your collection.
Remember, nail art is about having fun and expressing your creativity. Don’t stress about perfection enjoy the process, experiment with different designs, and celebrate your progress. Every nail artist started where you are right now!
Which of these nail art tools are you most excited to try? I’d love to hear about your nail art journey in the comments! And for more tips, tutorials, and inspiration, head over to donutnail.com. Don’t forget to save this pin to your nail art board and share it with your fellow DIY nail enthusiasts because the best manicures are the ones we create together! Happy painting!
Ready to start your nail art journey? Discover the Nail Art Tools Every Beginner Needs to Get Started from dotting tools to household hacks! Build your perfect starter kit today. Save this pin for your next DIY manicure session! #NailArtTools #DIYManicure #NailArtForBeginners
Table of Contents
You might also Like: Master Ombre Nail Art: How to Blend Colors Like a Pro in 5 Easy Steps

