
Discover BIAB nail art designs for the strongest natural look. 7 elegant, strengthening manicure ideas that grow long, healthy nails.
Have you ever looked down at your short, peeling nails and wished they could just grow already? You’ve tried strengthening polishes, cuticle oils, and even those weird vitamin gummies. But every time you get a little length, snap – there goes your progress. I’ve been there too. It’s frustrating. But what if I told you there’s a way to add serious strength while keeping your nails looking completely natural? That’s exactly where BIAB comes in.
Let me introduce you to BIAB Nail Art Designs for the Strongest Natural Look. BIAB stands for Builder In A Bottle – a lightweight, soak off gel that reinforces your natural nail like flexible armor. It’s not thick acrylic. It’s not damaging hard gel. It’s sheer, strong, and beautiful. In this post, I’ll share 7 BIAB designs that protect your nails while making them look effortlessly elegant. Get ready to finally grow the healthy long nails you’ve always wanted.
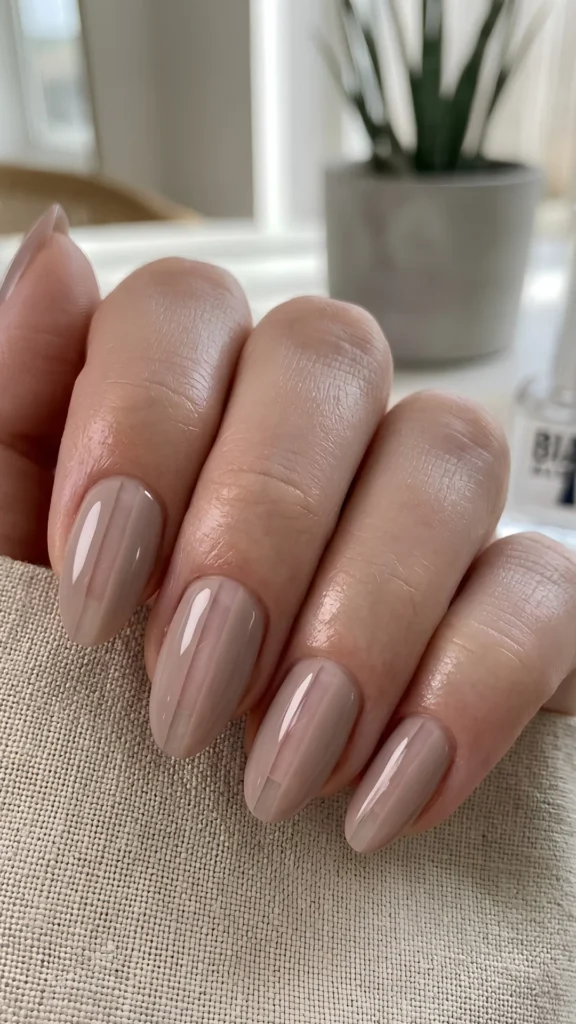
The Clear BIAB Overlay – Invisible Strength

Let’s start with the purest form of BIAB. Apply two thin layers of clear BIAB over your bare, prepped natural nails. Cure under a UV/LED lamp. That’s it. No color. No art. Just a glassy, protective shell that stops breaks and splits. Your nails will look naturally shiny and healthy, but they’ll be three times stronger.
This is the foundation of The Secret to Healthy Long Nails – BIAB Nail Art Designs for the Strongest Natural Look. Wear it alone for a no makeup makeup vibe, or use it as a base for any design below. It’s perfect for anyone who wants length without looking “done.”
Pin this tip: Apply BIAB in super thin layers. Thick layers peel off. Two thin layers cure harder and last two to three weeks.
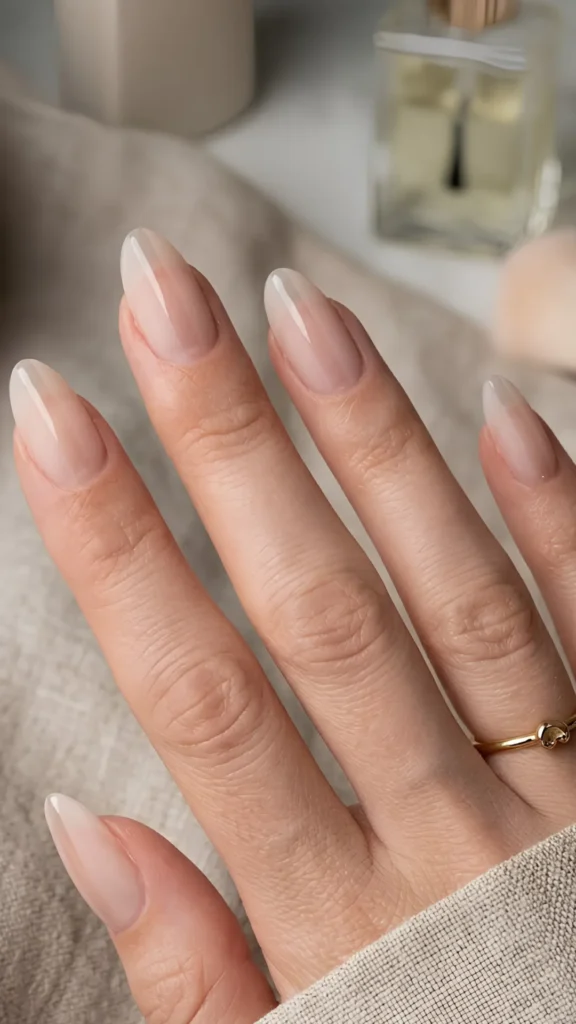
The Milky Sheer BIAB – Your Nails But Better
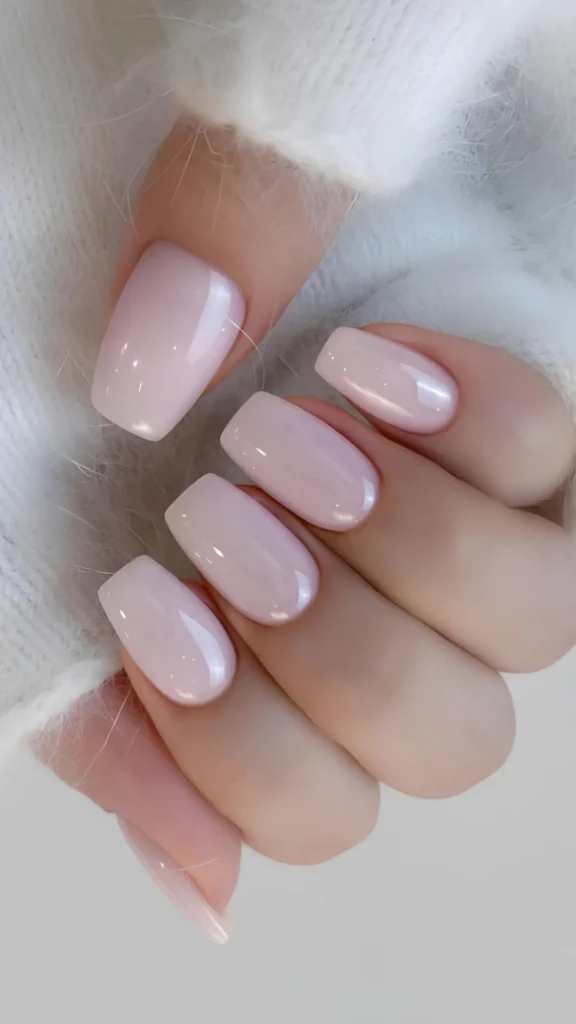
Add a drop of white or pale pink pigment to your clear BIAB. Mix well. Apply two thin coats. The result is a translucent, milky finish that evens out your nail bed color while still letting your natural nail peek through. This is the ultimate “clean girl” manicure for strong nails.
When you’re exploring BIAB Nail Art Designs for the Strongest Natural Look, the milky sheer is the most requested by minimalists. It hides small imperfections like ridges or staining. Plus, the BIAB underneath keeps your nails from bending or breaking. Wear it to work, weddings, or anywhere you want polished elegance.
Remember this: Leave a tiny gap between the BIAB and your cuticle. That small space makes the manicure look grown out and expensive, not thick and fake.
The Micro French on BIAB – Classic Meets Strong

You can absolutely do a French manicure over BIAB. In fact, it looks even better. Paint your milky or clear BIAB base first. Then use a fine liner brush and a soft white gel polish to paint a whisper thin line across the tip. The BIAB underneath gives you a smooth, ridge free surface for the perfect line.
This design proves that The Secret to Healthy Long Nails – BIAB Nail Art Designs for the Strongest Natural Look includes timeless styles. The BIAB keeps your nails long and strong enough to actually show off that French tip. Try a beige or rose gold line instead of white for a modern twist.
Little trick, big difference: Use a rubber band wrapped around your finger as a guide for the French line. Paint, then remove. Straight every time.
The Negative Space Stripe – Modern and Strong
Leave a thin vertical stripe of your natural nail bare. Apply clear BIAB over the whole nail first (for strength). Then use a second layer of tinted BIAB or gel polish on either side of the stripe. Cure. Peel off any tape if you used it. The result is a clean, architectural stripe that shows your natural nail underneath.
Among BIAB Nail Art Designs for the Strongest Natural Look, negative space designs are huge because they show off the fact that your real nails are long and healthy. The BIAB ensures they don’t break at the weak point of the stripe. Try a soft taupe or dusty rose on the colored sides.
Your cheat code: Use striping tape to block off the stripe area. Apply your color, remove tape immediately, then cure. No bleeding.
The Single Pearl on BIAB – Quiet Luxury
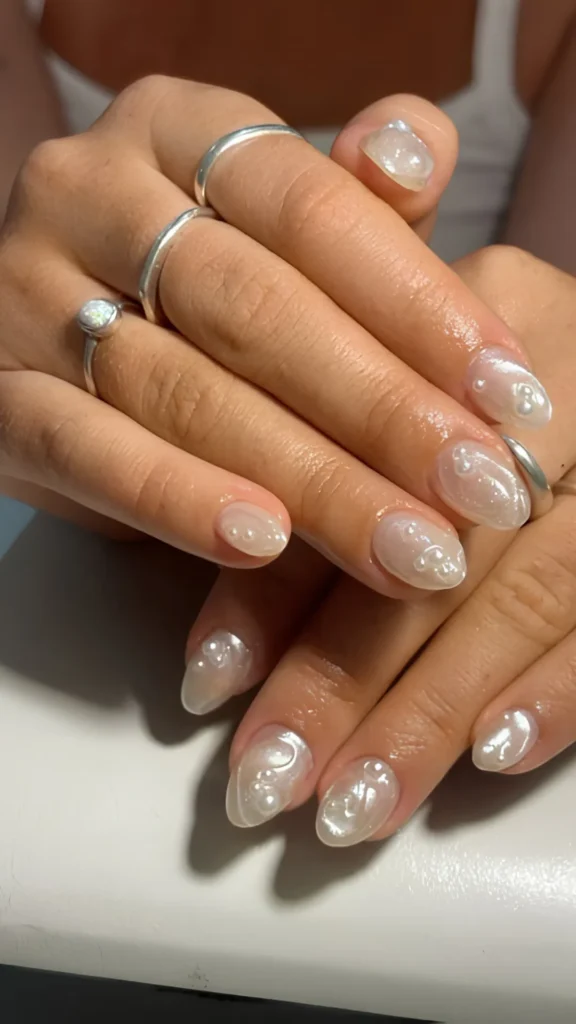
Place one tiny flatback pearl near your cuticle on your ring finger. Apply your clear or milky BIAB base first. Then use a small dot of gel or nail glue to secure the pearl. Cure or let dry. Seal the edges with top coat but leave the pearl’s surface shiny. Keep all other nails just the clean BIAB base.
This is a gorgeous addition to The Secret to Healthy Long Nails – BIAB Nail Art Designs for the Strongest Natural Look. The pearl adds a touch of bridal elegance without hiding the fact that your natural nails are strong and long. Use the smallest pearl you can find – less is more.
Game changer: Use a wax pencil or a damp toothpick to pick up the pearl. Your fingers are too clumsy for this tiny work.
The Jelly BIAB Gradient – Soft, Colorful, Protective
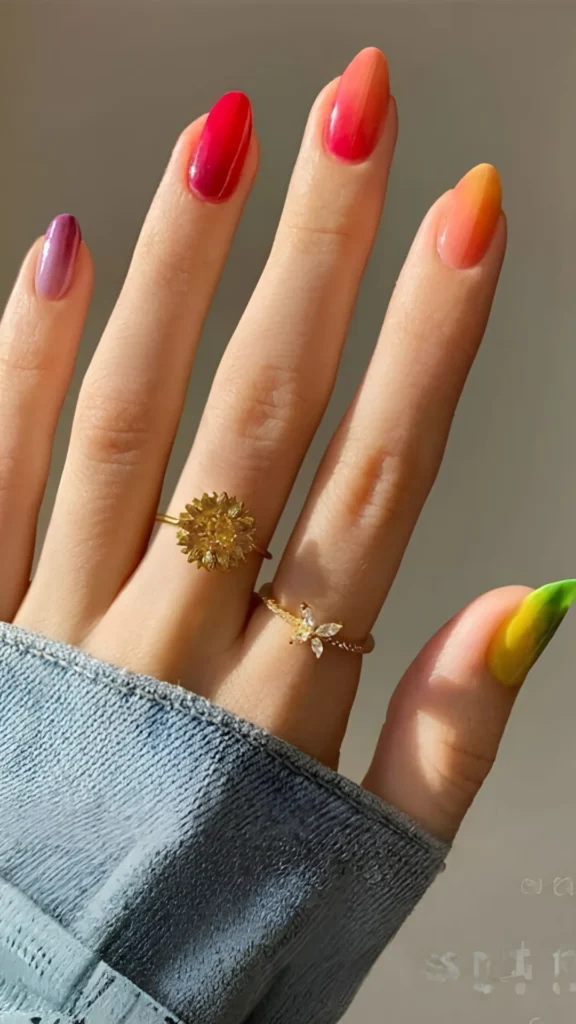
Mix a drop of colored gel (peach, lavender, or soft pink) into your BIAB. Apply a thin coat to the whole nail. Then, on a second coat, apply a little more color just to the tips. Blend the line with a clean brush while wet. Cure. The result is a subtle, translucent gradient that looks like your nails are naturally flushed with color.
When you’re working through BIAB Nail Art Designs for the Strongest Natural Look, jelly gradients are perfect for spring or summer. The BIAB keeps your nails flexible, so the gel won’t crack or lift at the color line. Plus, the sheer finish lets your nail bed show through.
Pro tip: Work on one nail at a time. Jelly polishes dry slowly, which is great for blending but bad for smudging. Keep a cleanup brush nearby.
The Matte BIAB with Glossy Stripe – Texture Contrast
Apply your clear or milky BIAB base. Cure. Then apply a matte top coat over everything. Once cured, use a thin brush and glossy top coat to paint a single stripe down the center of each nail. Cure again. The contrast between the soft matte finish and the shiny stripe looks incredibly high end.
Finish your journey with The Secret to Healthy Long Nails – BIAB Nail Art Designs for the Strongest Natural Look. This design is wild and funky in the most sophisticated way. It works on both short and long nails. The BIAB underneath ensures your nails don’t snap at the stress point of the stripe.
Insider secret: Use a matte top coat specifically made for gel. Regular matte top coats on BIAB won’t cure properly. Check the bottle label.
Now it’s your turn. Have you tried BIAB before? Are you ready to give your natural nails the strength they deserve? I’d love to hear which of these 7 BIAB Nail Art Designs for the Strongest Natural Look you’ll try first. Drop a comment below – tell me your nail struggles and your favorite design. For step by step video tutorials, BIAB product recommendations, and more wild & funky nail art ideas, visit donutnail.com. Let’s grow those gorgeous, strong nails together.
Love natural nails but need strength? Get BIAB Nail Art Designs for the Strongest Natural Look – 7 beautiful, strengthening ideas. Save for your next DIY overlay. #BIABNails #NaturalNailArt #StrongNails
Table of Contents
You might also Like: 10 Nail Art Hacks That Professionals Don’t Want You to Know (Try #7 Today!)

