
Get engagement nail art inspo so that ring has the perfect background. 7 stunning designs from sheer nudes to pearl accents for your proposal photos.
You’ve waited for this moment. The love of your life is about to get down on one knee. Or maybe they already did and you can’t stop staring at that gorgeous diamond. But here’s a question that might be running through your mind: are my nails ready for their close up? I know, it sounds silly. But every newly engaged woman wants that perfect ring selfie. And nothing ruins it faster than chipped polish or a design that screams louder than the sparkle.
That’s exactly why I put together this guide. You need Engagement Nail Art Inspo So That Ring Has the Perfect Background – not loud, not busy, just beautifully elegant. In this post, I’ll walk you through 7 photo ready manicure ideas. From milky sheers to delicate gold flecks, these designs will frame your ring like a museum piece. And yes, you can absolutely DIY them or take them to your nail tech. Let’s make sure your “yes” moment looks as stunning as it feels.
1. The Milky Sheer – Your Ring’s Best Friend
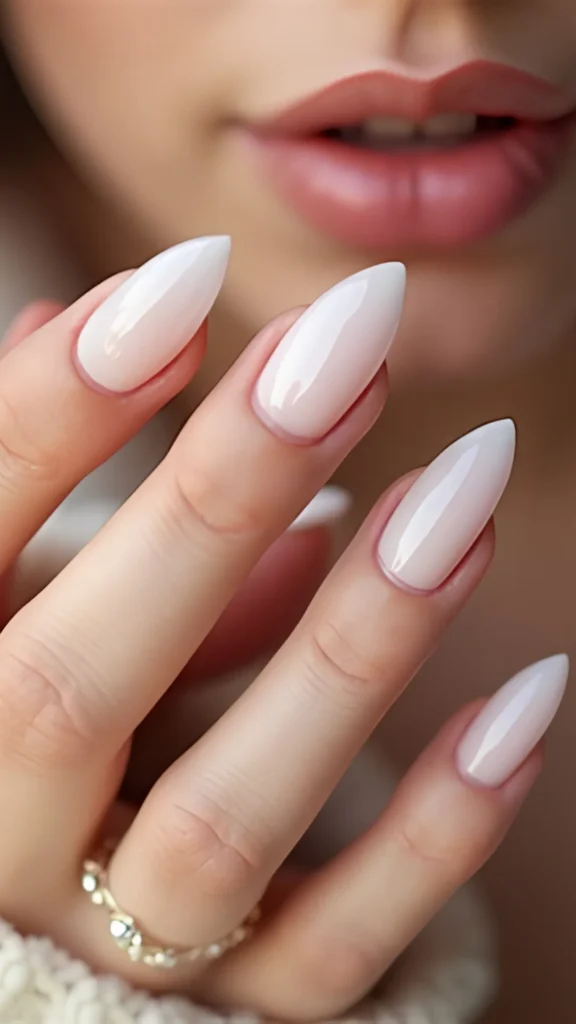
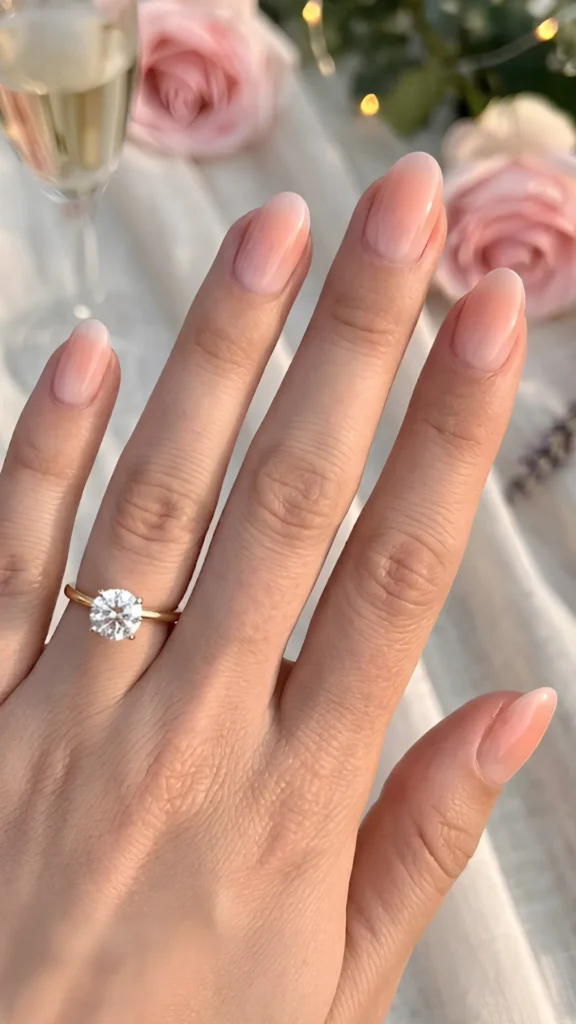
Let’s start with the absolute classic. A milky white or soft pink sheer polish is the ultimate backdrop for any diamond. It doesn’t compete. It complements. Apply two thin coats of a translucent nude or white. Leave a tiny gap near your cuticle for that expensive “baby French” look. The result is clean, luminous, and makes your ring look brighter by contrast.
When you’re searching for Engagement Nail Art Inspo So That Ring Has the Perfect Background, the milky sheer is the number one recommendation from professional bridal nail artists. It works with gold, silver, and rose gold settings. It looks amazing in natural light and flash photography.
Save worthy tip: Add one coat of iridescent top coat for a subtle pearl like glow. It catches the light without adding visible glitter.
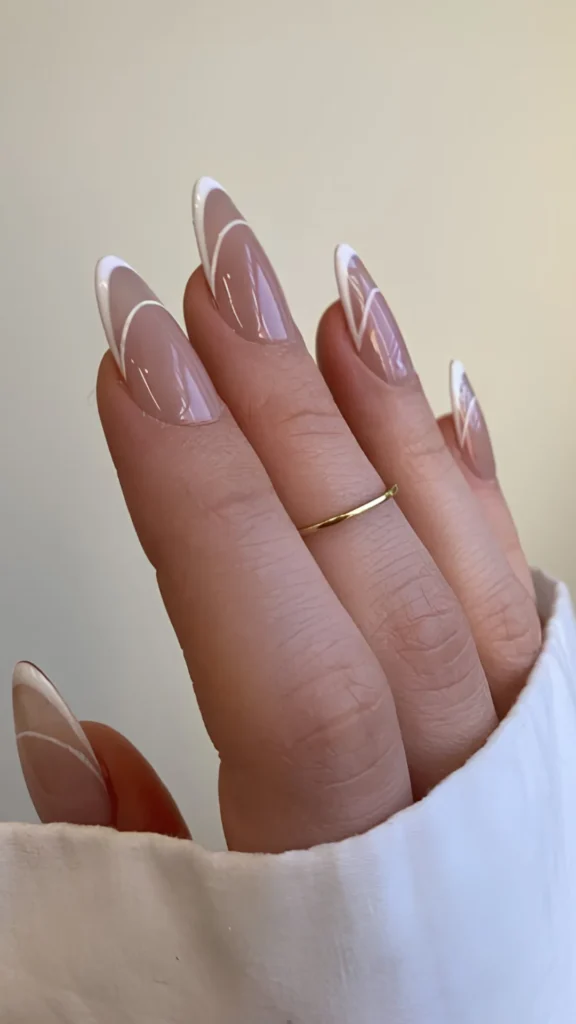
2. The Micro French Tip – Thin, Clean, Timeless
Forget the thick French tips of the past. The modern engagement French is whisper thin. Use a liner brush and a soft off white or nude polish. Paint a line thinner than a piece of thread right at the edge of your nail. Keep your base completely sheer or clear. This design elongates your fingers and draws the eye directly to your ring.
From “Yes” to the Altar – Engagement Nail Art Inspo So That Ring Has the Perfect Background often starts with this exact look. It’s elegant enough for a cathedral wedding but simple enough for a casual beach proposal. Try a micro French in rose gold if your ring has rose gold accents.
Save worthy tip: Use a rubber band or tape as a guide. Wrap it around your finger at the tip line, paint, then remove. Perfectly straight every time.
3. The Single Pearl Accent – Quiet Luxury
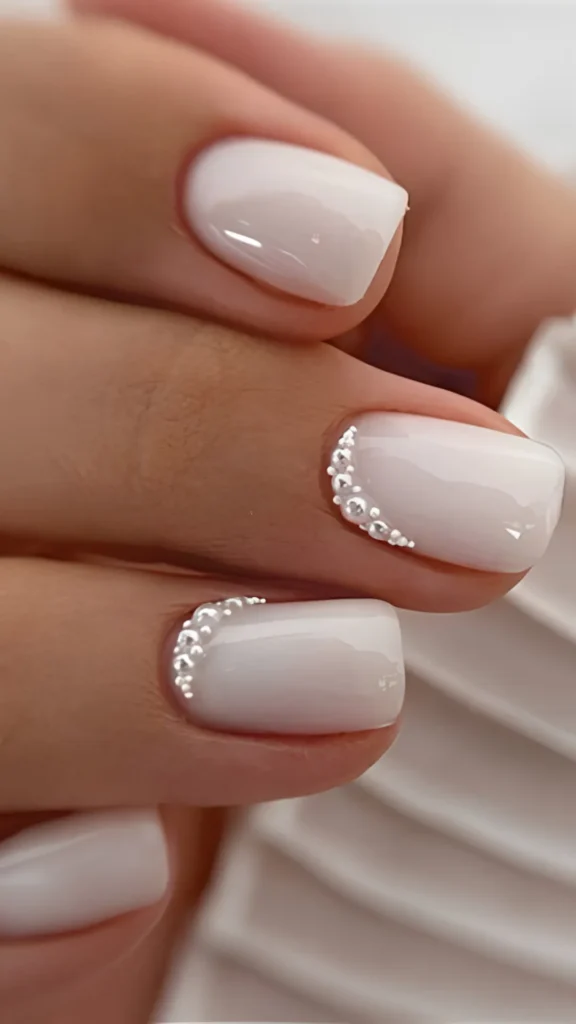
One tiny pearl. That’s all you need. Place a single flat back pearl near your cuticle on your ring finger or middle finger. Keep every other nail a clean nude. The pearl adds just enough texture and softness to say “I paid attention to every detail” without stealing attention from your diamond.
This idea is pure Engagement Nail Art Inspo So That Ring Has the Perfect Background because pearls and diamonds are a classic bridal combination. Use a wax pencil to pick up the pearl. Place it onto a small dot of clear polish or gel. Seal the edges with top coat but leave the pearl’s surface shiny.
Save worthy tip: Buy a pack of mixed sizes. Use the smallest pearl you can find. Less is definitely more here.
4. The Glazed Donut Finish – Soft, Glowy, Viral

You’ve seen it everywhere. Hailey Bieber made it famous. And guess what? It’s perfect for engagement nails. Start with a sheer nude or pink base. Then apply a pearl or opalescent shimmer top coat. The result is a soft, creamy, almost wet looking glow that makes your skin look radiant and your ring look like it’s floating on a cloud.
Even in the world of Engagement Nail Art Inspo So That Ring Has the Perfect Background, the glazed donut trend stands out for its photogenic quality. It catches every ray of light and creates tiny rainbow reflections that highlight your diamond’s sparkle. Avoid chunky glitter – only fine, iridescent shimmer allowed.
Save worthy tip: Apply the shimmer top coat over a slightly tacky base (wait only 30 seconds after your last coat). This helps the shimmer adhere evenly.
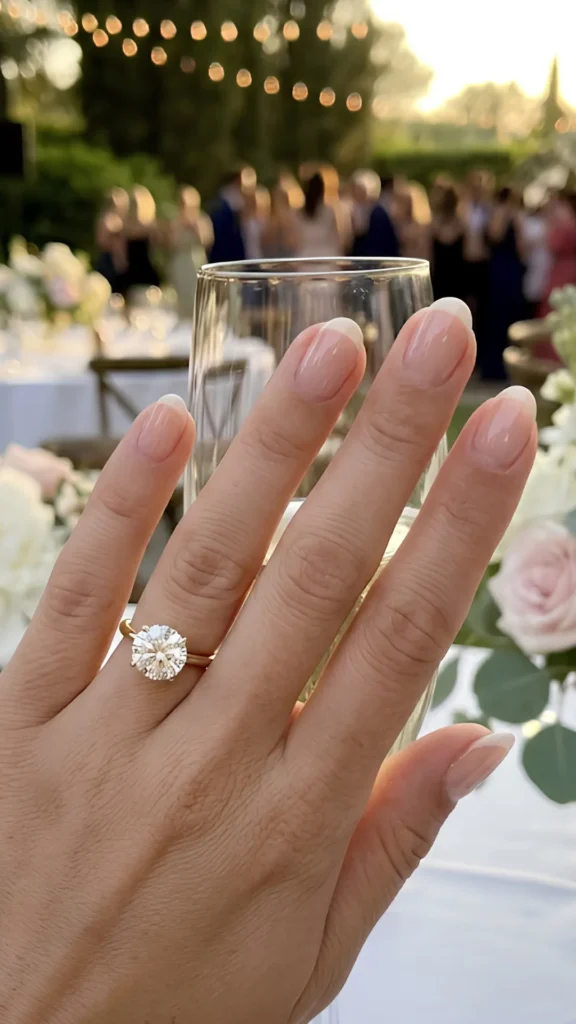
5. The Negative Space Crescent – Modern Bridal
Want something a little different but still elegant? Leave a small half moon shape bare near your cuticle. Apply a clear base coat, then use a hole reinforcement sticker to cover the crescent area. Paint your neutral polish over the whole nail. Remove the sticker while wet. You’ll have a clean, bare crescent that looks incredibly chic.
This design proves that Engagement Nail Art Inspo So That Ring Has the Perfect Background doesn’t have to be boring. It’s architectural, modern, and surprisingly easy. Pair it with a soft pink or beige polish. The bare nail acts as a natural frame for your ring’s band.
Save worthy tip: Use a small brush dipped in acetone to clean up any polish that seeps under the sticker. Sharp lines matter here.
6. The Gold Foil Fleck – Warmth and Luxury

If your ring is yellow gold, add tiny flecks of gold foil to one or two nails. Paint your sheer nude base. Then use tweezers to place microscopic pieces of gold foil onto wet top coat. Press gently. Add another layer of top coat to seal. The gold should look accidental and sparse – not like full coverage glitter.
From “Yes” to the Altar – Engagement Nail Art Inspo So That Ring Has the Perfect Background often includes this warm, luxurious touch. Gold foil complements yellow gold and rose gold settings beautifully. It adds a hint of celebration without being flashy.
Save worthy tip: Crush the foil between your fingers before applying. Smaller pieces look more elegant than large chunks.
7. The Jelly Layered Ombré – Soft Gradient Dream
Create a custom, translucent gradient using jelly polishes. Start with a clear base. Apply a thin coat of pale pink jelly at the cuticle. Then blend a slightly deeper peach or lavender toward the tip. Use a sponge to dab and blend while wet. The result is a soft, glowing fade that looks like your nails are naturally flushed with happiness.
This is the ultimate Engagement Nail Art Inspo So That Ring Has the Perfect Background because the gradient draws the eye upward – exactly where your ring lives. It’s romantic, dreamy, and totally unique. No two are ever the same.
Save worthy tip: Work on one nail at a time. Jelly polishes dry slowly, which is perfect for blending but bad for smudging. Keep a small cup of acetone and a clean up brush nearby.
Now I want to hear from you. Are you planning a surprise proposal? Did you just get engaged and need a post ring selfie manicure? Which of these 7 engagement nail art designs will you try first? Drop a comment below and tell me your ring metal and shape – I’ll help you pick the perfect nail background. For more step by step tutorials, bridal nail checklists, and product recommendations, visit donutnail.com. Let’s make sure your “yes” moment is absolutely unforgettable.
Planning to say yes? Get Engagement Nail Art Inspo So That Ring Has the Perfect Background. 7 elegant designs from sheer to pearl. Save for proposal season. #EngagementNails #BridalManicure #RingSelfieReady
Table of Contents
You might also Like: 10 Nail Art Hacks That Professionals Don’t Want You to Know (Try #7 Today!)

