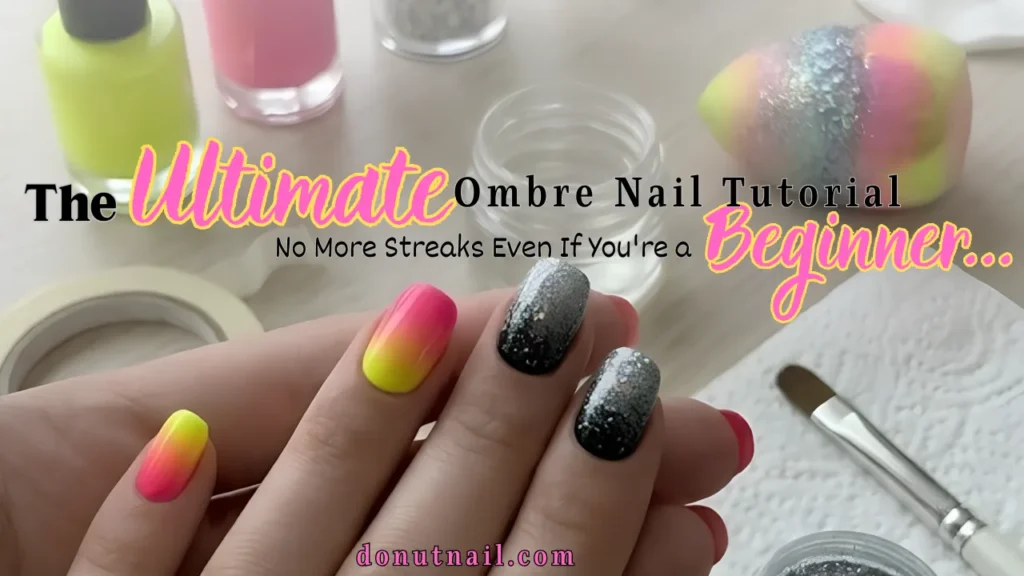
Love the ombre look but hate the streaks? This ombre nail tutorial shows you 3 foolproof methods for a seamless fade at home. Scroll to learn!
Hey lovely! Let me ask you something.
Have you ever tried to do ombre nails at home, only to end up with a blotchy, stripey mess that looks nothing like that gorgeous gradient you saw on Pinterest? Ugh, I feel your pain. You watch a video, grab two pretty polishes, dab away with a sponge… and somehow end up with weird lines and bald spots.
The good news? It’s not your fault. Most ombre tutorials skip the tiny tricks that make all the difference. That’s exactly why I created this ombre nail tutorial for you.
In this guide, I’m going to show you three different ways to get a salon smooth fade using things you probably already own. We’re talking sponge method, brush blending, and even a gel hack for the pros. By the time you finish reading, you’ll never have to live with streaky ombre again.
Ready to finally nail that seamless look? Let’s dive in.
Why Most Ombre Nails Fail (And How You’ll Succeed)
Before we pick up a single bottle, let’s talk about the biggest mistake. Most people use too much polish on the sponge. That excess product creates hard lines instead of a soft fade.
Here’s what you need to know. A perfect ombre happens in thin, buildable layers. Not one heavy blob.
The second mistake? Rushing. Ombre takes patience. Each dab should be light and quick.
Save worthy tip: Always let your base color dry completely before starting the ombre layer. Otherwise, everything becomes a muddy disaster.
This ombre nail tutorial is designed to eliminate those problems step by step. Trust the process.
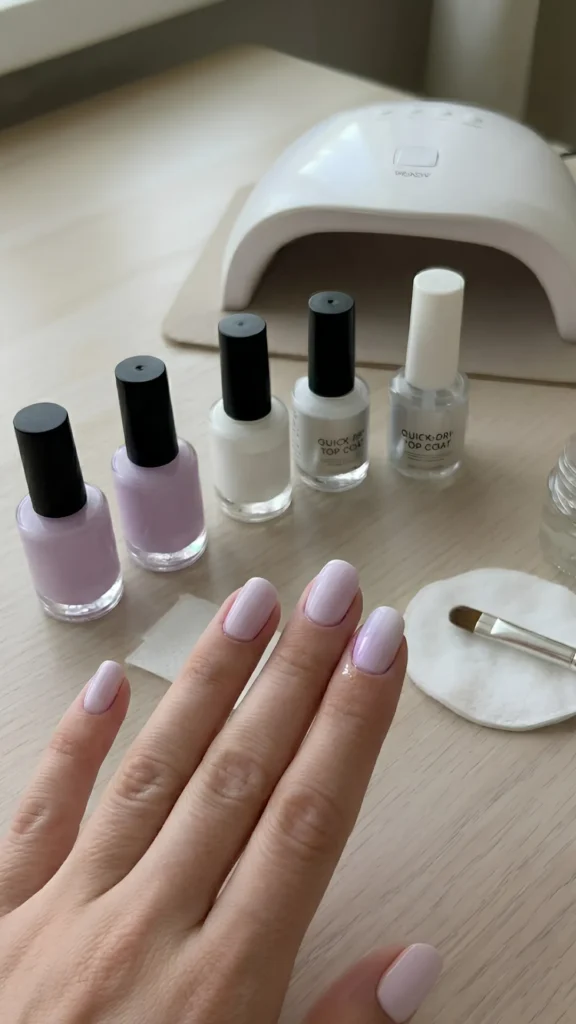
What You’ll Need for a Streak Free Ombre
Let’s gather your tools first. You probably have most of these already.
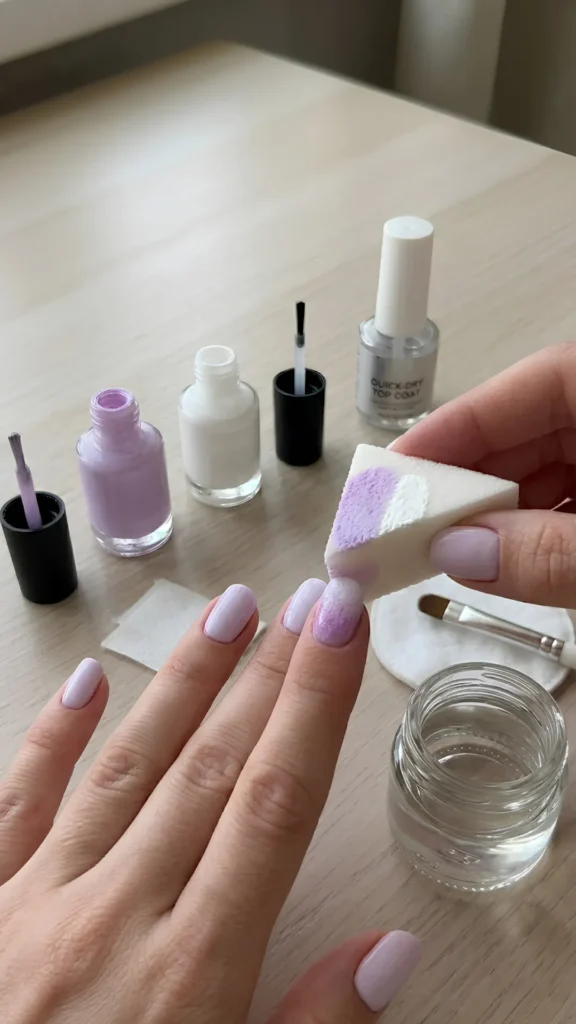
- A flat makeup wedge sponge (the triangular ones work best)
- Two or three nail polish colors that blend well together
- A base coat and a quick dry top coat
- Rubbing alcohol and a small brush for cleanup
- Paper towel or a plastic lid to dab off excess polish
Make sure your polishes are not too thick or too watery. If they’re gloopy, add a few drops of nail polish thinner.
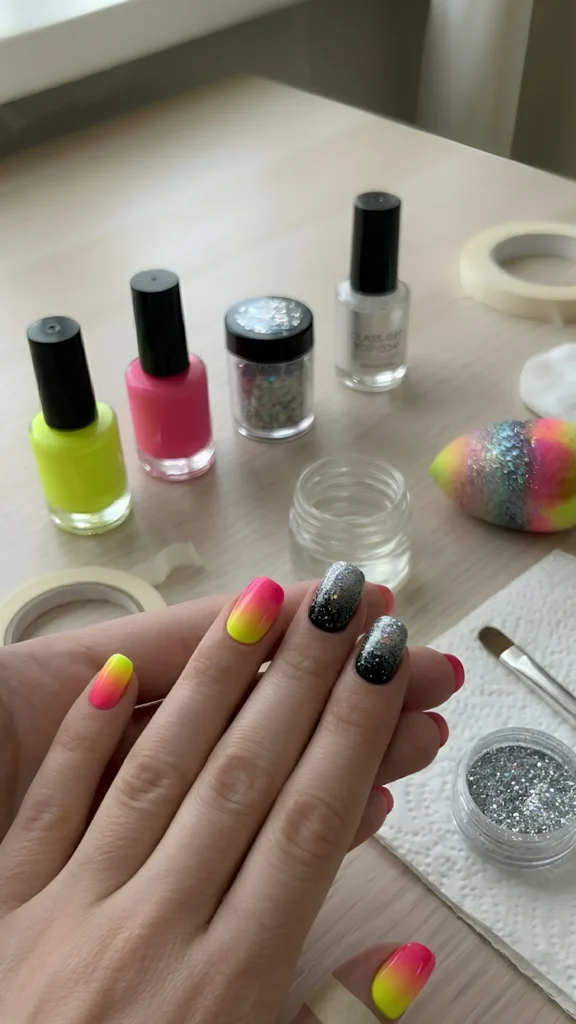
Save worthy tip: White or black as your base can make bright or dark ombres pop even more. Try a white base under neon pink to yellow ombre. It’s a game changer.
Now that you’re set up, let’s get into the actual methods. The Ultimate DIY Ombre Nail Tutorial starts right here.
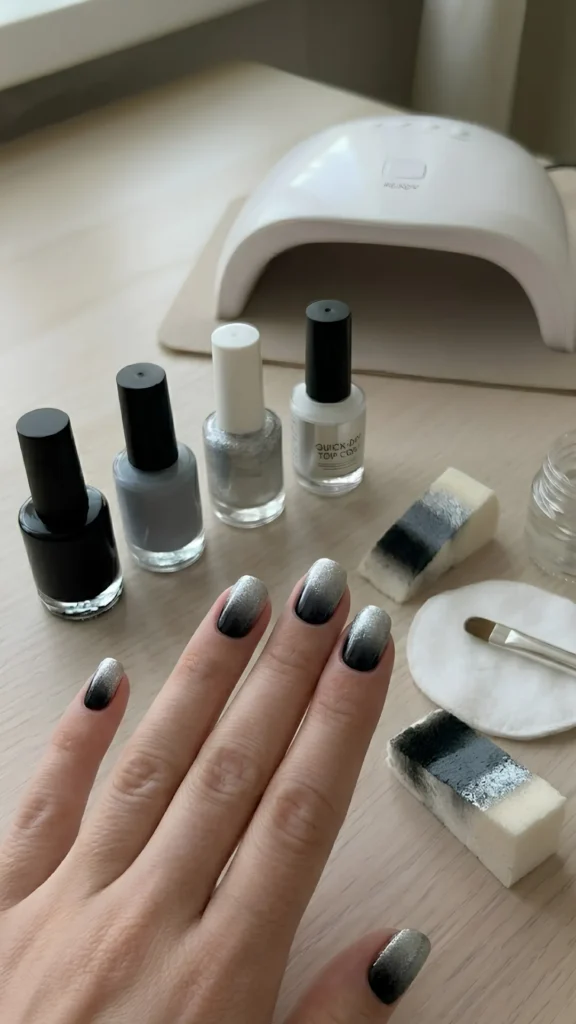
Method 1: The Classic Sponge Gradient
This is the most popular method, and it works beautifully when you follow the rules.
Start with two coats of your lightest shade as a base. Let it dry completely.
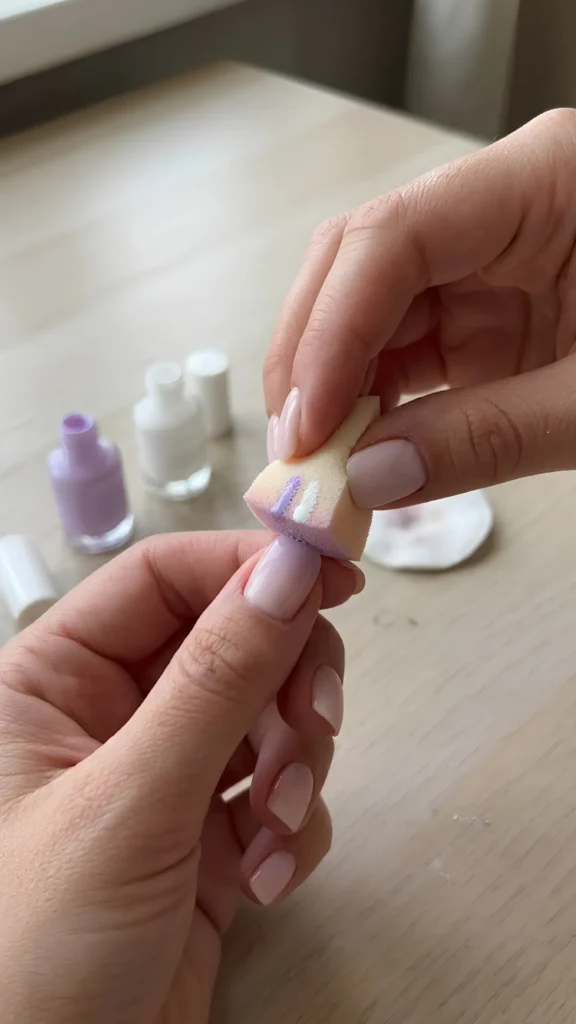
Paint stripes of your chosen colors directly onto the sponge. Overlap them slightly where they meet.
Lightly dab the sponge onto a paper towel first. This removes the excess polish that causes streaks.
Now dab onto your nail using a bouncing motion. Start from the tip and work toward the cuticle. Don’t slide or drag. Just bounce.
Repeat for a second layer to build opacity.
Save worthy tip: Wet your sponge slightly before adding polish. A damp sponge absorbs less product, so you get a smoother, less thirsty application.
After two or three dabs, you’ll see a beautiful fade. Clean any flooded cuticles with a brush dipped in alcohol. Then seal with a glossy top coat. That top coat actually helps blend the colors even more.
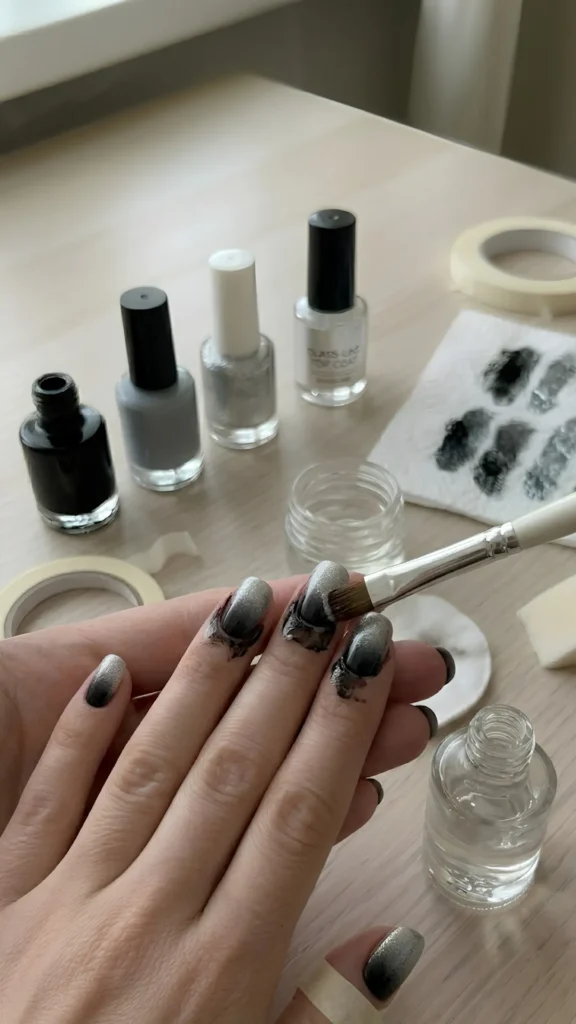
Method 2: Brush Blending for Precision
Do you hate the texture of a sponge? Or do you only have a few nails to do? Try the brush method.
Paint your two colors directly onto the nail in stripes. For example, paint the bottom half of your nail one color and the top half another.
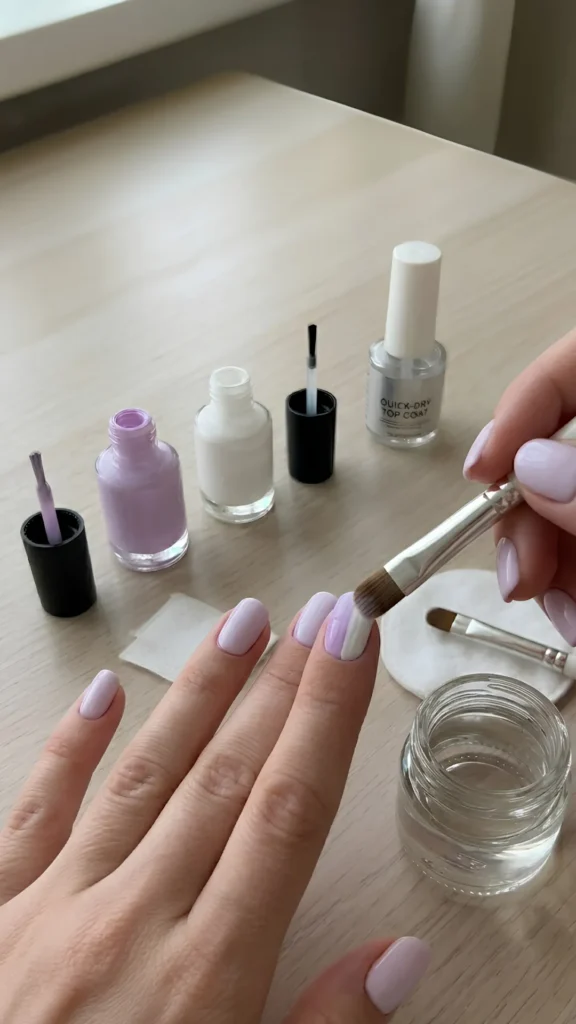
While both colors are still wet, take a clean, flat brush (an old concealer brush works great). Lightly brush back and forth across the line where they meet. Use very gentle strokes.
The colors will start to mix and create a gradient.
Save worthy tip: Dip the brush in a little bit of clear top coat before blending. The clear polish makes the colors slide together without muddying.
This method gives you more control and uses less product. The Ultimate DIY Ombre Nail Tutorial (No More Streaks!) wouldn’t be complete without this option for the perfectionists out there.
Method 3: Gel Ombre for Long Lasting Shine
If you wear gel polish, you can get an even more seamless ombre. Gel doesn’t dry until you cure it, so you have unlimited working time.
Paint your two gel colors onto a sponge just like Method 1. Dab onto your nail. But here’s the magic trick.
Instead of curing after one dab, dab lightly several times until you love the blend. Then cure under your lamp for the recommended time.
Repeat for a second layer. Because gel stays wet, you can dab for minutes without rushing.
Save worthy tip: Use a small eyeshadow blending brush to smooth out any harsh lines before curing. The brush won’t leave sponge texture behind.
Finish with a gel top coat and cure. Your ombre will last two to three weeks without fading or chipping.
Color Combos That Always Look Stunning
Not sure which colors to pair? Here are my foolproof favorites.
Pink to Coral to Peach – Perfect for spring and summer. Looks like a sunset on your nails.
Blue to Lavender to Soft Pink – Very dreamy and whimsical. Great for unicorn lovers.
Black to Gray to Silver – Edgy and chic. The gray in the middle makes the transition smooth.
You can also try neon to pastel for a funky twist. Or deep burgundy to nude for fall.
Save worthy tip: When using three colors, put the middle shade on the sponge between the lightest and darkest. That bridge color prevents a harsh jump.
The Ultimate DIY Ombre Nail Tutorial works with any color combo you love. Experiment and have fun.
How to Fix Common Ombre Mistakes
Even with a great ombre nail tutorial, sometimes things go sideways. Here’s how to fix them.
Streaky lines? You used too much polish. Wipe your sponge on paper towel more aggressively.
Bald spots where the nail shows through? Let each thin layer dry and add a third layer.
Colors look muddy? You blended too much. Less is more. Three or four light dabs per layer is plenty.
Sponge left little dots on your nail? Your sponge was too dry or too old. Use a fresh sponge or a piece of a kitchen sponge with finer pores.
Polish flooded your cuticles? Clean immediately with an angled brush dipped in acetone. Don’t let it dry.
Save worthy tip: Tape around your nails with liquid latex or regular Scotch tape before you start. Peeling it off after reveals perfectly clean skin.
The Top Coat Secret for Glass Like Shine
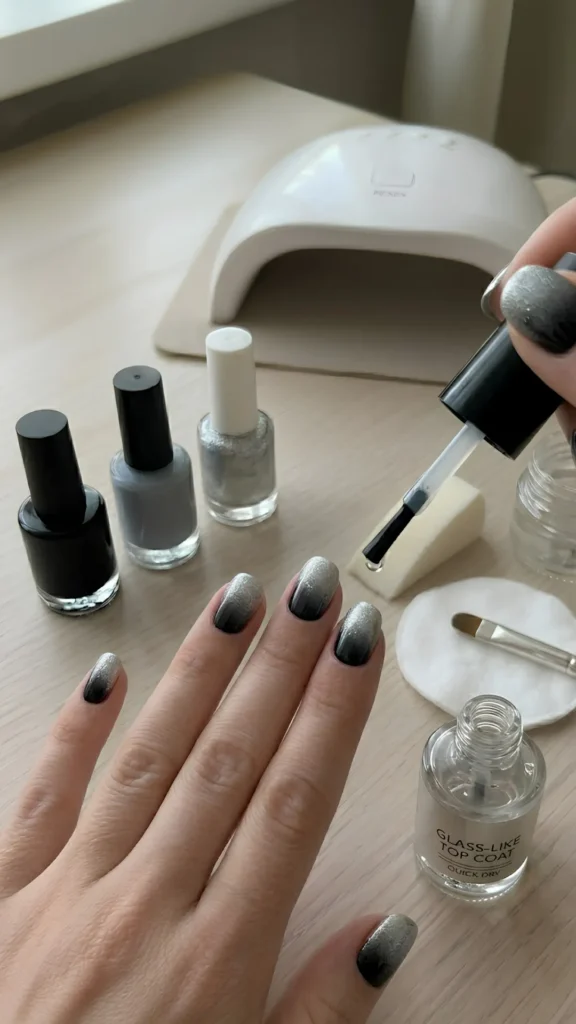
You’ve done the hard part. Now don’t ruin it with a bad top coat.
A quick dry top coat is essential. It smooths out any remaining texture from the sponge and makes the gradient look like glass.
Apply one generous coat. Wait two minutes. Then apply a second coat for extra durability and shine.
Avoid touching anything for at least ten minutes. Yes, even your phone.
Save worthy tip: Run your top coat brush under hot water for a few seconds before using it. Warm top coat flows more smoothly and self levels better.
Now your ombre nails will look wet and glossy for over a week.
Wild and Funky Ombre Ideas to Try Next
Since we’re in the wild and funky nail art zone, let me give you a few extra ideas.
Neon ombre with hot pink, electric yellow, and lime green. Perfect for festivals or parties.
Holographic ombre using a clear sponge and loose holographic glitter. Dab the glitter over a colored base.
Reversed ombre where the darkest color is at your cuticle and the lightest at the tip. Very unexpected and cool.
Matte ombre? Yes. Just use a matte top coat over any gradient. The flat finish makes the fade look almost ethereal.
Save worthy tip: For a holographic ombre, mix your glitter with a little clear top coat on a sponge. Dab it on like regular polish. The glitter will land in a gradient pattern naturally.
Your nails can be as bold or as subtle as you want. That’s the beauty of ombre.
I hope this ombre nail tutorial saved you from another streak filled disaster. Now I’d love to hear from you. Which color combo are you trying first? Or do you have a wild funky idea you want to share? Come visit donutnail.com for more step by step tutorials, product recommendations, and daily nail inspiration. Let’s create something beautiful together.
Love this ombre nail tutorial? Save it for your next DIY night. No more streaks, just gorgeous fades. #OmbreNails #DIYNailArt #NailTutorial
Table of Contents
You might also Like:10 Nail Art Hacks That Professionals Don’t Want You to Know (Try #7 Today!)

